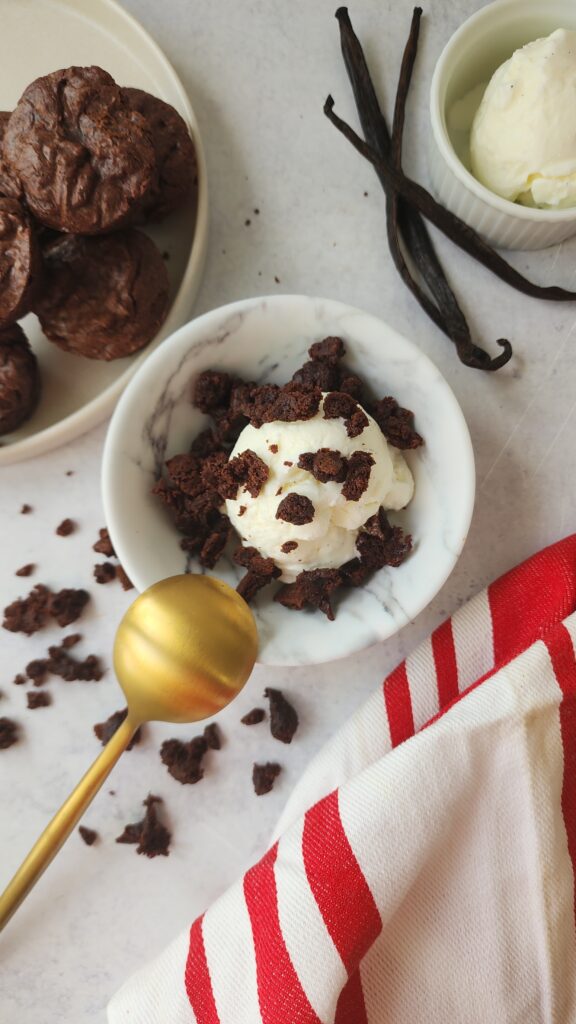
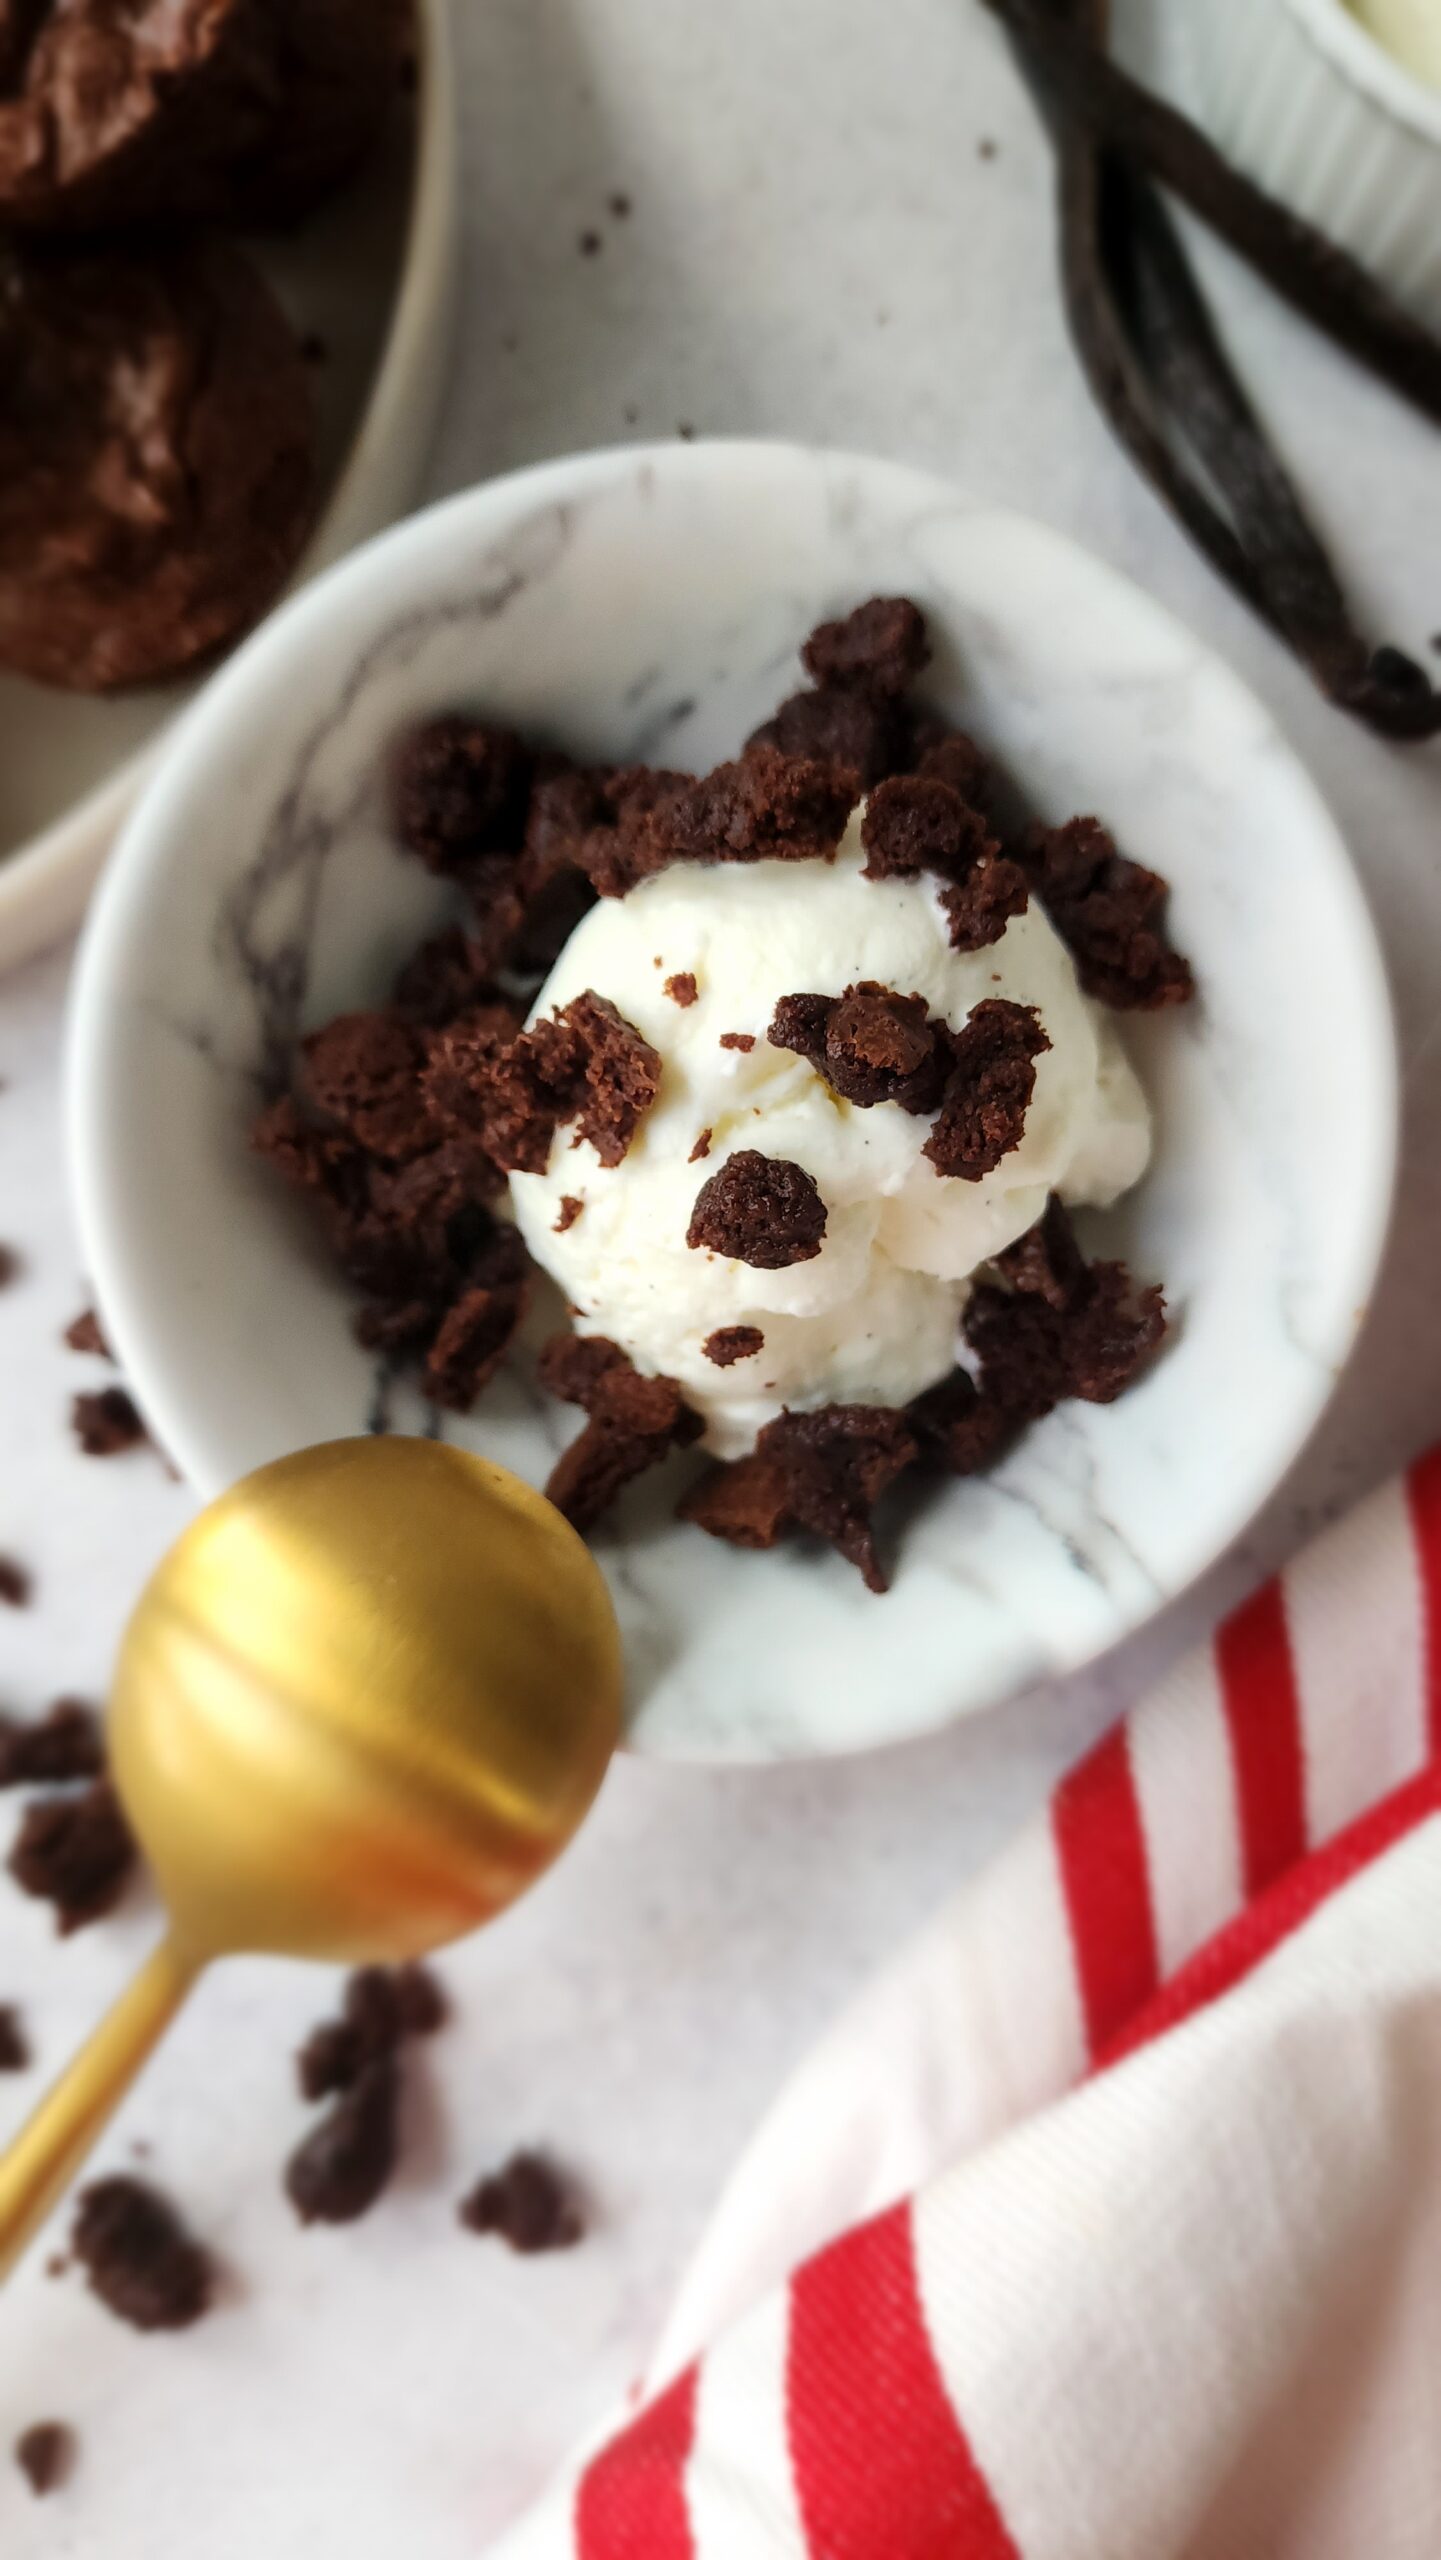
I scream, you scream, we all scream for HOMEMADE vanilla ice cream! This homemade vanilla ice cream is easy to make and might just be the easiest ice cream you’ll ever make!
Yes, you can buy vanilla ice cream at the grocery store, however, it’ll never taste as good as homemade. I’ve been on the ‘make everything homemade’ train for awhile now. So while I know not everyone will want to make homemade vanilla ice cream, I can promise you, it doesn’t get any easier than this! Homemade, rich and creamy, and packed with a ton of vanilla flavor, even chocolate aficionados will love. Really the best part is that this ice cream is only 5 ingredients and 15-ish minutes of hands-on prep. The hardest part will be waiting for the ice cream to set. However, once you taste this ice cream I think you’ll agree it’s worth every second of waiting. Ice cream is a quintessential summer treat.
As a dietitian I am constantly having the conversation with patients about including desserts. Quality and quantity may come into play when selecting desserts, however, it’s important to include them as they are part of social gatherings and celebrations. My homemade vanilla ice cream has half the amount of added sugar as compared to most recipes that I’ve seen (and even up to 3/4 less than others). Our taste buds adapt over time and adjust to less and less added sugar. Identify your sources, confirm how much added sugar you’re taking in and aim to decrease the added sugar you’re consuming where you can on a day-to-day basis. Desserts for me will always have added sugar, but the takeaway is to enjoy them bite by bite (and monitor your portions and frequency!)
Ingredients: Vanilla Ice Cream
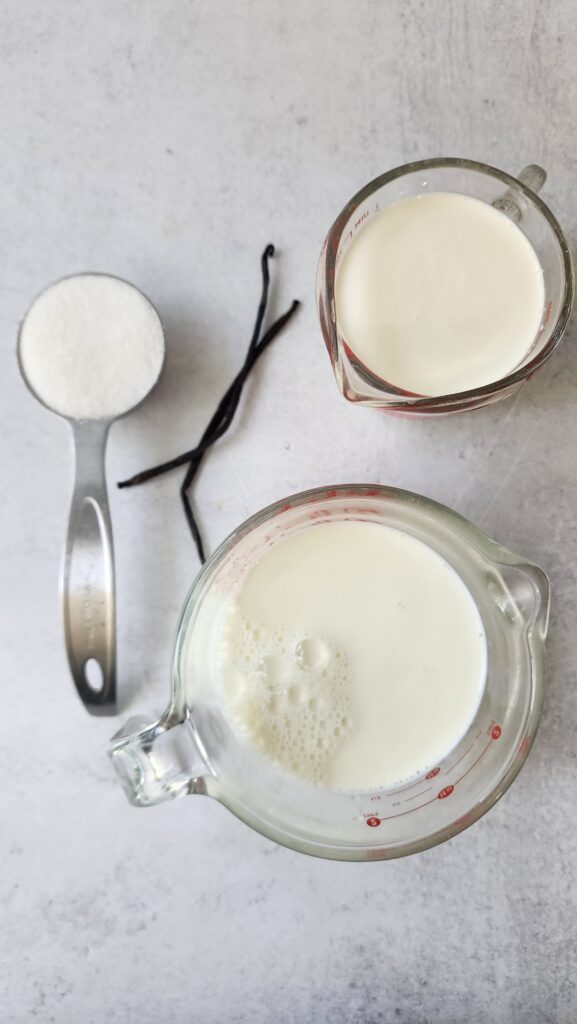
- Heavy cream – Yes, heavy cream. This will create the rich ice cream base. Ice cream is not low in fat. Fat provides flavor and why ice cream tastes as delicious as it does!
- Whole milk – Yes, whole milk. Not the time to use reduced fat or skim (and I haven’t made a vegan version yet). The higher fat content in whole milk ensures that the homemade ice cream comes out creamy and not icy.
- Granulated sugar – As mentioned above, the amount used is WAY less than other recipes online. Trust me it still tastes sweet enough.
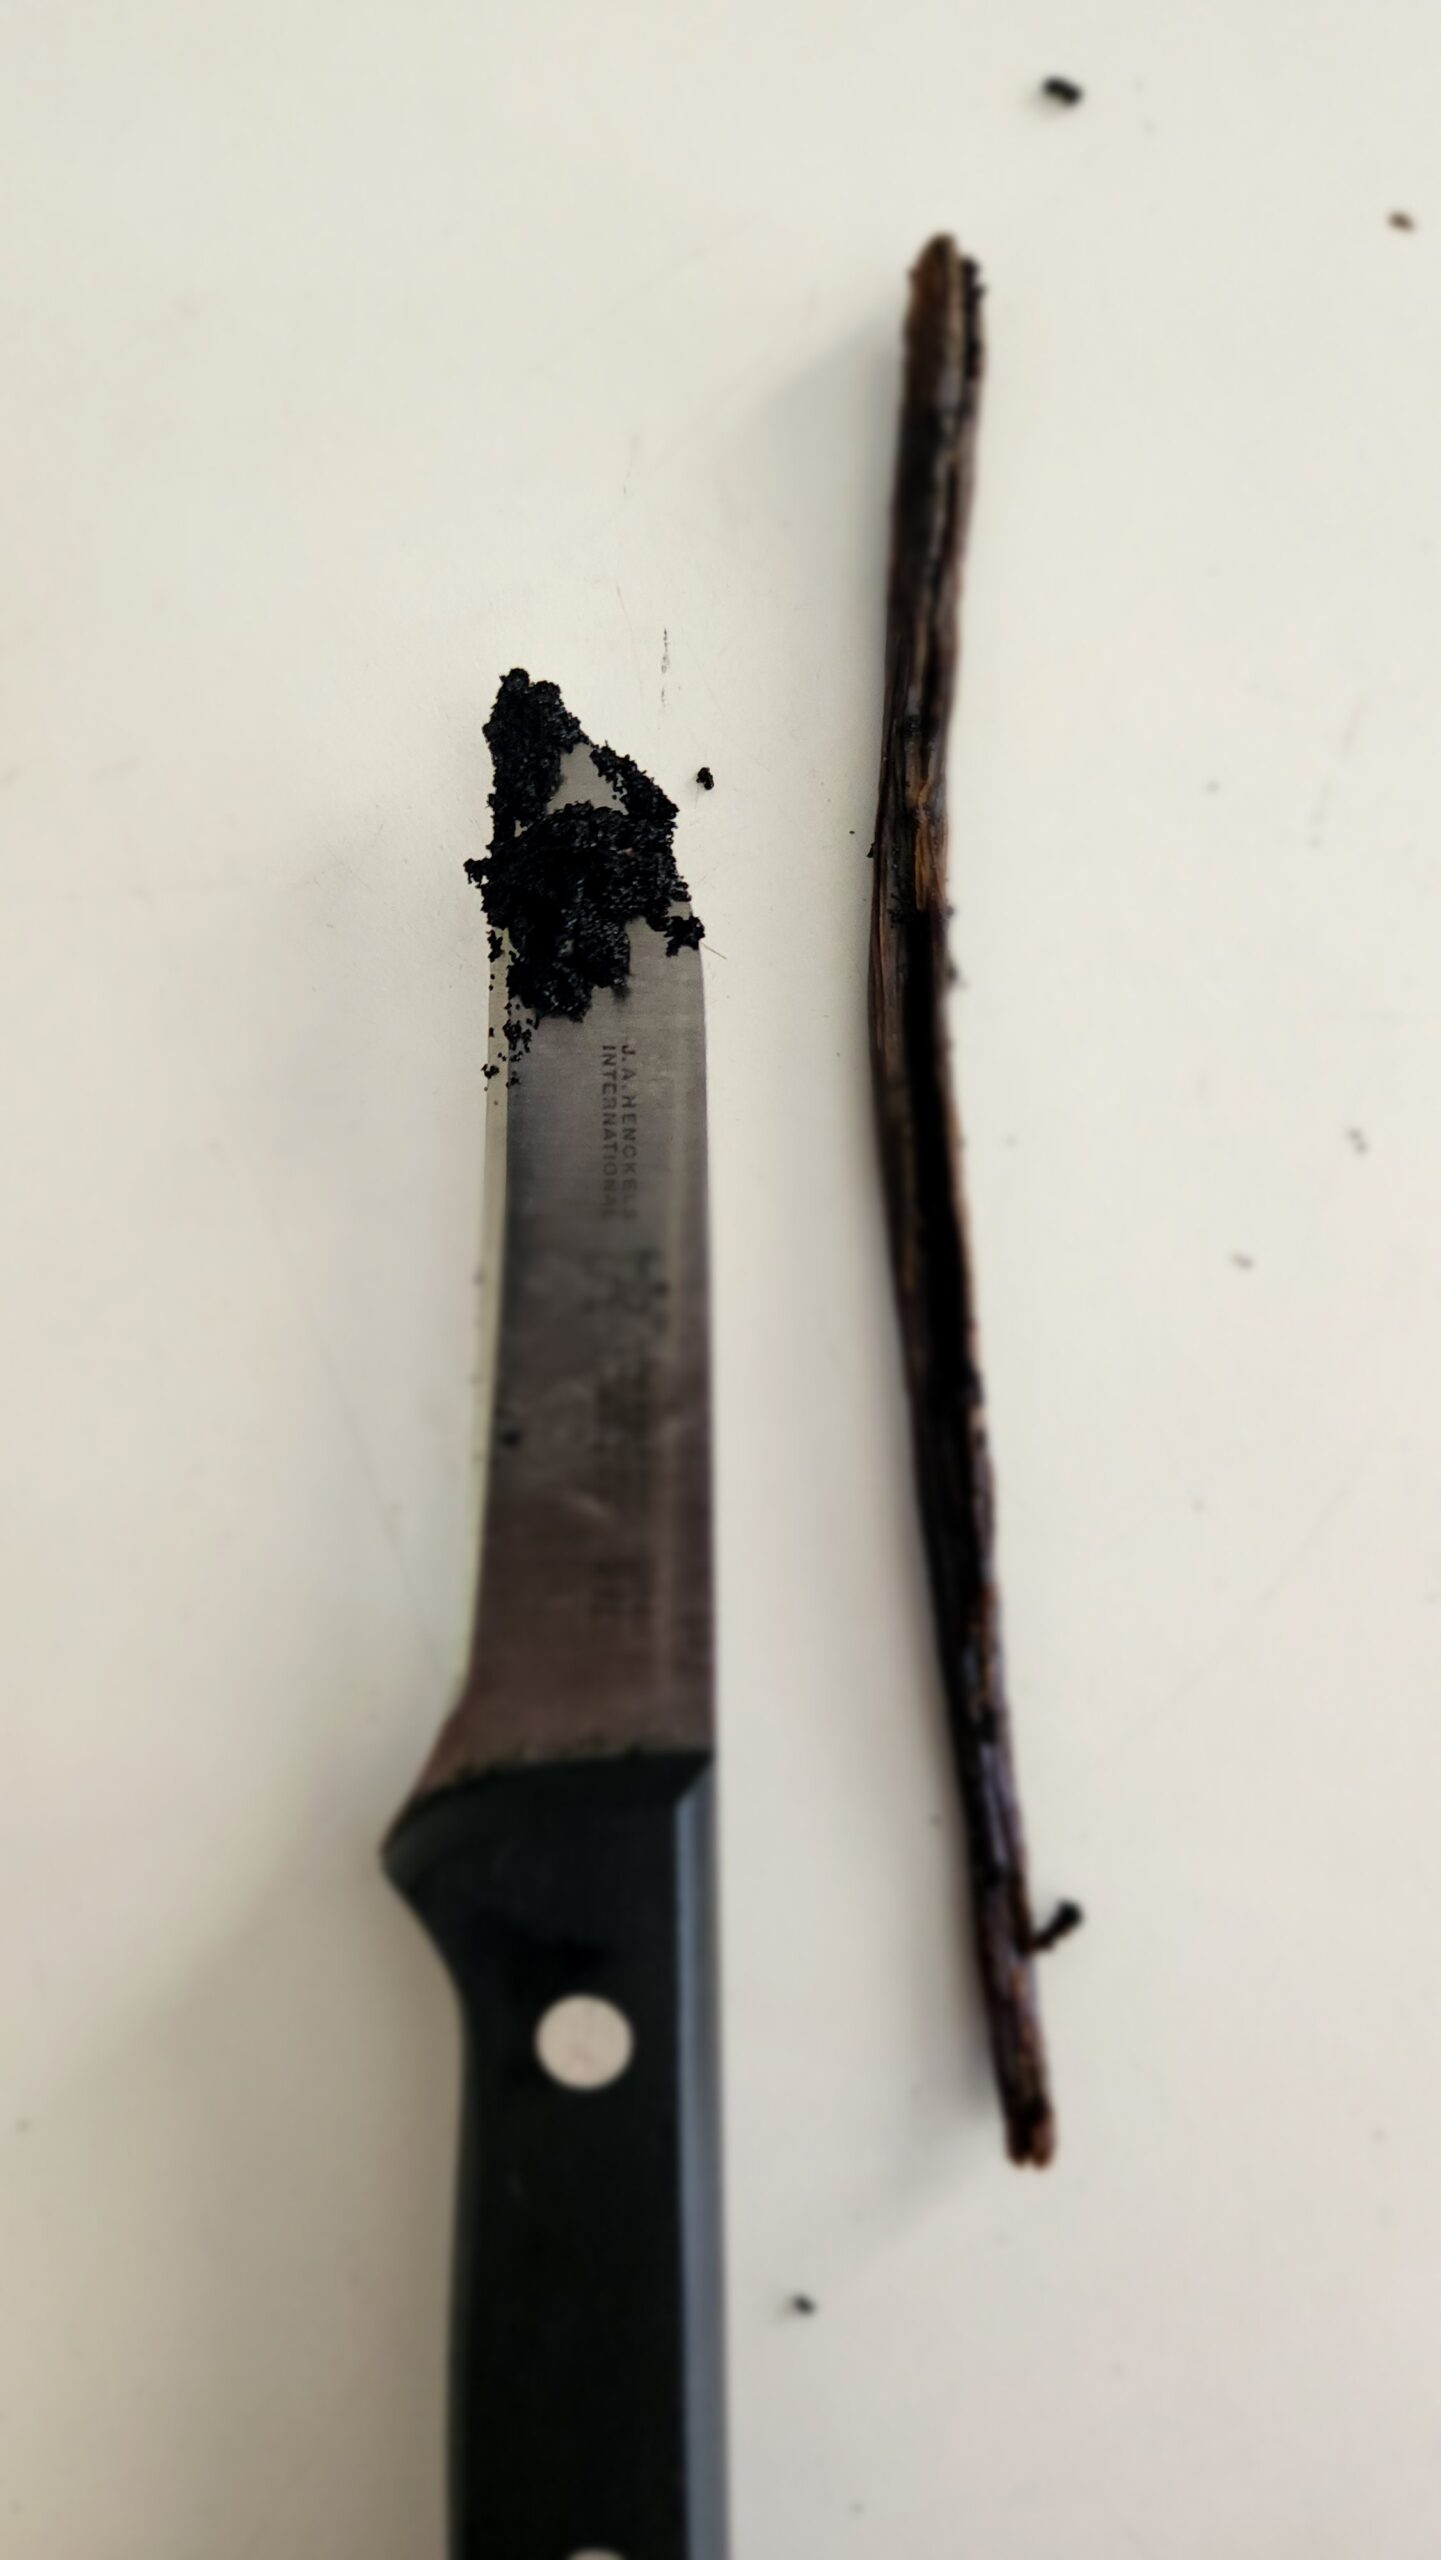
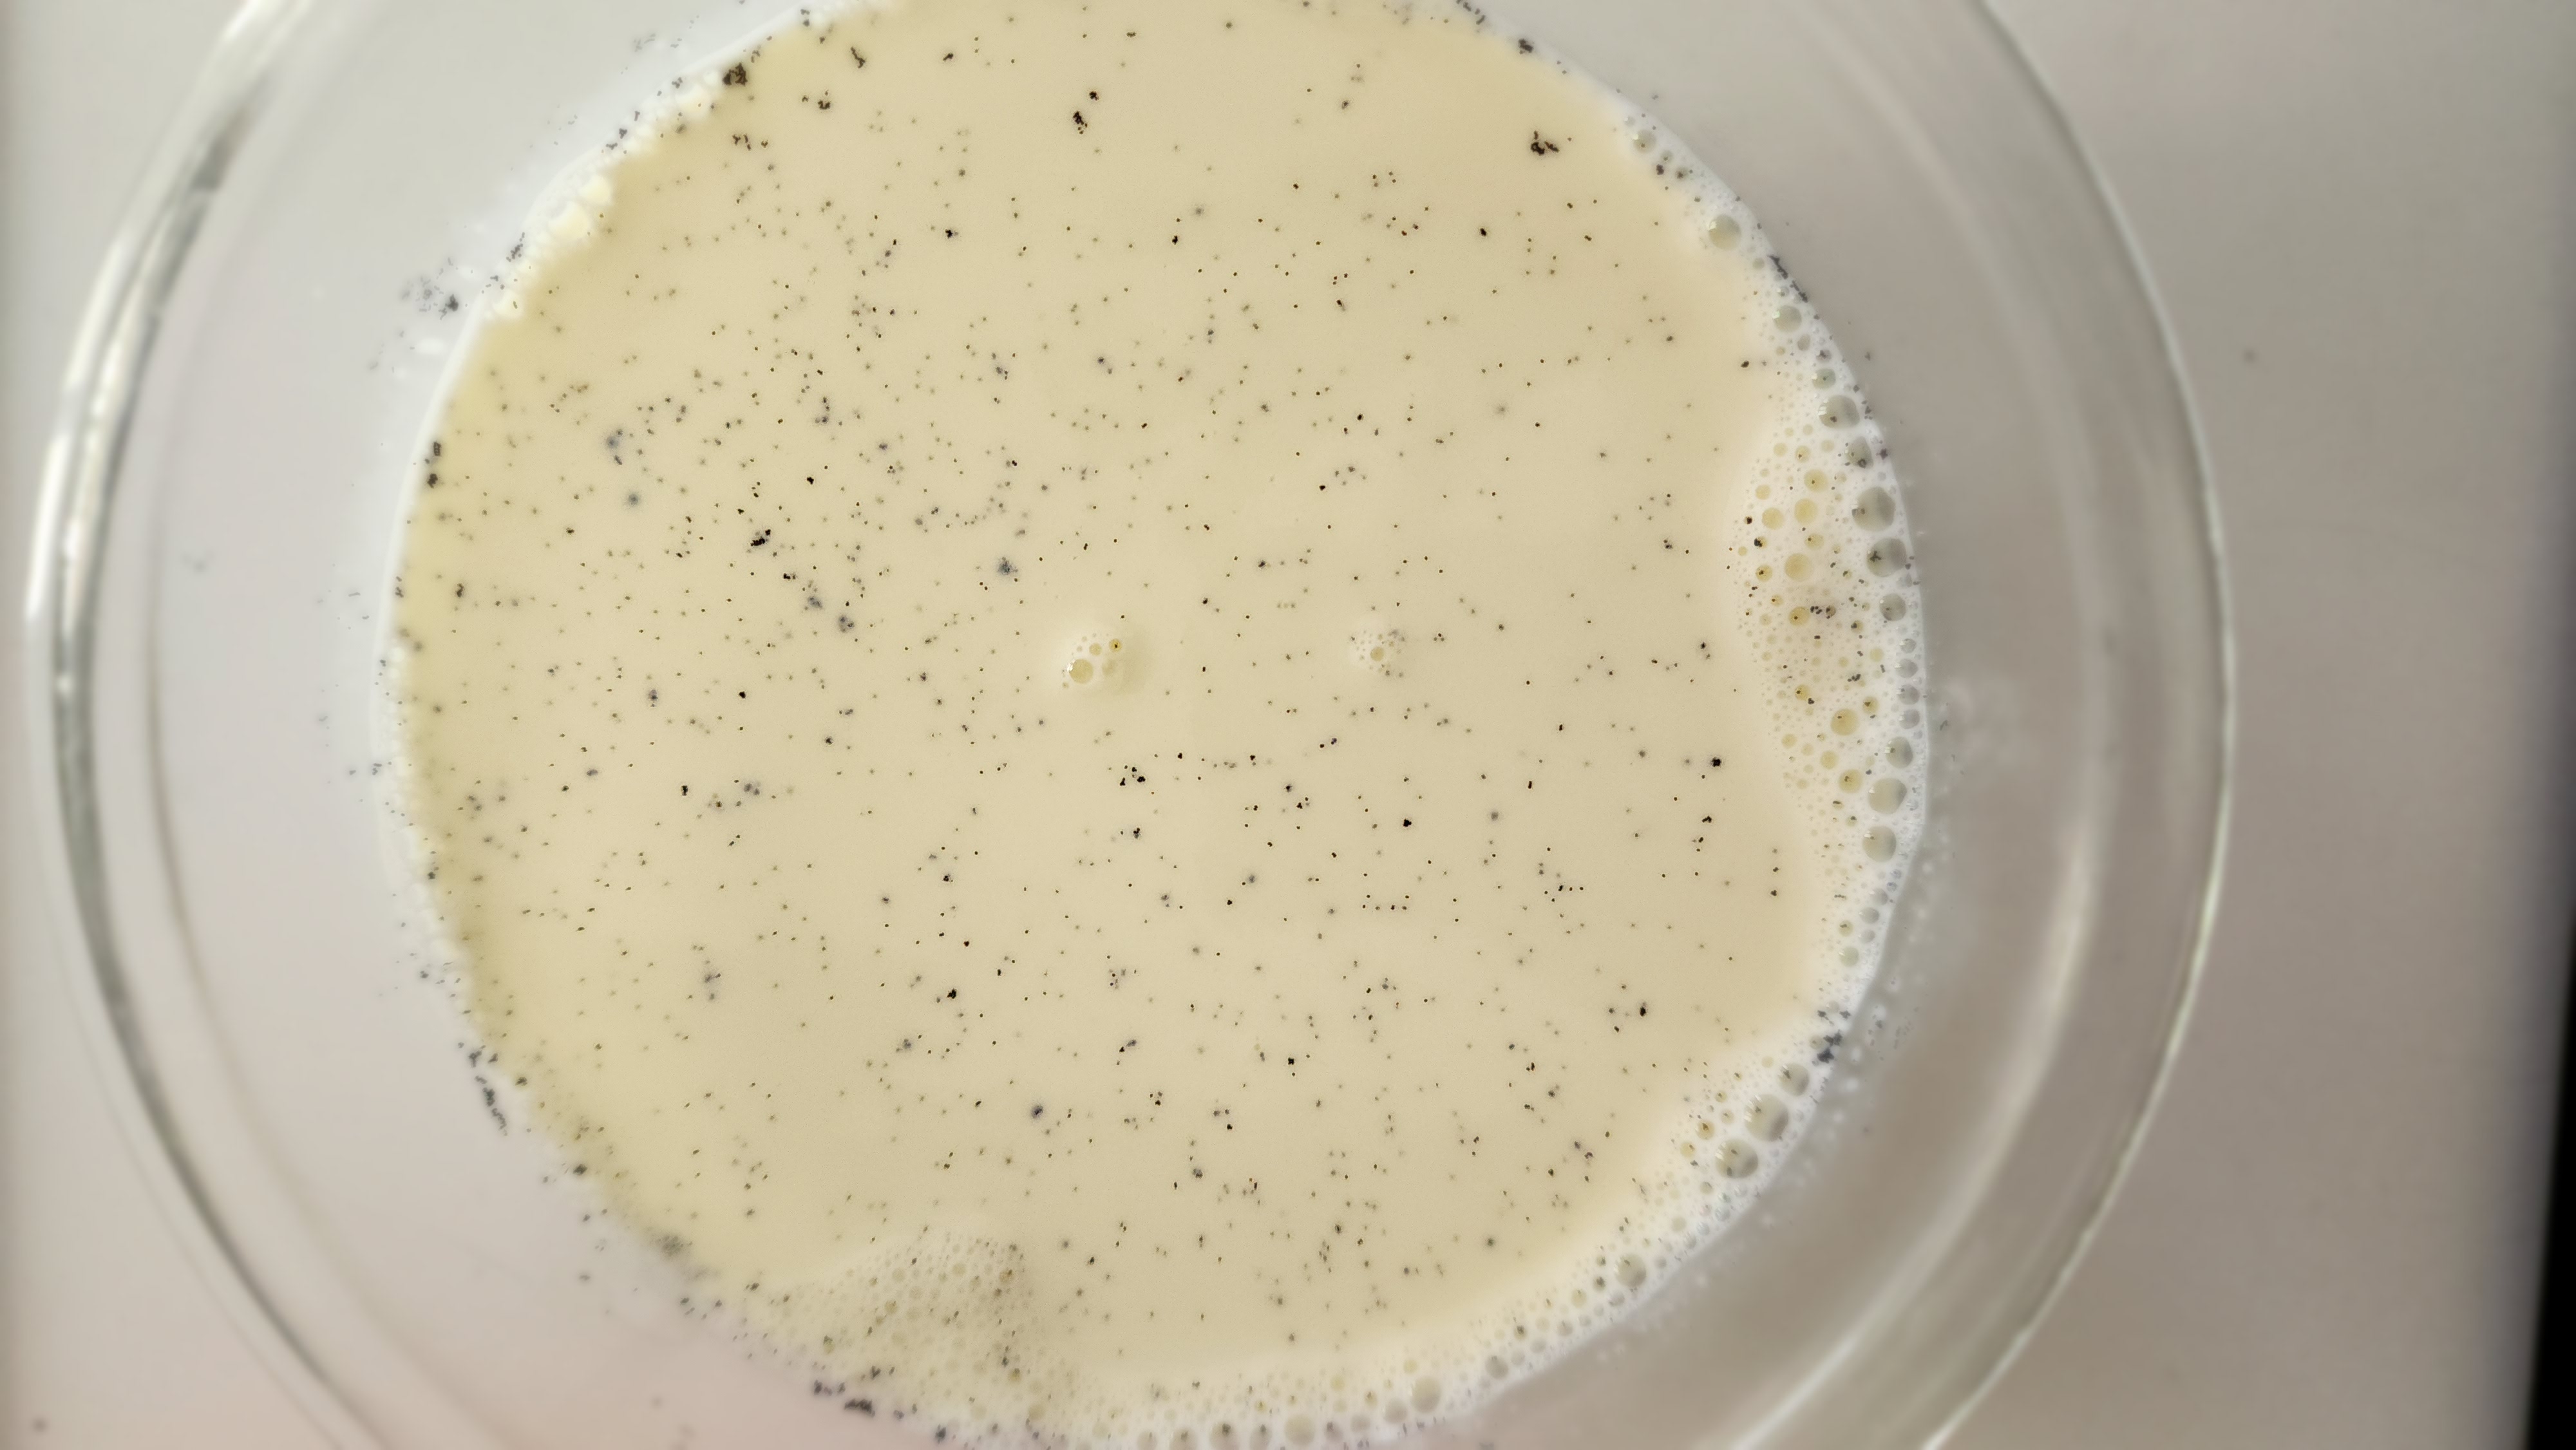
- Vanilla Bean – Scrape the vanilla bean for not only the vanilla bean flavor but also the specks of vanilla throughout. If you don’t have a vanilla bean you can always just use the vanilla extract.
- Salt – It’s just a smidge, but it IS necessary to help all the flavors come together.
- Q: What about eggs? I created this recipe so you wouldn’t have to make an egg custard base. Eggs and/or egg yolks make a thicker and richer ice cream. However, I was aiming for simple and easy. Not to mention that this is just as delicious as a custard base (in my opinion). Trust me!
How To Make Vanilla Ice Cream
With just five simple ingredients (and an ice cream maker), you have a simple and easy recipe for homemade vanilla ice cream in hours!
- First things first – FREEZE the bowl of your ice cream maker. During the summer I always have it in the freezer ready to go for whenever I might need it. Because if I’m being honest this is a step I’ve forgotten to do many times and then end up not making ice cream. The bowl has to be fully chilled in order for the ice cream to firm up.
- Make the ice cream base – I recommend doing this step anywhere from 2 to 24 hours in advance. If you do it less than 2 hours ahead, the ice cream won’t have time to thicken quite as nice when you churn it. The name of the game in this recipe requires a little bit of planning/logistics, but other than that, it’s beyond simple!
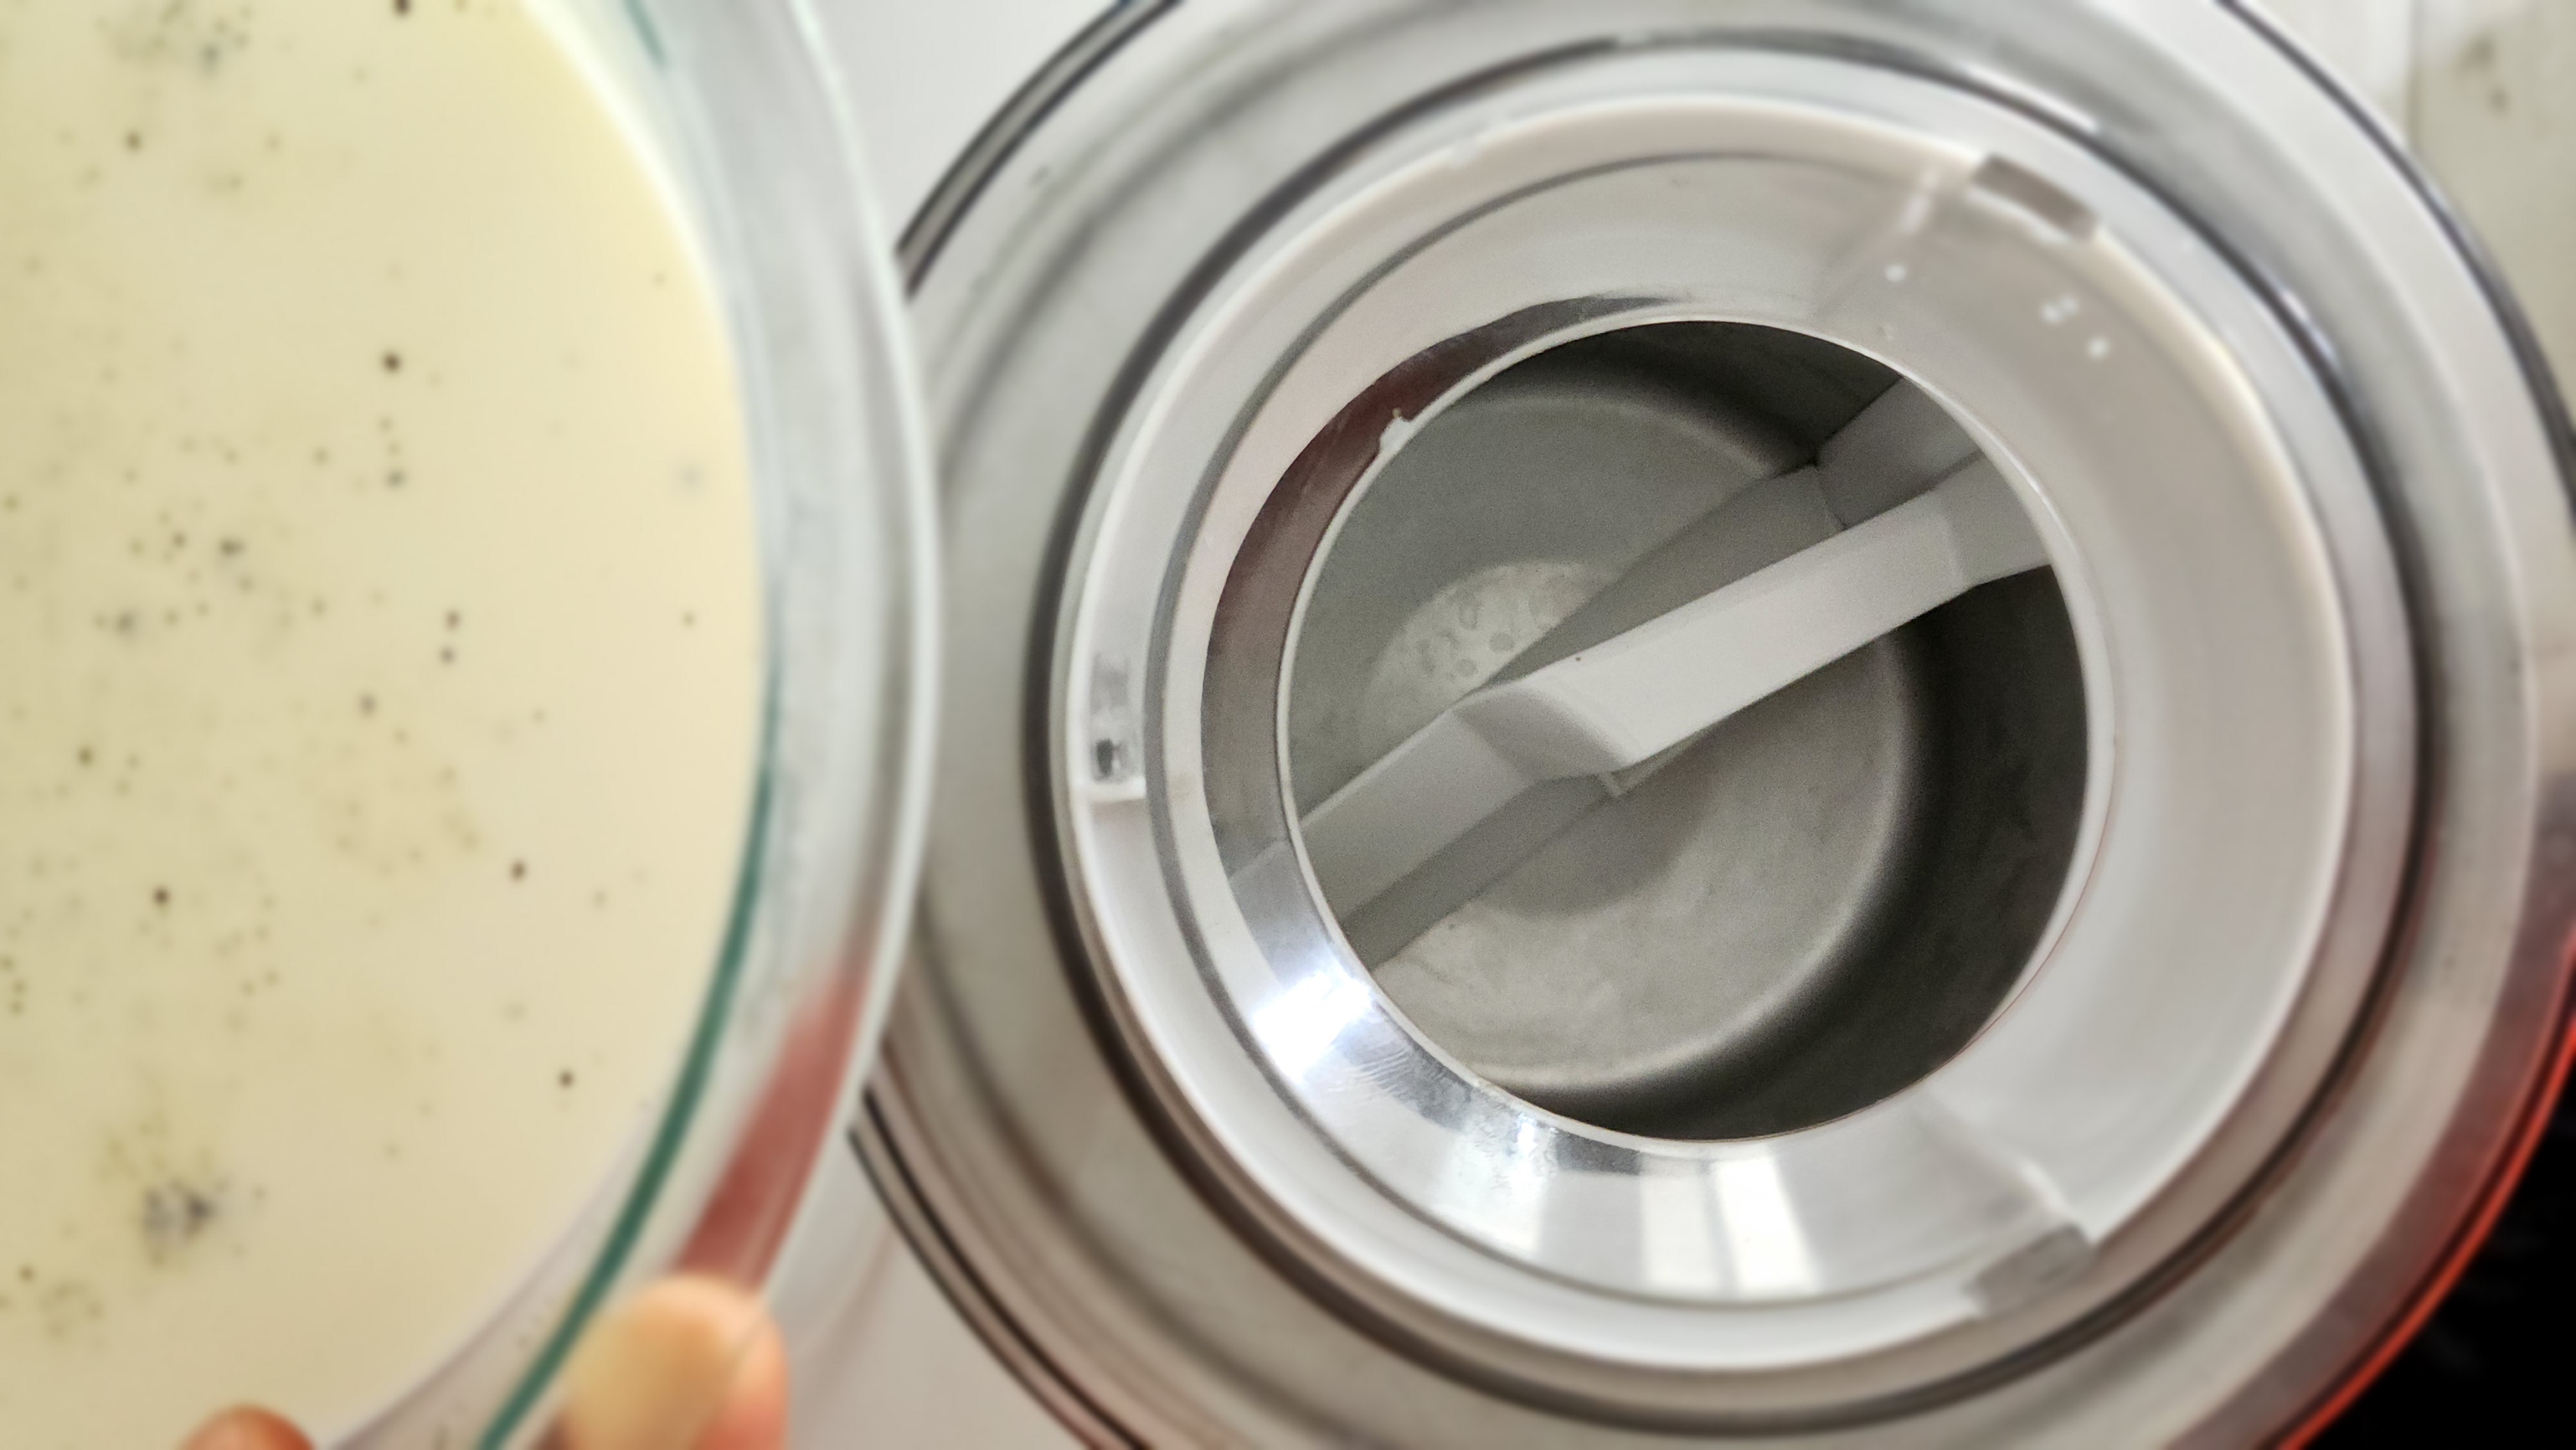
- Combine – the cream, milk, sugar, vanilla beans, and salt in a medium saucepan over medium-low heat. Warm for 5 minutes, whisking often, until the sugar is fully dissolved and the mixture is warmed through. You do not want to heat it too warm or else it can form a film on top and you don’t want that.
- Chill – the ice cream base. Transfer the ice cream base to a heatproof bowl, cover, and chill for 2 hours or up to overnight.
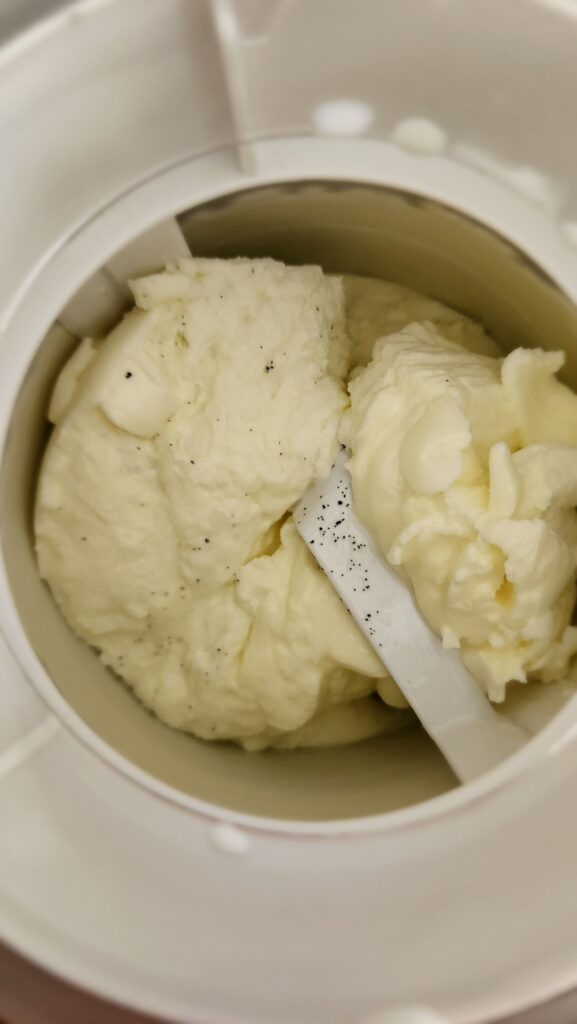
- Churn – when you’re ready to make the ice cream, churn the ice cream mixture in your ice cream maker according to the manufacturer’s instructions, ~20-25 minutes.
- Note: The ice cream will have a soft texture immediately after churning, similar to soft serve. While it is delicious that way, I prefer it (and think it’s better!) after 2 hours in the freezer. That way it will be perfect to scoop, great in a cone, or on its own with toppings.
- Transfer: Use a spatula to transfer your ice cream from the ice cream maker into a quart-size airtight container.
- Freeze for at least 2 hours and up to a month (if it lasts that long!) The ice cream will be easy to serve on the first day, but you will need to let it sit at room temperature for several minutes before you scoop it as it does get firmer the longer it is in the freezer.
No-Oven Desserts
- Homemade Fudge Popsicles
- Chocolate Covered Strawberries
- Mango Gelato
- Chocolate Covered Date with Peanut Butter
Vanilla Ice Cream
I scream, you scream, we all scream for HOMEMADE vanilla ice cream! Easy to make and packed full of vanilla flavor, you’ll be making this all summer long!
- Total Time: 2 hours 30 minutes
- Yield: 4 to 6 1x
Ingredients
- 1 1/2 cups heavy cream
- 1 1/2 cups whole milk
- 1/3 cup granulated sugar
- 1 vanilla bean or 2 teaspoons vanilla extract
- 1/8 teaspoon sea salt
Instructions
- In a medium saucepan, combine the cream, milk, sugar, vanilla, and salt. Warm over medium-low heat, whisking often, for 5 minutes, or until the sugar dissolves and the mixture is warmed through.
- Pour into a heatproof bowl, cover, and chill for 2 hours or overnight.
- Remove the chilled ice cream base from the fridge and whisk well. Churn in an ice cream maker according to the manufacturer’s instructions, typically 20 to 30 minutes. The ice cream will be soft after churning. For firmer ice cream, transfer to an airtight container and freeze for 2 to 4 hours before serving.
- Store in an airtight container in the freezer for up to a month. If the ice cream is too firm to scoop straight from the freezer, let sit at room temperature for a few minutes to soften.
- Prep Time: 30
- Chilling Time: 2 hours
- Cook Time: 5
- Category: Desserts


9 thoughts on “Vanilla Ice Cream”
That ice cream (& brownie) look like perfection! Can’t wait to make!
Really looking forward to trying this! I’m hosting Thanksgiving this year and attempting to keep things as low carb as possible due to gestational diabetes. It’s going to be an exciting challenge and I’m excited to see how it turns out. We’re going to serve this as affogato for dessert to keep things delicious and lower carb. Will report back!
Congrats on your pregnancy! How exciting! This is amazing as affogato – tried with some of my leftovers and it’s delicious! For Thanksgiving, watch the portions, and then factor in timing of the meals. Go for a walk in between – all different things that will help with your levels 2-hours after the meal. Additionally, it’s a holiday, enjoy the day with not only the food, but friends, family, and football. Enjoy!
The base taste is so good but I couldn’t get my mixture to thicken it was still watery after 30 mins in machine what did I do wrong? I froE ice cream bowl for 2 days in freezer, I used the right ingredients and whole milk and heavy cream and sugar I heated milk on low until sugar dissolved and didn’t form skin on it the only thing I didn’t have on had was sea salt so I used table salt could that be the reason that this failed to thicken? Any ideas plz let me know I do understand without seeing what a person does it may be hard to figure out what went wrong but any suggestions would be appreciated thank u I will try again once I get sea salt.
This is more of a soft serve ice cream. The key is after you make the ice cream base, to make sure that it chills for at least 2 hours (and up to 24 hours) in the refrigerator – so not only the ice cream bowl, but also what you’re making needs to chill. This too helps so that everything is cold and will get more solid. After you churn for the time your ice cream maker says, return to the freezer for 2-4 hours. That’s my best guess as to what could have happened? Everything else sounds spot on. Crossing fingers it goes well the next time. Thanks for stopping by!
What is the purpose of heating the mix? I’m very impatient 🙂
It’s to allow the sugar to completely dissolve
Thanks for the simple ice cream recipe, Amy. The ice cream photos you posted look so good. I’m going to give it a try.
All the best,
Lee Thoeun, Youtuber
Federal Way, WA
Thanks! Definitely give it a go and let me know. Thanks for stopping by!