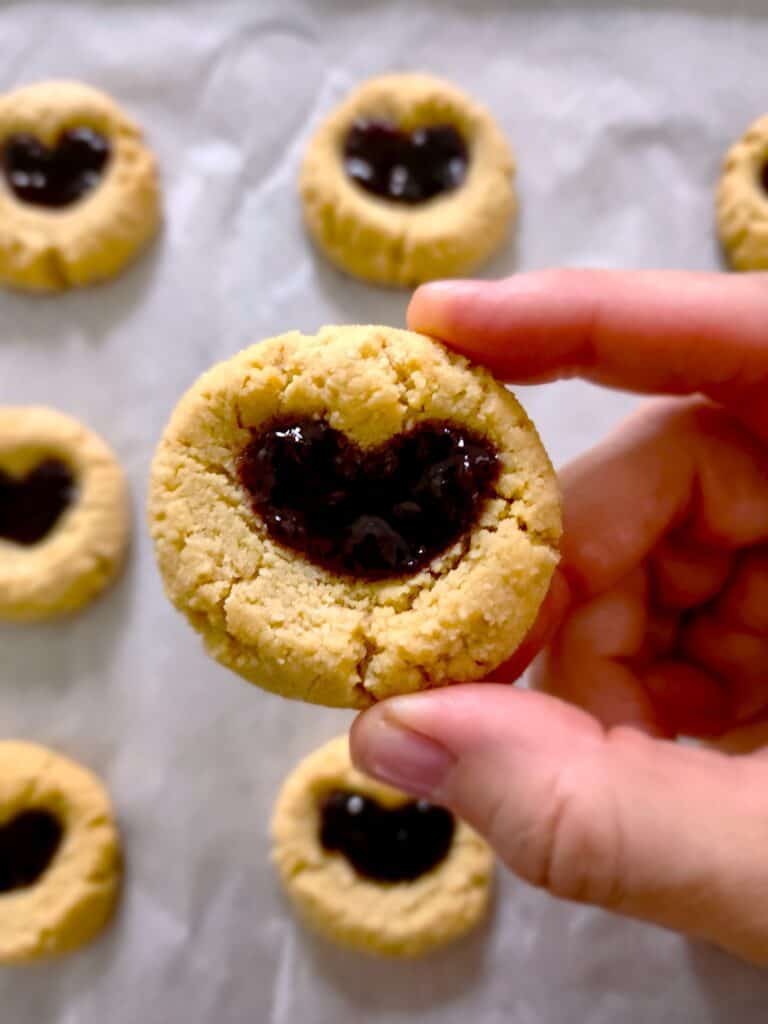
Rich and sweet, these Thumbprint Cookies are my take on a classic cookie. Using olive oil rather than butter, these cookies are soft and chewy. Perfect for any occasion, especially for your next party or cookie exchange. You might not even realize they’re made without butter!
Over the holidays I made almost every cookie known to man. Cookies take time and effort, but given as a gift they really can be a gift given with love. But these Thumbprint Cookies might be the simplest cookie I’ve ever made! Made with almond flour and a few other simple ingredients and that’s it. Adding a little twist this Valentine’s Day so you too can make them as a gift for you and your loved ones!
Normally I’d create a dessert board of some sort so there’s a variety of desserts for all to choose from. However, between work and school (started my masters in January) life has been busy! Time is a commodity and even though I love baking and making new creations there really isn’t enough time in the day. These cookies are a perfect example of being able to create something fun and festive in a short amount of time.


Ingredients: Thumbprint Cookies
- Almond Flour – These aren’t the traditional cookie, these cookies even use almond flour. Normally not interchangeable in recipes, this recipe just works with almond flour. Additionally make sure you’re using almond flour and not almond meal. Almond flour is typically made from blanched almonds which have the skins removed, and is ground more finely than almond meal. Whereas almond meal typically still has the skins which leads to a more coarse grind.
- Extra-Virgin Olive Oil – Either olive-oil or coconut oil will work here and both are vegan. Opting here for the olive oil since I’ve been experimenting with an olive oil cake as well, and honestly these taste phenomenal. Coconut oil can leave a distinct taste and even though it is vegan it does have saturated fat. I opted for the heart healthier choice here, even if they are cookies.
- Maple Syrup – For your sweetener it should be a liquid consistency. I’ve tried both honey and maple syrup and both work.
- Baking Soda – This is what makes the cookies rise and get a little lighter and fluffier. If you’re not sure if your baking soda is still good, spoon some baking soda into a bowl and add a few drops of an acidic liquid, such as lemon juice or vinegar. You’re looking for it to fizz immediately and vigorously.
- Salt – Just an eighth of a teaspoon. There’s only 13mg of sodium per cookie in this recipe, so it’s a trivial amount. However, if you’re watching any and all sodium intake, omit it.
- Vanilla – Using a different extract here can change the flavor. Typically I’ll use vanilla, but almond extract is great also!
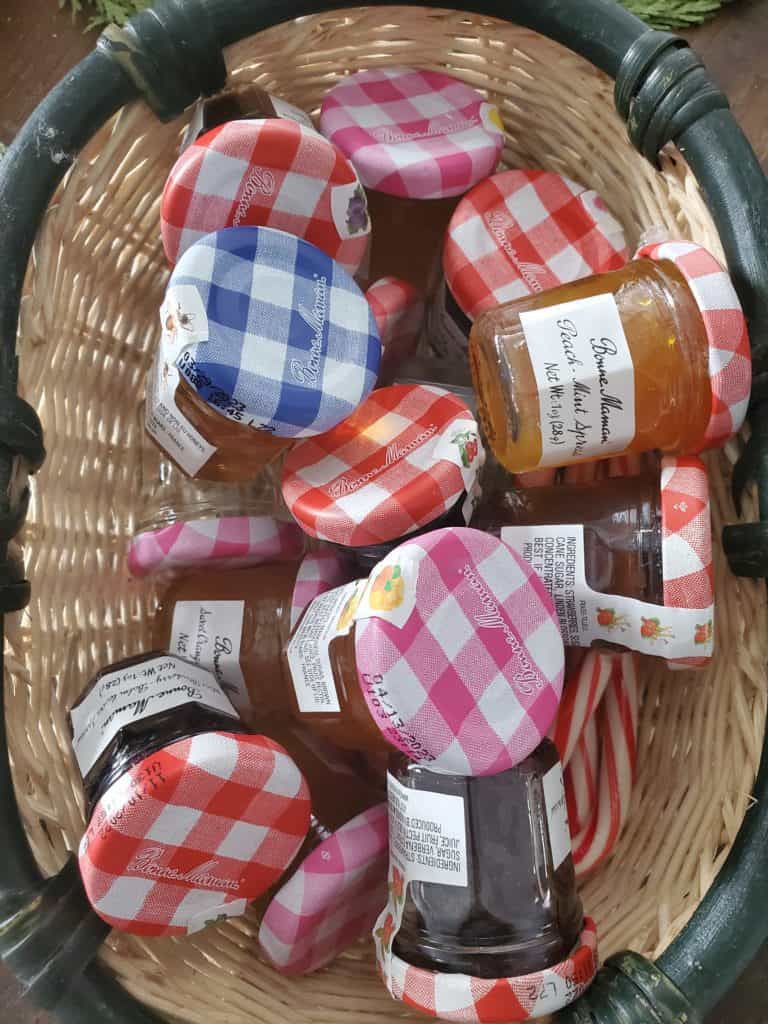
- Jam – Use your favorite flavor for the center. I bought the Bonne Maman Advent Calendar for Christmas and used two jars of a pink and red colored flavor for these. Valentine’s Day themed.
How To Make Thumbprint Cookies
- Measure out all of your ingredients. This really is as simple as it gets. Mix the almond flour, baking soda, and salt in a medium-sized bowl.
- Then stir in the liquid ingredients: olive oil, maple syrup, and vanilla until it forms a thick batter.
- I have a cookie scoop that is a tablespoon, so I scooped out 24 tablespoon portions. Once you’ve scooped them out, roll them into a more uniform ball.
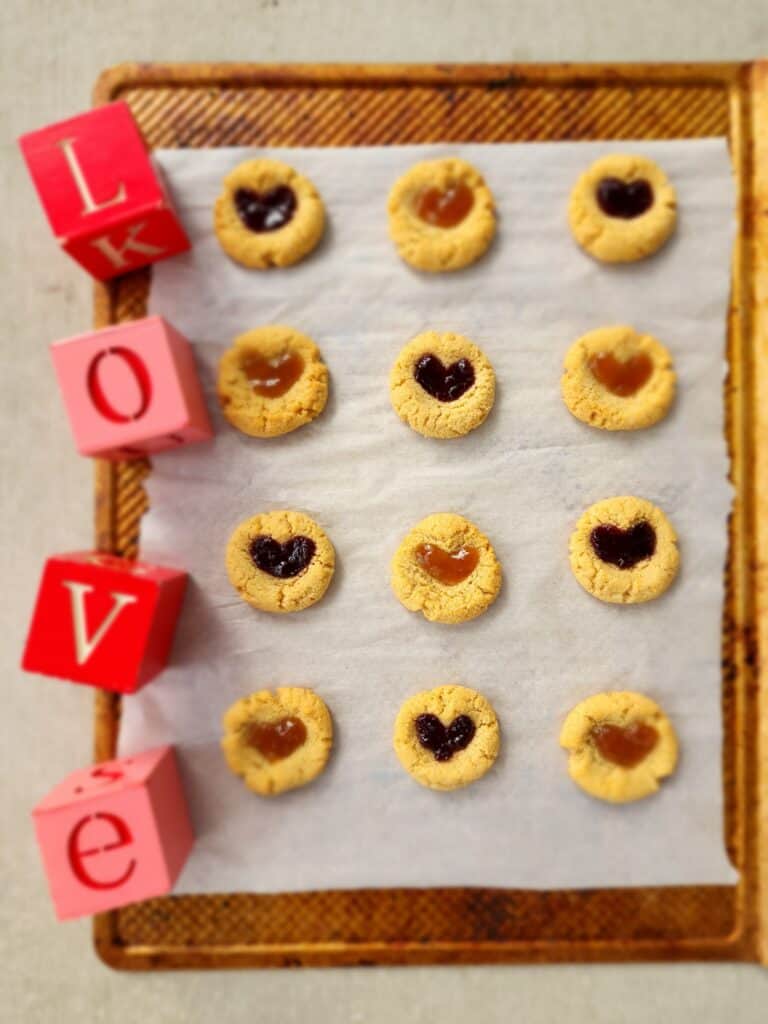
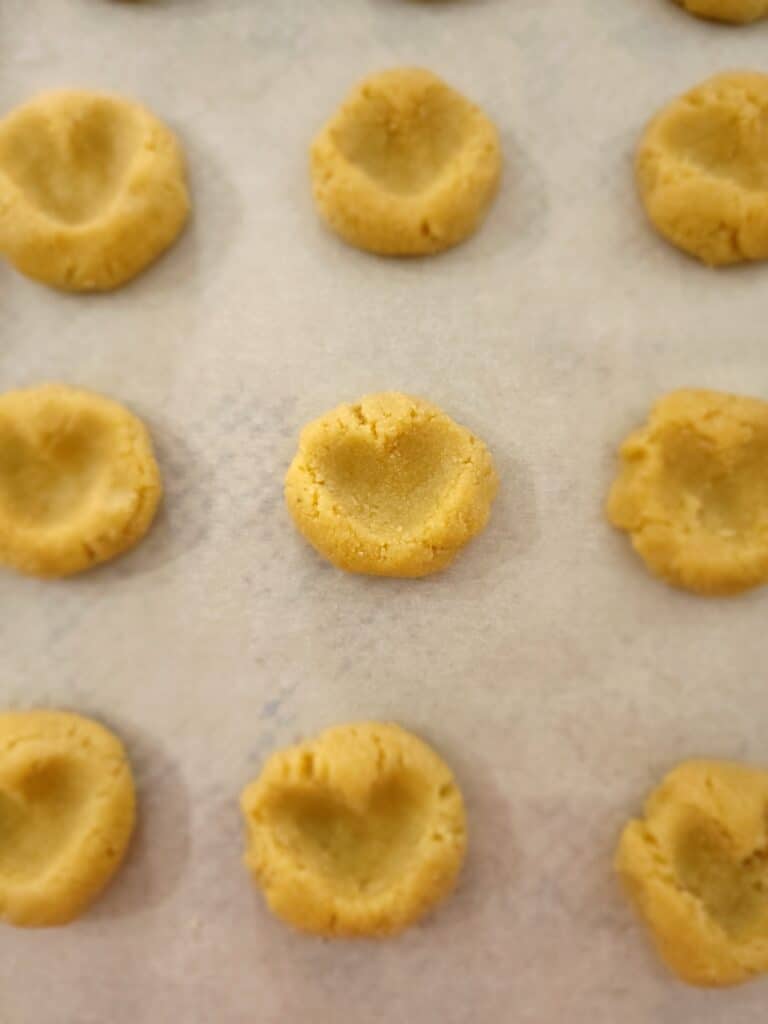
- Place the balls on a baking sheet lined with parchment paper. In a traditional thumbprint cookie you use your thumb to make the indentation. Here I used my two pinky fingers to create the heart shape. Get the kids involved – smaller fingers would work quite nicely!
- Bake for 12-13 minutes. The cookies will be soft when you remove the pan from the oven. Carefully make sure your indentations are there – I had to use my pinky fingers to press down to make the cavity a bit deeper (since they puffed up during baking). Just don’t burn your knuckles!
- I added the jam after they cooked. If you add the jam before, the jam cooks and almost explodes. It isn’t much that you’re adding. I used the back of a spoon and dabbed just a little in each cavity and made sure it fit into my finger-pressed heart.
- Let the cookies finish setting on the tray as they cool.
Other Valentine’s Day Desserts
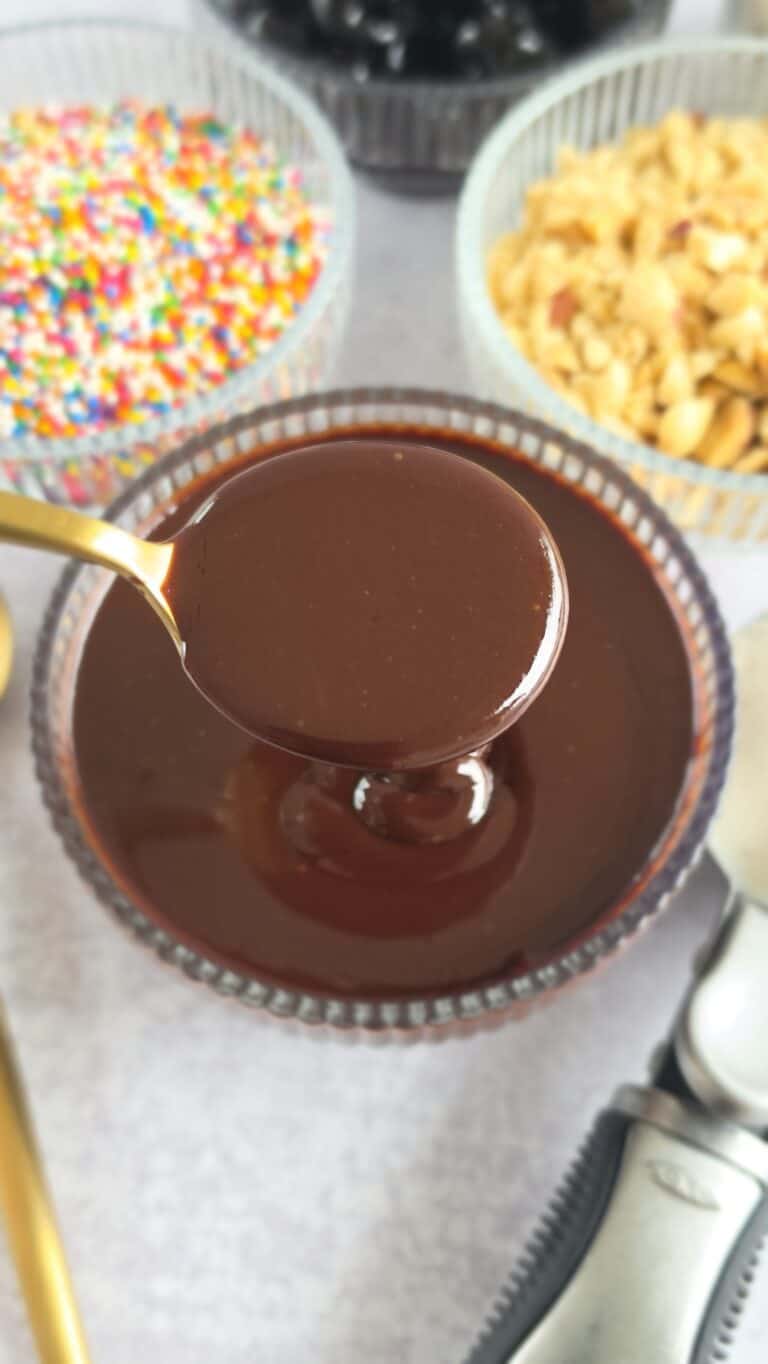
- Chocolate Covered Strawberries
- Dessert Charcuterie Board
- Chocolate Mendiants (Discs)
- Pink Cream Cheese Frosting
Thumbprint Cookies
Rich and sweet, these Thumbprint Cookies are my take on a classic cookie. Using olive oil rather than butter, these cookies are soft and chewy. Perfect for any occasion, especially for your next party or cookie exchange. You might not even realize they’re made without butter!
- Total Time: 18 minutes
- Yield: 24 1x
Ingredients
- 2 cups almond flour
- 1/4 teaspoon baking soda
- 1/8 teaspoon iodized salt
- 1/4 cup olive oil
- 1/4 cup maple syrup
- 2 tablespoons vanilla extract
- 2 tablespoons (approximately) of your favorite jam
Instructions
- Measure out all of your ingredients. This really is as simple as it gets. Mix the almond flour, baking soda, and salt in a medium-sized bowl.
- Stir in the liquid ingredients: olive oil, maple syrup, and vanilla until it forms a thick batter.
- Scoop. I have a cookie scoop that is a tablespoon, so I scooped out 24 tablespoon portions. Once you’ve scooped them out, roll them into a more uniform ball.
- Place the balls on a baking sheet lined with parchment paper. In a traditional thumbprint cookie you use your thumb to make the indentation. Here I used my two pinky fingers to create the heart shape. Get the kids involved – smaller fingers would work quite nicely!
- Bake at 350 degrees for 12-13 minutes. The cookies will be soft when you remove the pan from the oven. Carefully make sure your indentations are there – I had to use my pinky fingers to press down to make the cavity a bit deeper (since they puffed up during baking). Just don’t burn your knuckles!
- Add the jam after they cooked. If you add the jam before, the jam cooks and almost explodes. It isn’t much that you’re adding. I used the back of a spoon and dabbed just a little in each cavity and made sure it fit into my finger-pressed heart.
- Cool. Let the cookies finish setting on the tray as they cool.
- Prep Time: 5
- Cook Time: 13
- Category: Desserts


5 thoughts on “Thumbprint Cookies”
Love the creativity and turning them into a heart shape!
Just wondering what at what temp you bake these?
Wanted a thumbprint recipe that was more heart healthy (no butter).
Loved how easy these were to prepare as unlike typical cookie recipes with butter, I didn’t have to think ahead and set out the butter to soften.
Wonderful flavor! My fussy husband thought they were delicious! Thank you for providing this recipe. I’ll be forever grateful!
Yessss!! Glad you and the family enjoyed 🙂 Simple delicious!!
Can I use regular flour instead of almond flour?