Ingredients
Units
Scale
- 2 cups almond flour
- 1/4 teaspoon baking soda
- 1/8 teaspoon iodized salt
- 1/4 cup olive oil
- 1/4 cup maple syrup
- 2 tablespoons vanilla extract
- 2 tablespoons (approximately) of your favorite jam
Instructions
- Measure out all of your ingredients. This really is as simple as it gets. Mix the almond flour, baking soda, and salt in a medium-sized bowl.
- Stir in the liquid ingredients: olive oil, maple syrup, and vanilla until it forms a thick batter.
- Scoop. I have a cookie scoop that is a tablespoon, so I scooped out 24 tablespoon portions. Once you’ve scooped them out, roll them into a more uniform ball.
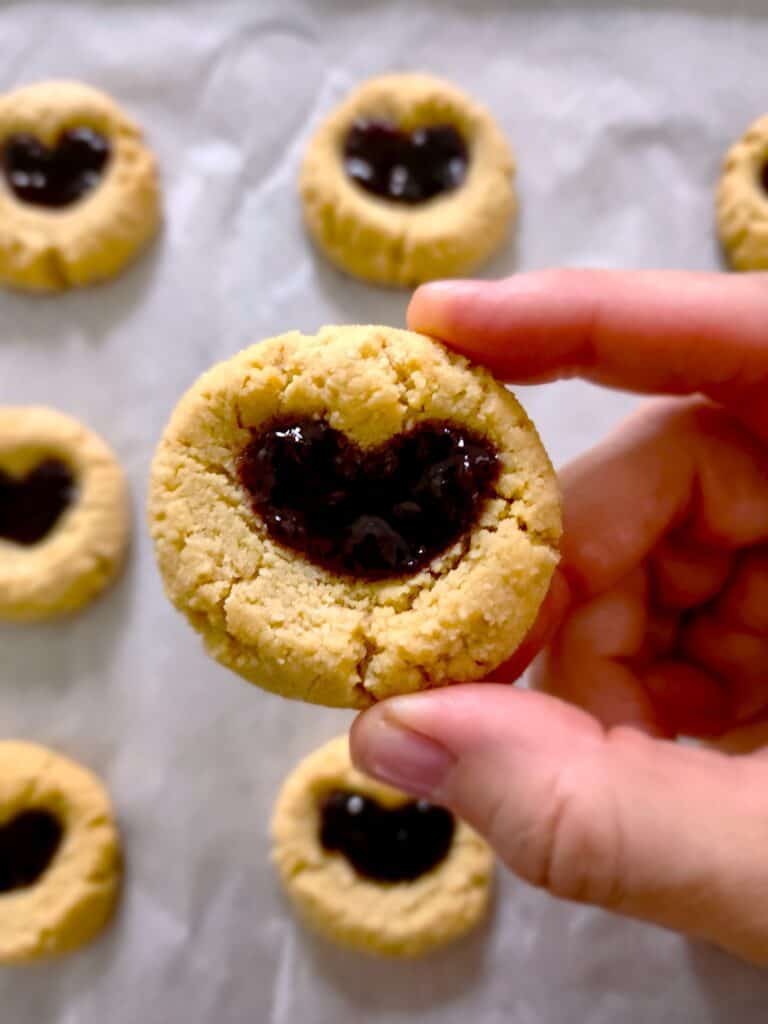
- Place the balls on a baking sheet lined with parchment paper. In a traditional thumbprint cookie you use your thumb to make the indentation. Here I used my two pinky fingers to create the heart shape. Get the kids involved – smaller fingers would work quite nicely!
- Bake at 350 degrees for 12-13 minutes. The cookies will be soft when you remove the pan from the oven. Carefully make sure your indentations are there – I had to use my pinky fingers to press down to make the cavity a bit deeper (since they puffed up during baking). Just don’t burn your knuckles!
- Add the jam after they cooked. If you add the jam before, the jam cooks and almost explodes. It isn’t much that you’re adding. I used the back of a spoon and dabbed just a little in each cavity and made sure it fit into my finger-pressed heart.
- Cool. Let the cookies finish setting on the tray as they cool.
- Prep Time: 5
- Cook Time: 13
- Category: Desserts