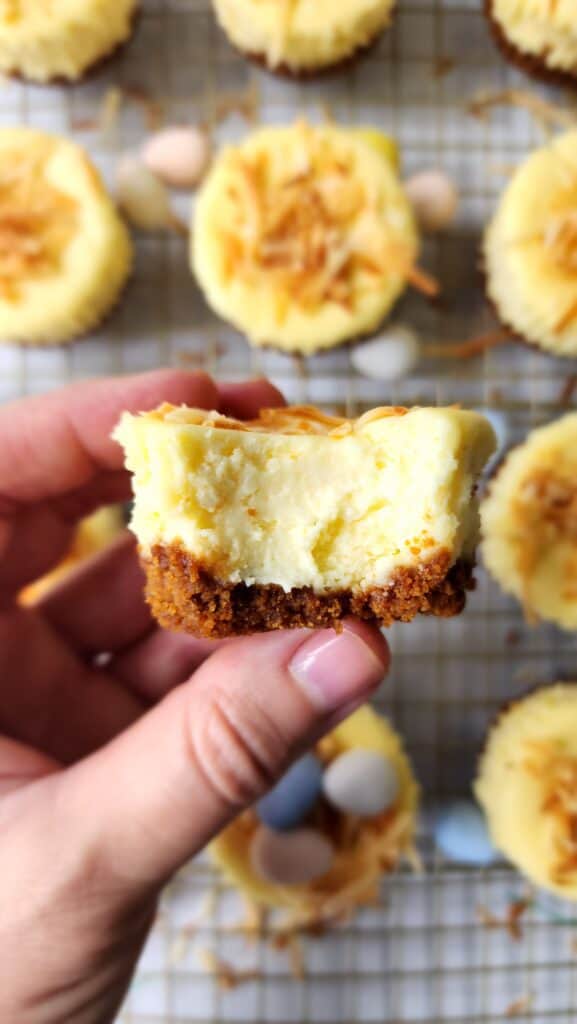
Delicious mini cheesecakes with a crunchy biscoff crust bake up in no time and are super simple to make! Top them with whipped cream, berries, melted chocolate, or serve plain!!
Miami is not one for experiencing a change in seasons. However, a few weeks back the time changed and with the time changing that signals Easter is right around the corner. Easter candy in the stores inspired me to brainstorm a quick and easy dessert to make. Enter these mini cheesecakes, that are great really for any holiday and/or celebration!
Cheesecakes can seem a bit intimidating to make if you’re a new baker. From the hot water bath to judging the cook time, this recipe was created without a hot water bath to ensure success your first time around. A great part about cheesecakes is that even if it does crack on top you can literally top it with a sauce and/or topping that will cover the crack. They’re sure to still taste great!
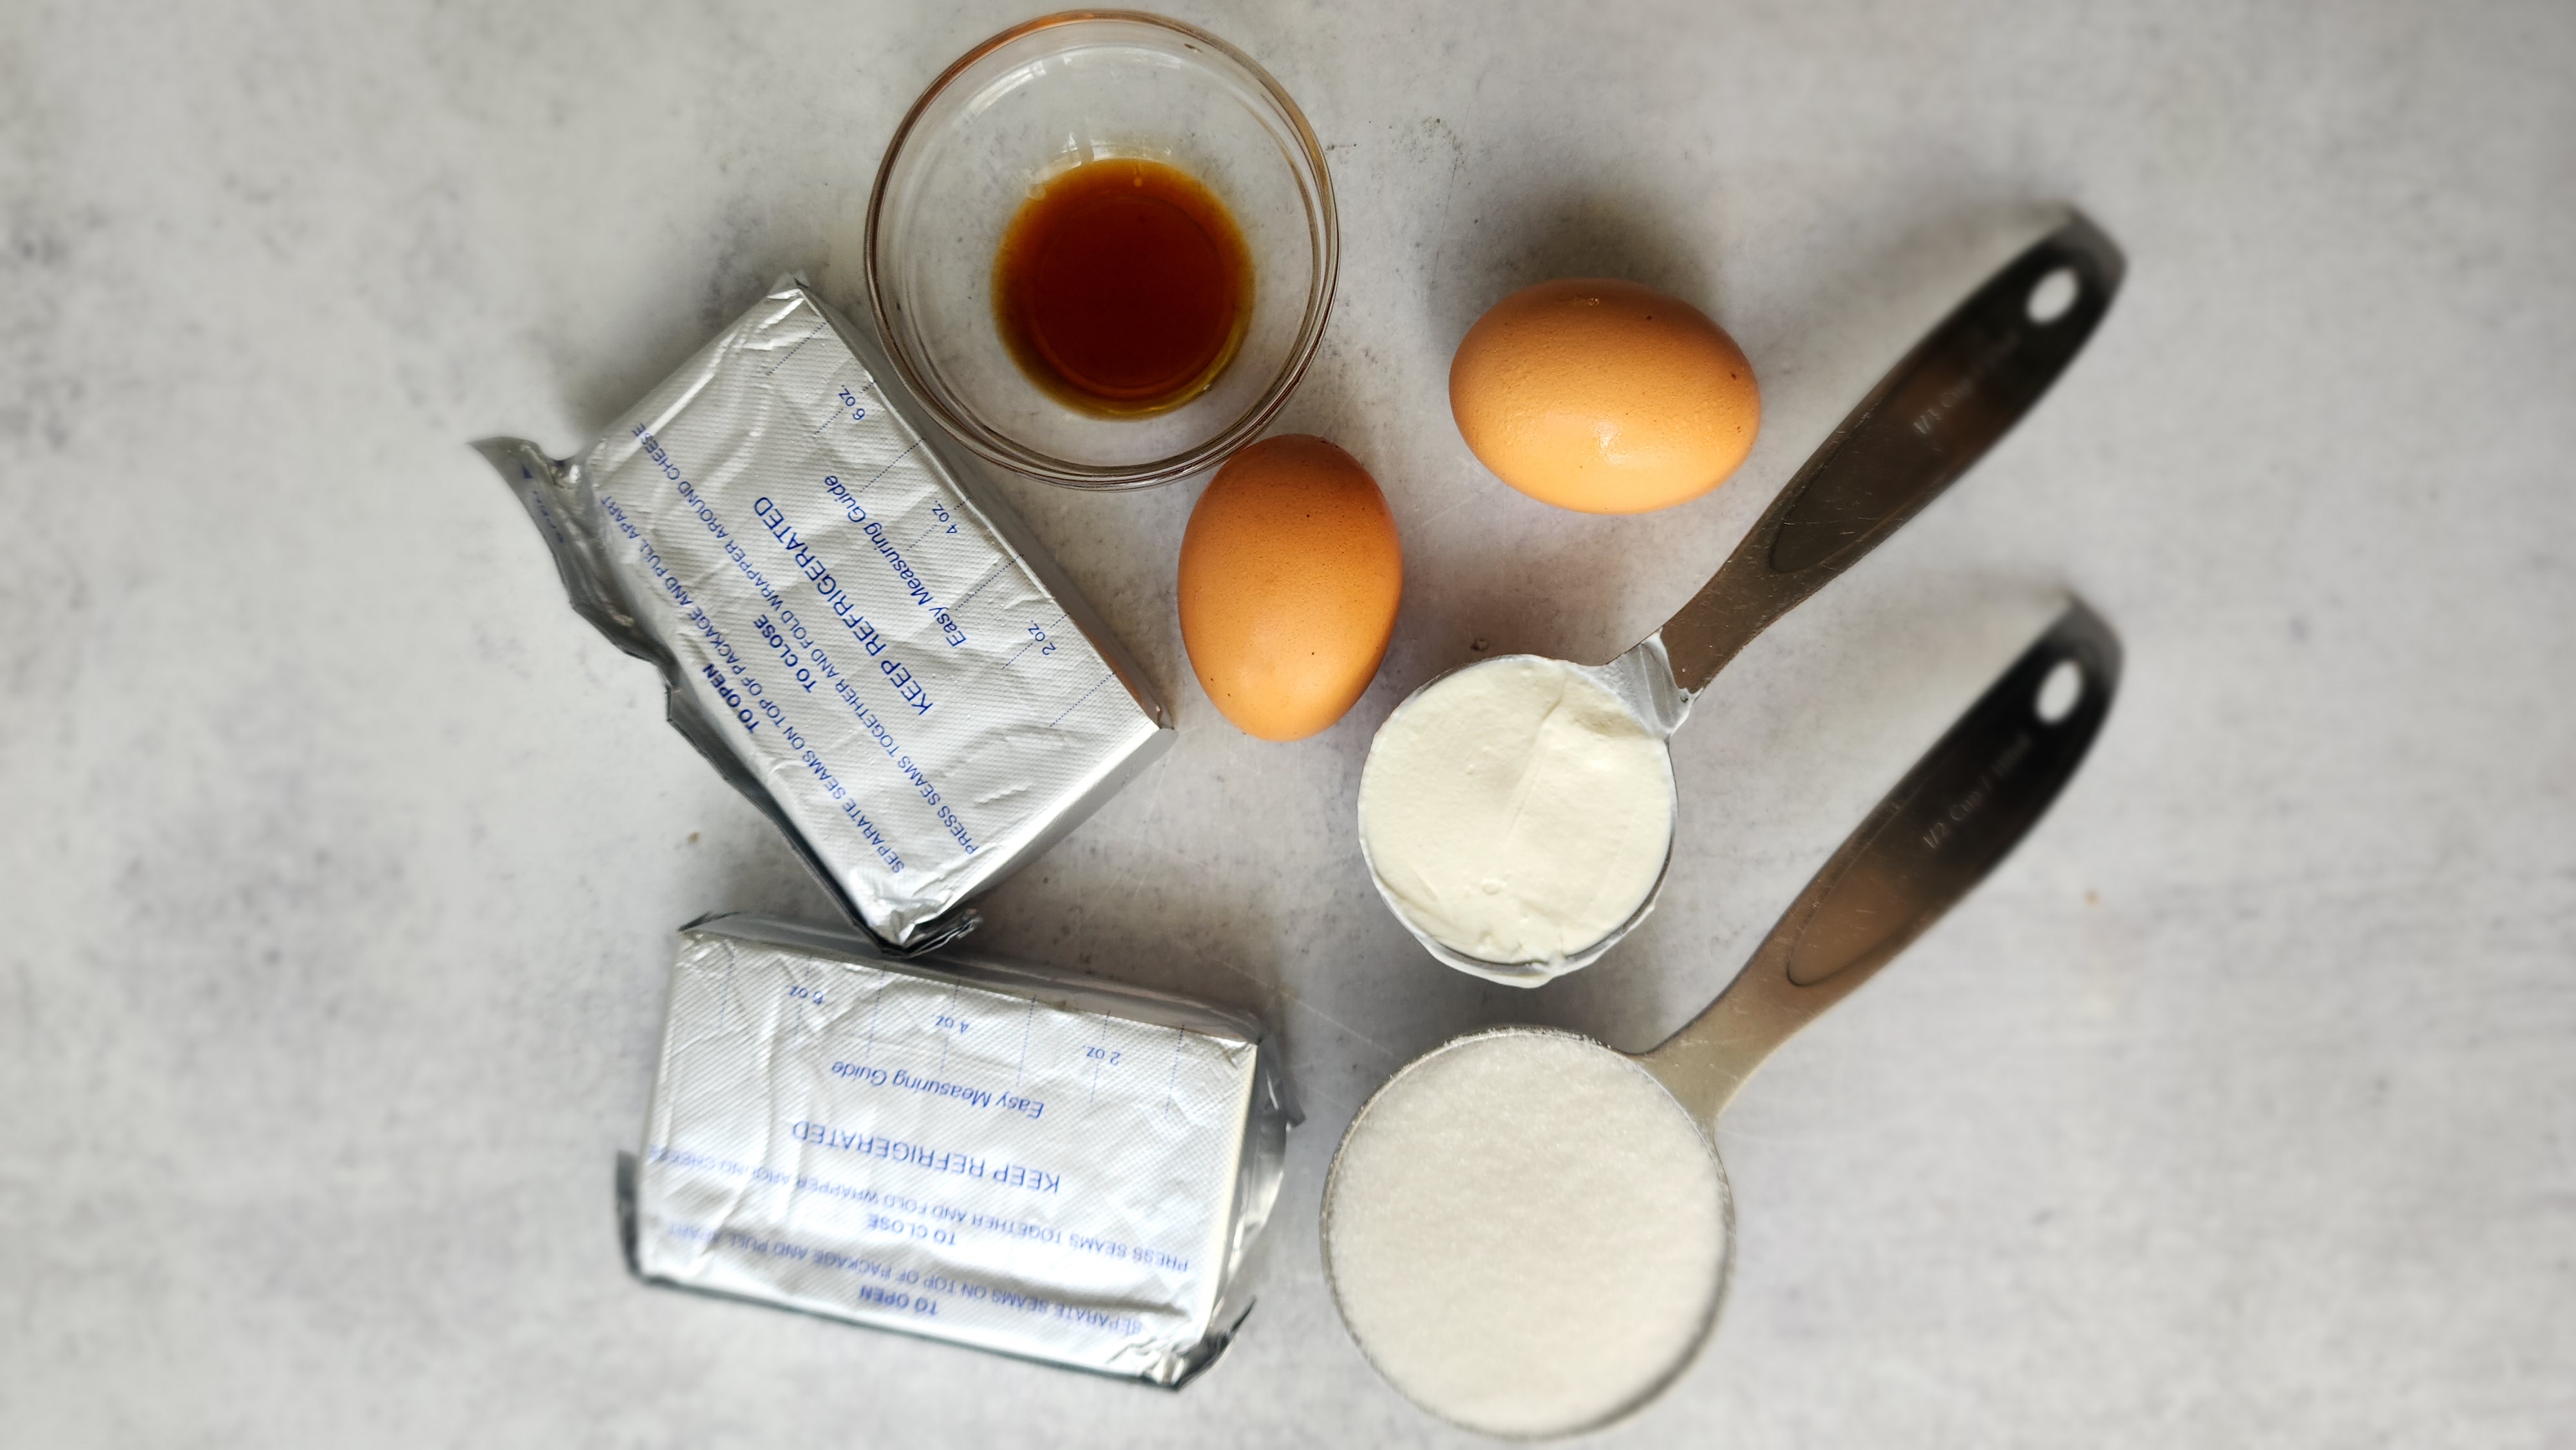
Ingredients: Mini Cheesecakes
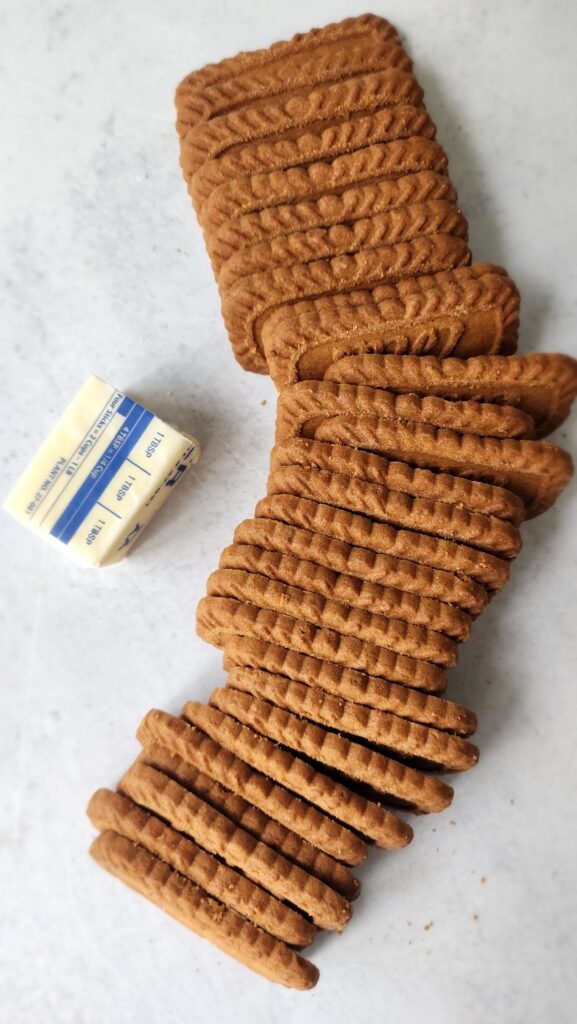
- Cookie Crumbs: Graham crackers, Oreos (chocolate wafers), or Biscoff, you decide. My belief is it depends on the flavor of your cheesecake which crust you’ll use. Since the cheesecake is plain I opted for Biscoff, because it truly is the best crust! Oreo and chocolate cheesecake however would be a must combination!
- Butter: Yes, butter is needed to mix and hold the cookie crumbs together. Tested with 2 tablespoons and it wasn’t enough I used three tablespoons (and not 4) and it was just the right amount for 12 mini cheesecakes and crumb.
- Cream Cheese: Set out to get to room temperature. Cream cheese that is cold can leave lumps in your batter and unfortunately the lumps will not melt or bake out. Use only room temperature cream cheese for a cheesecake.
- Sugar: Granulated sugar to sweeten the batter just a tad. Cheesecake is not overly sweet and I opted to leave sugar out of the crust as the Biscoff cookies are a tad on the sweeter side. If you used graham crackers you might need to add a tablespoon or so, however, it is optional.
- Vanilla: Not too much, but just enough to add a subtle hint of flavor. Some plain cheesecake recipes also add lemon juice. However, I really opted for plain, minus the vanilla, to let the cheesecake shine all on its own.
- Eggs: Also at room temperature to help the cream cheese mix together super smooth. If you did forget to take them out, simply place in a bowl of warm water for 5 minutes while you start on the rest of the recipe!
How To Make Mini Cheesecakes
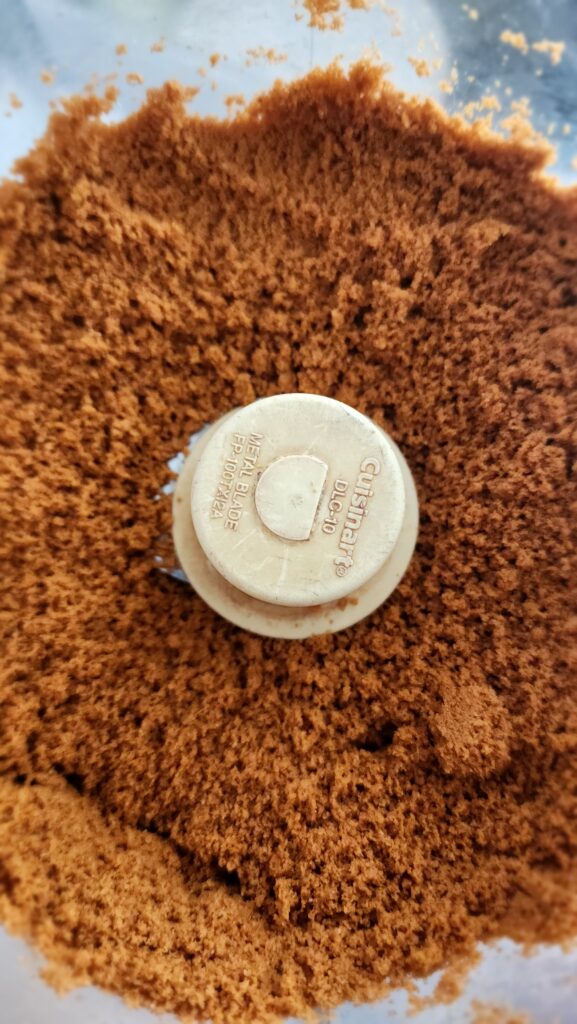
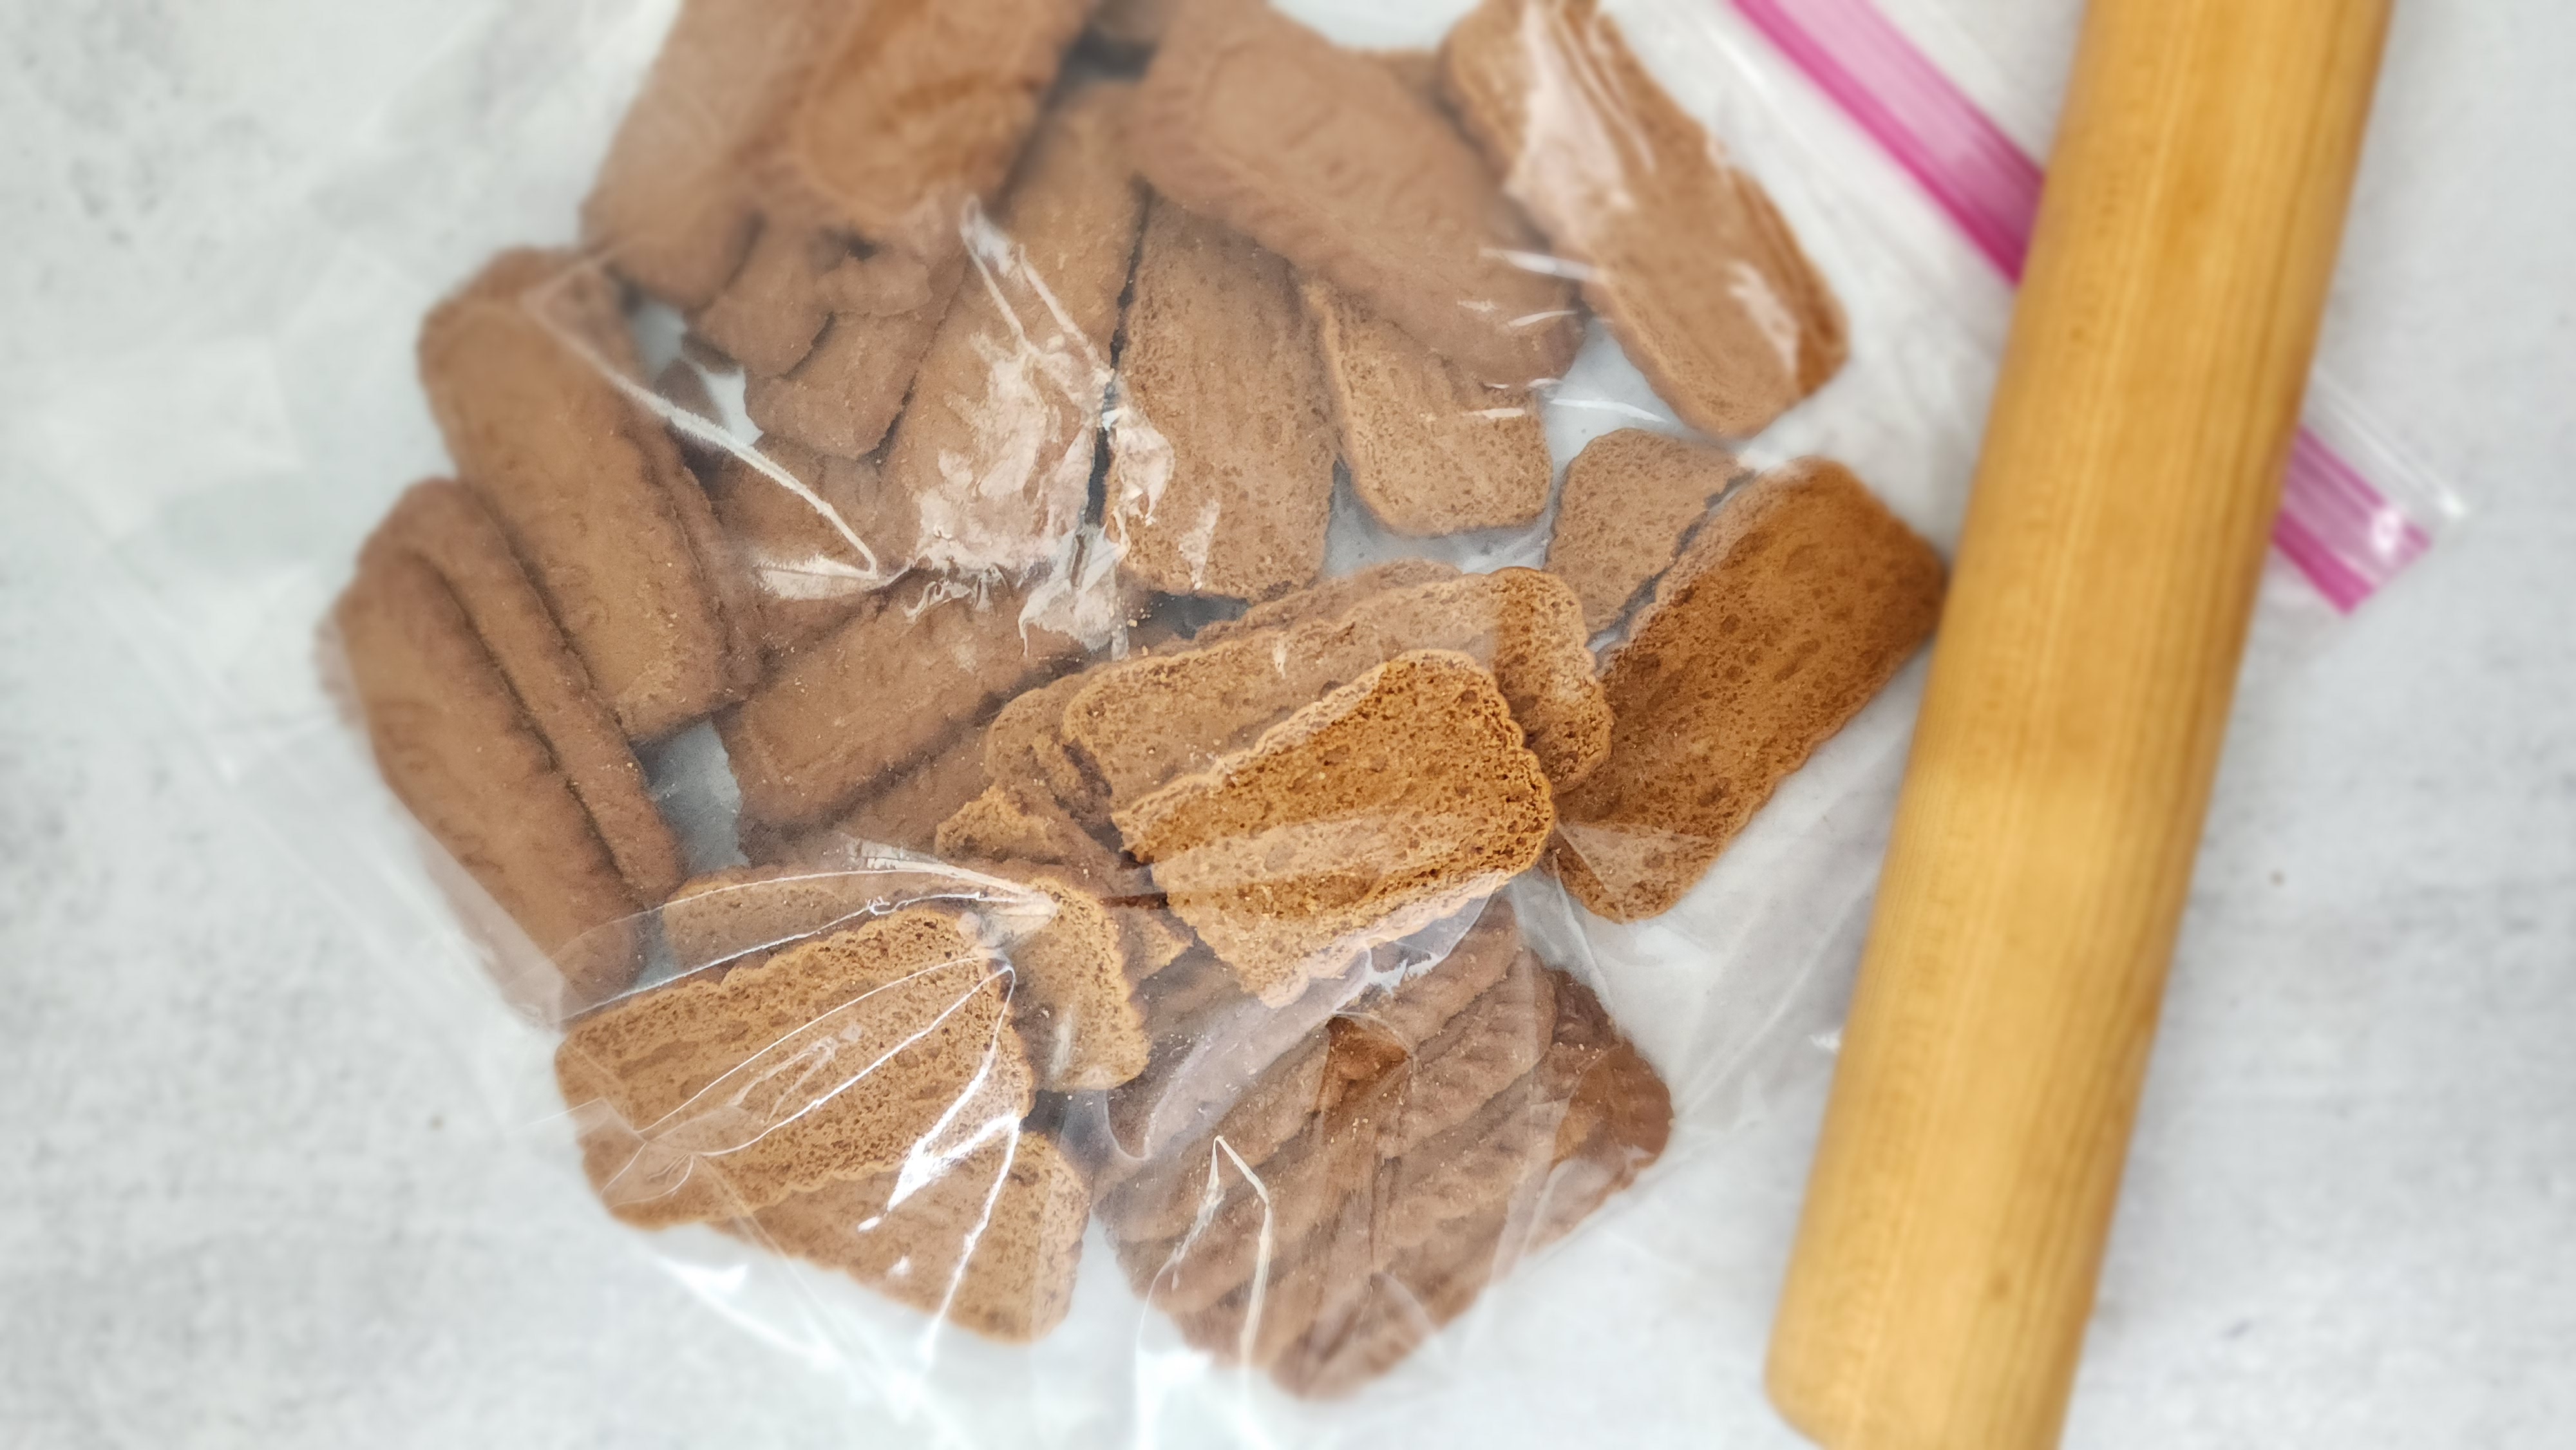
- Add the Biscoff cookies to the bowl of your food processor and pulse until finely chopped. (or alternately, if you do not have a food processor, pound with a rolling pin until you have crumbs).
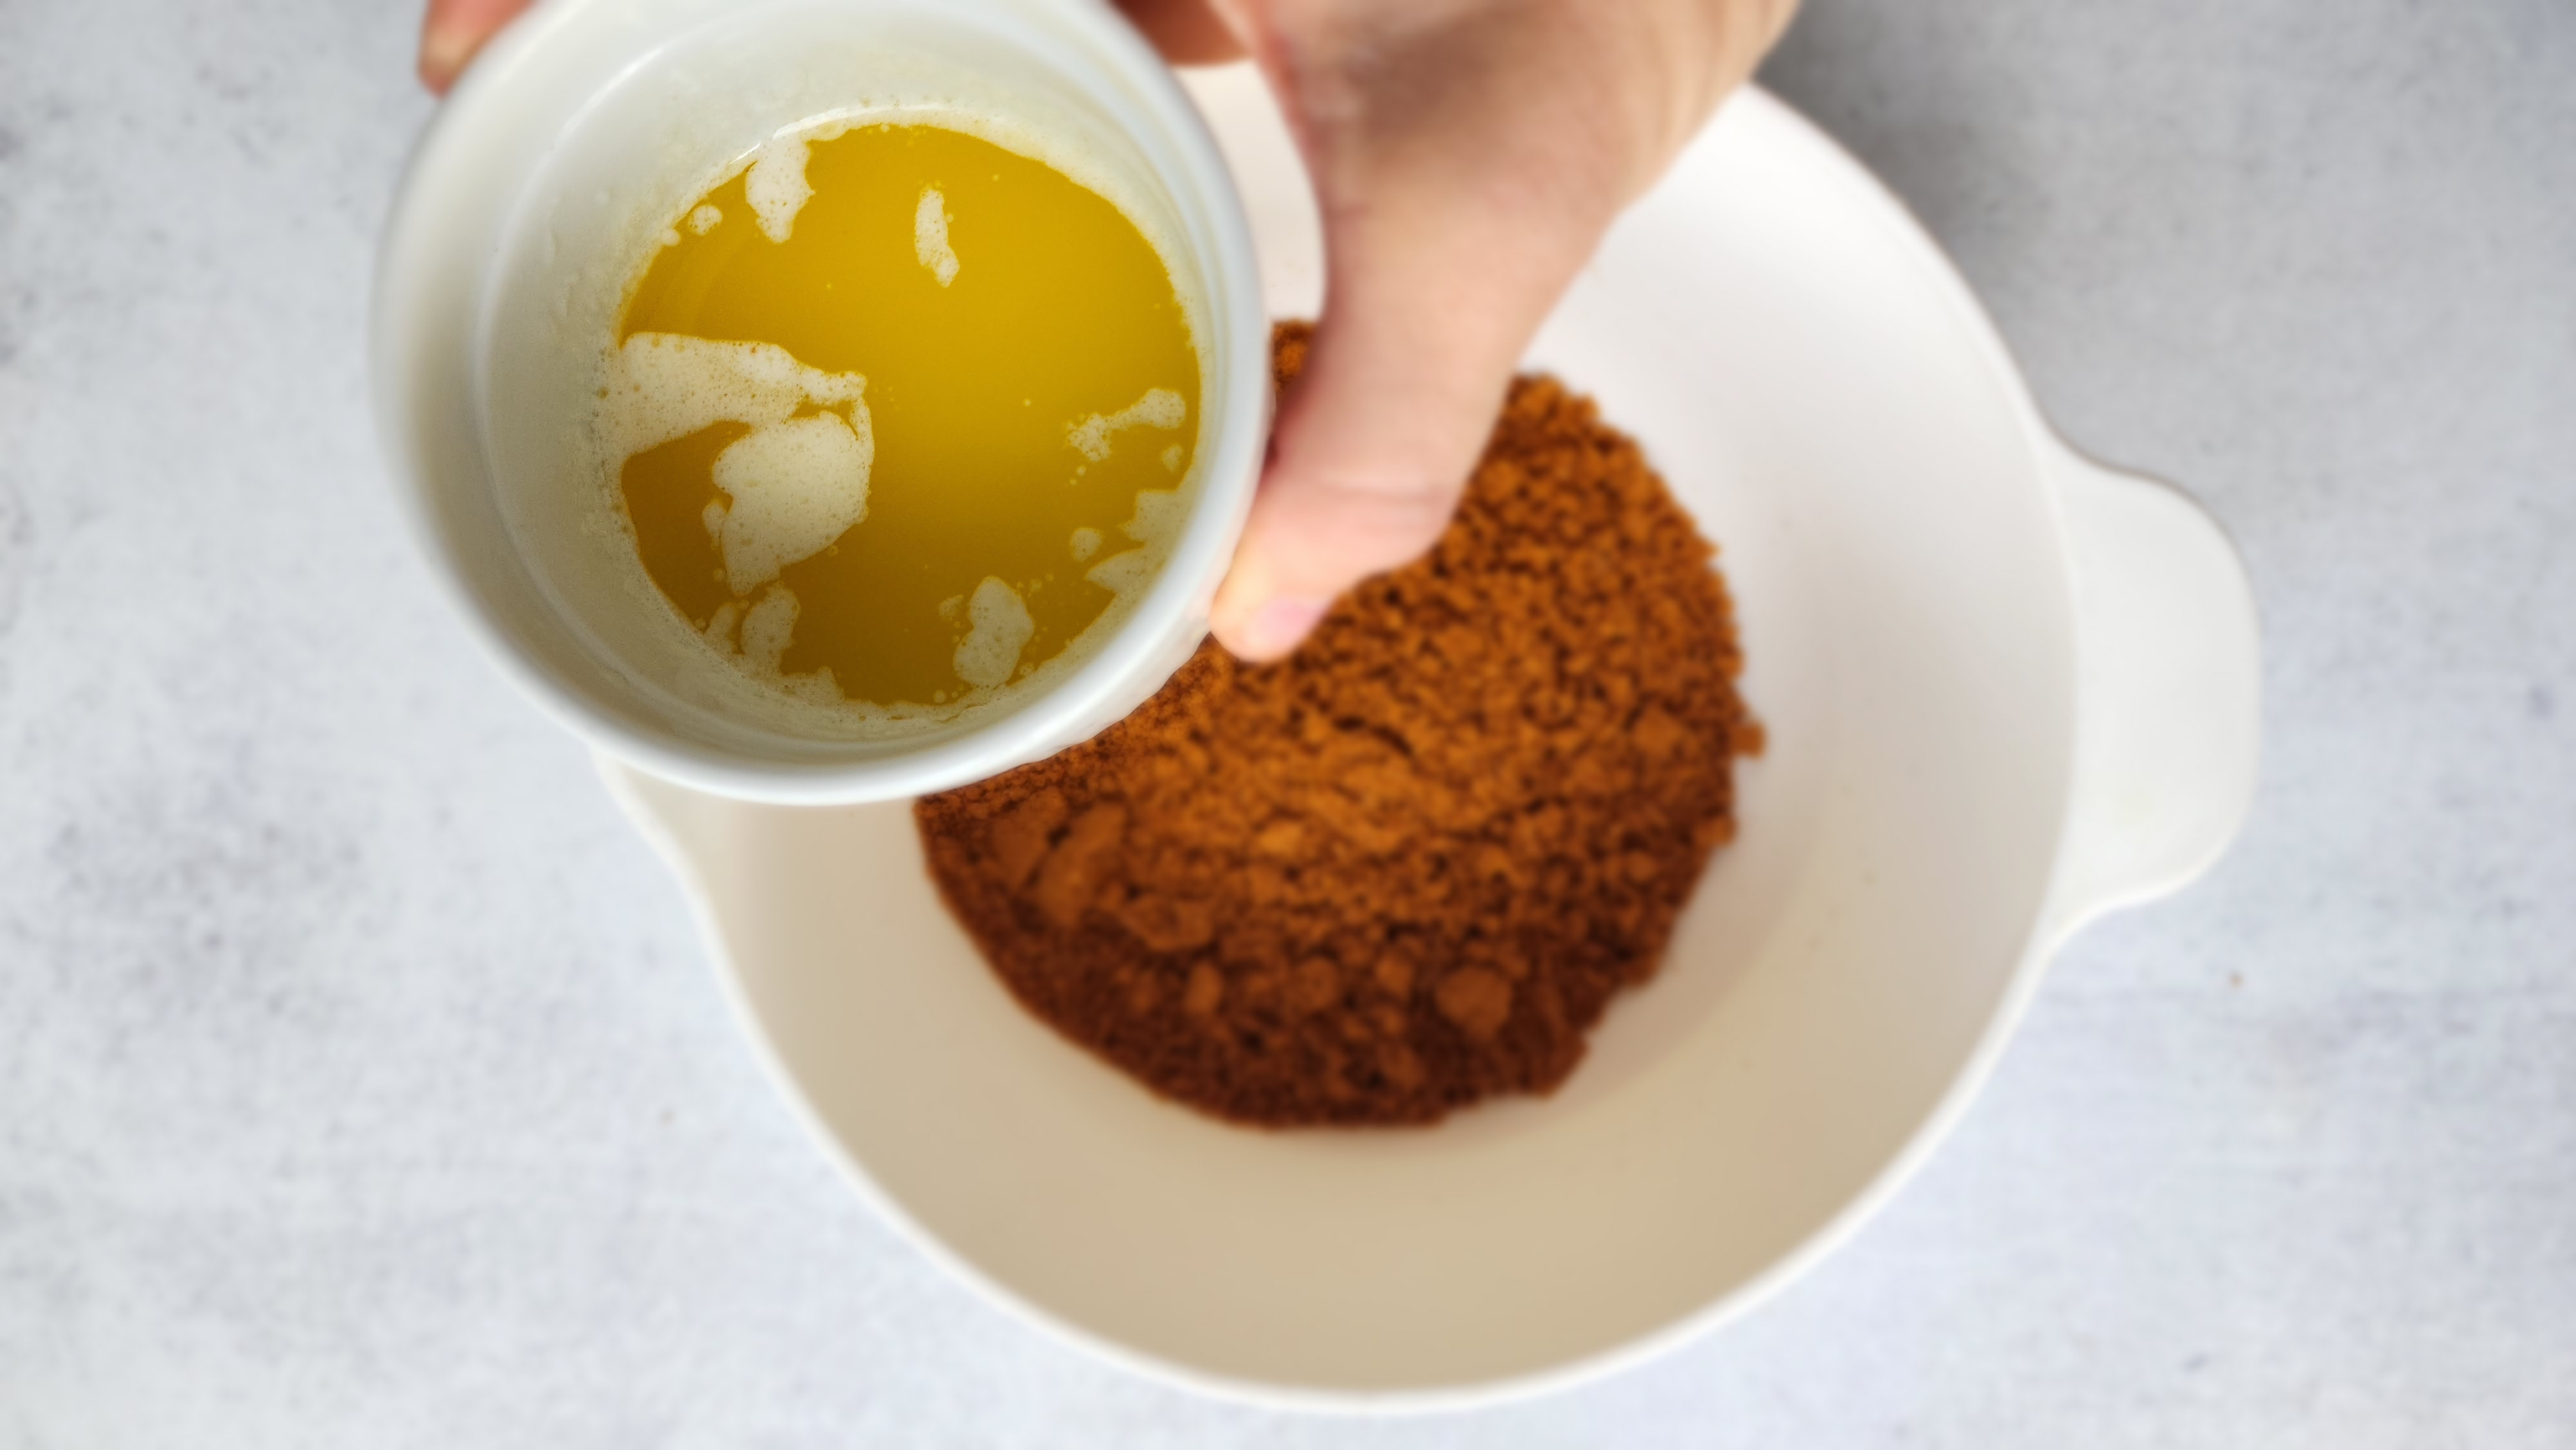
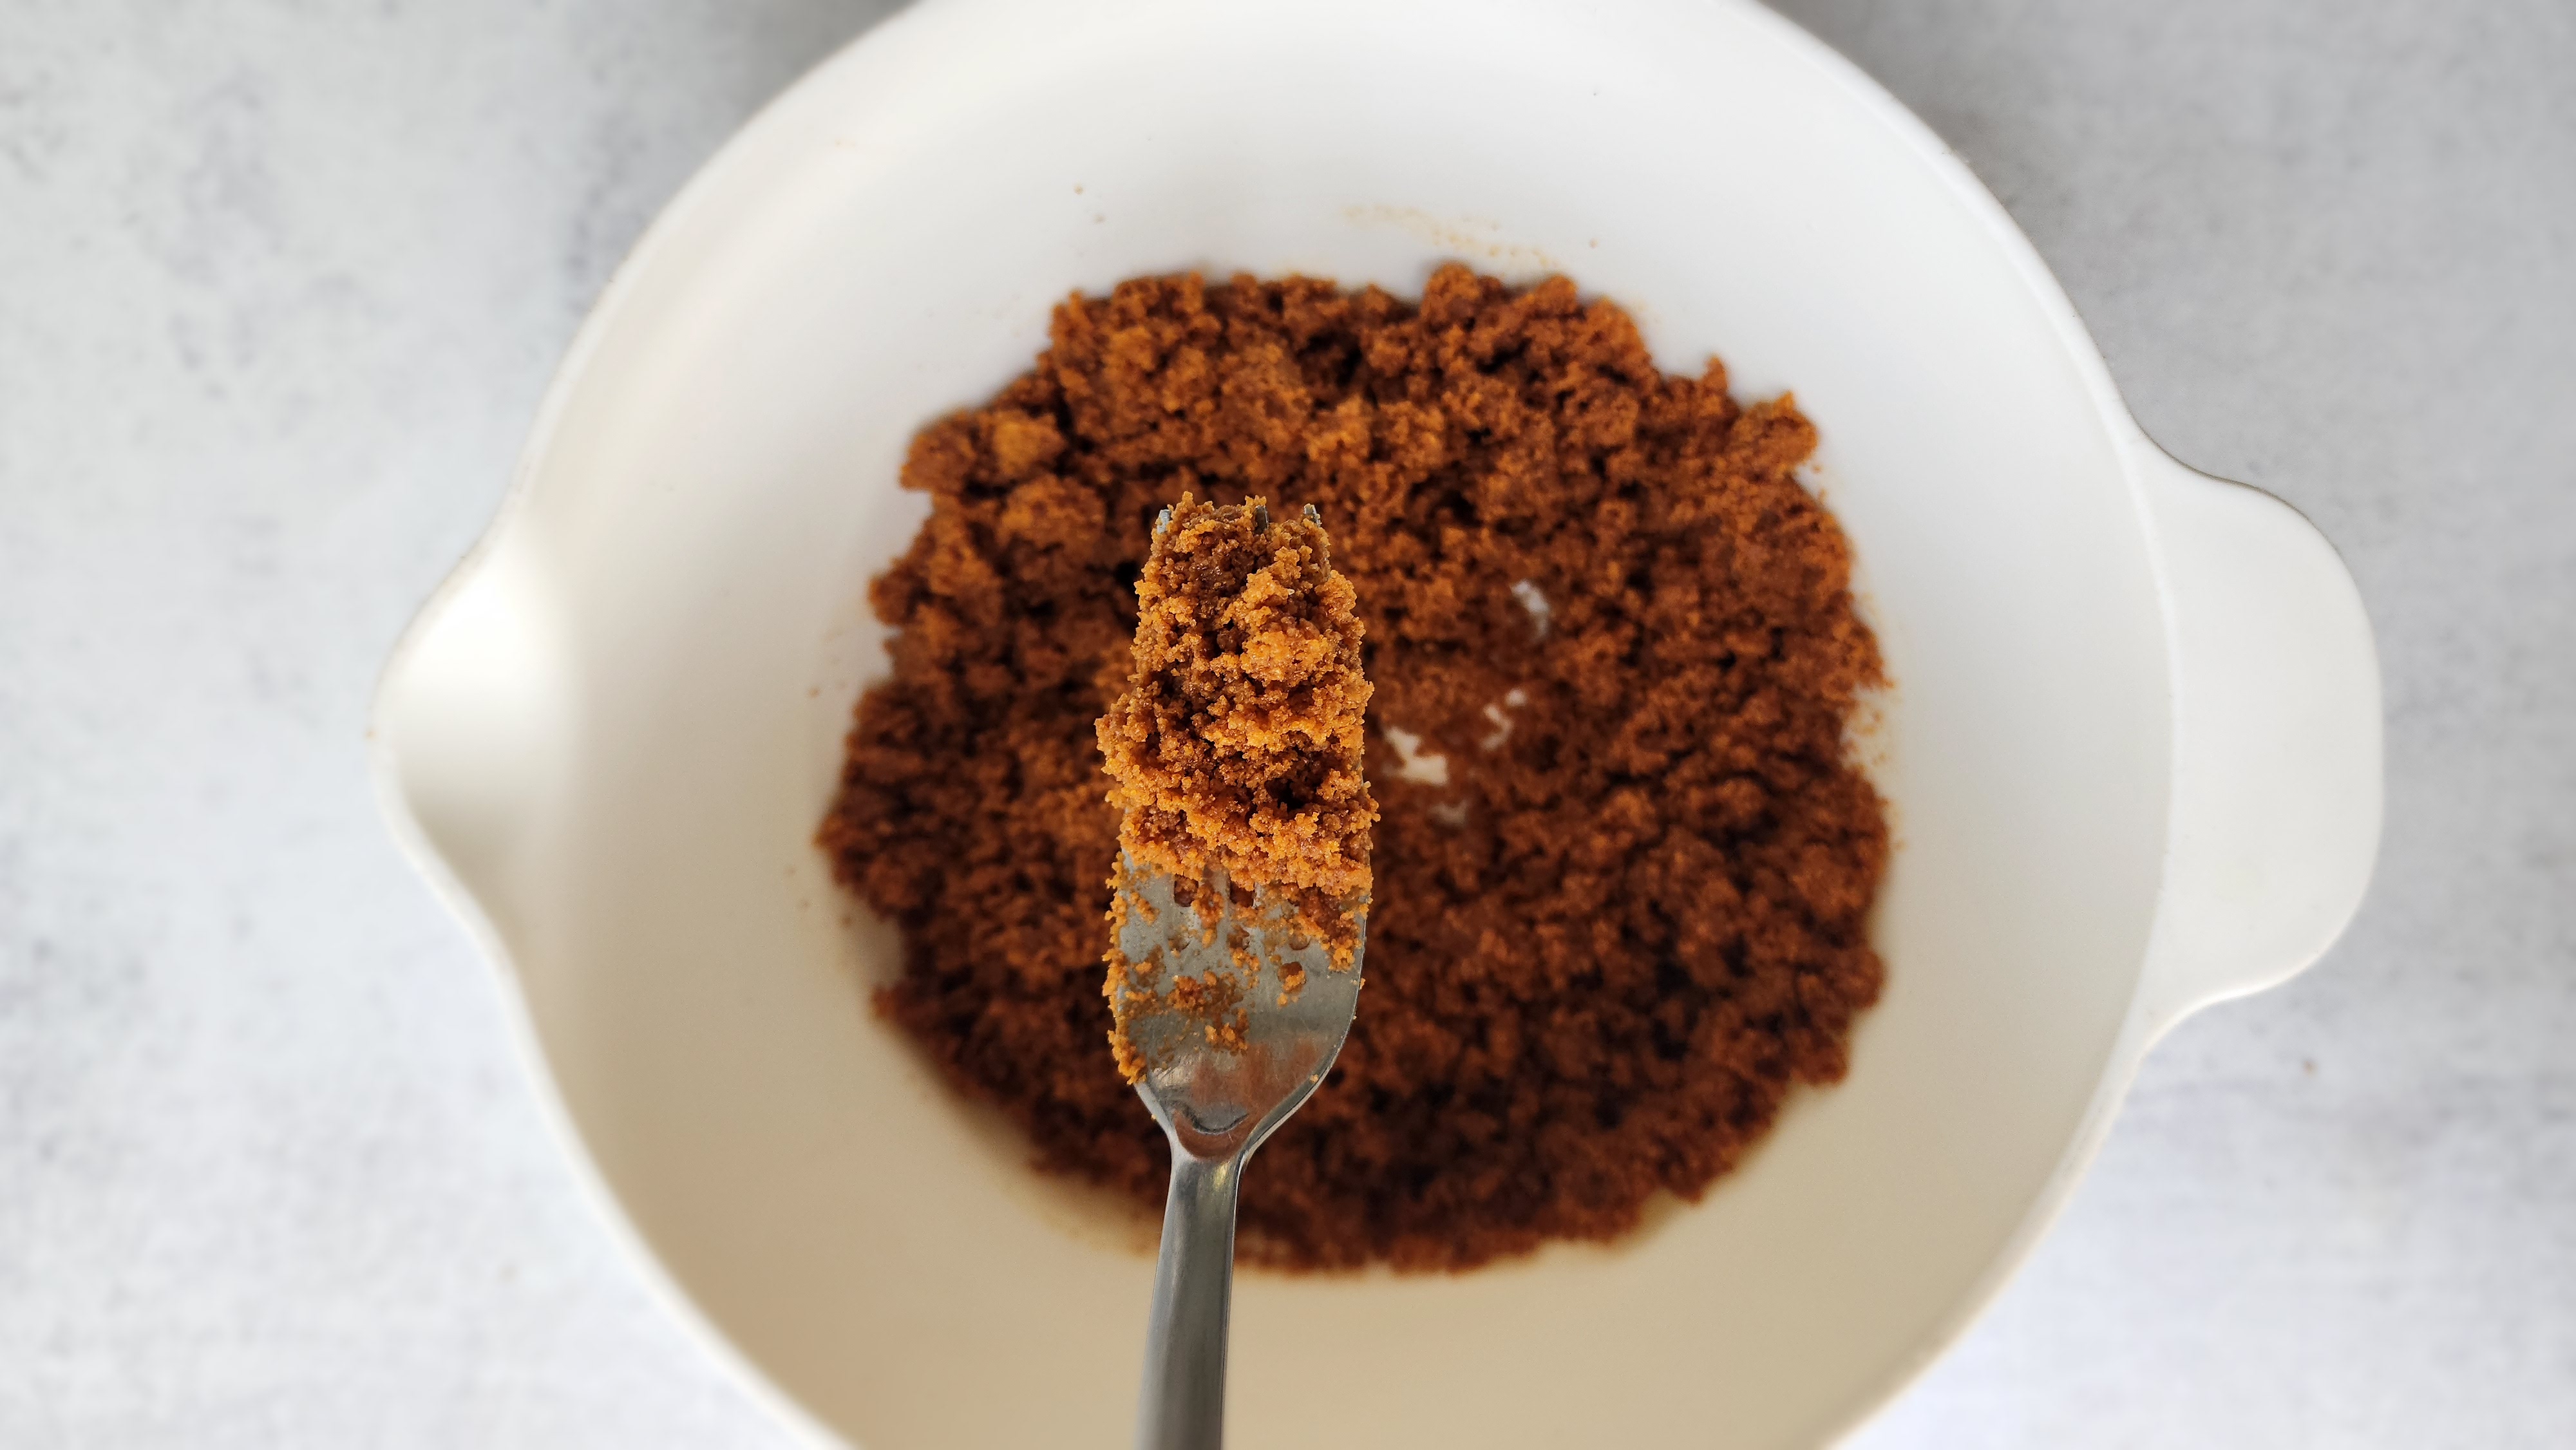
- Drizzle in the melted butter while pulsing then carefully remove the blade and scrape the bowl and mix the butter in completely.
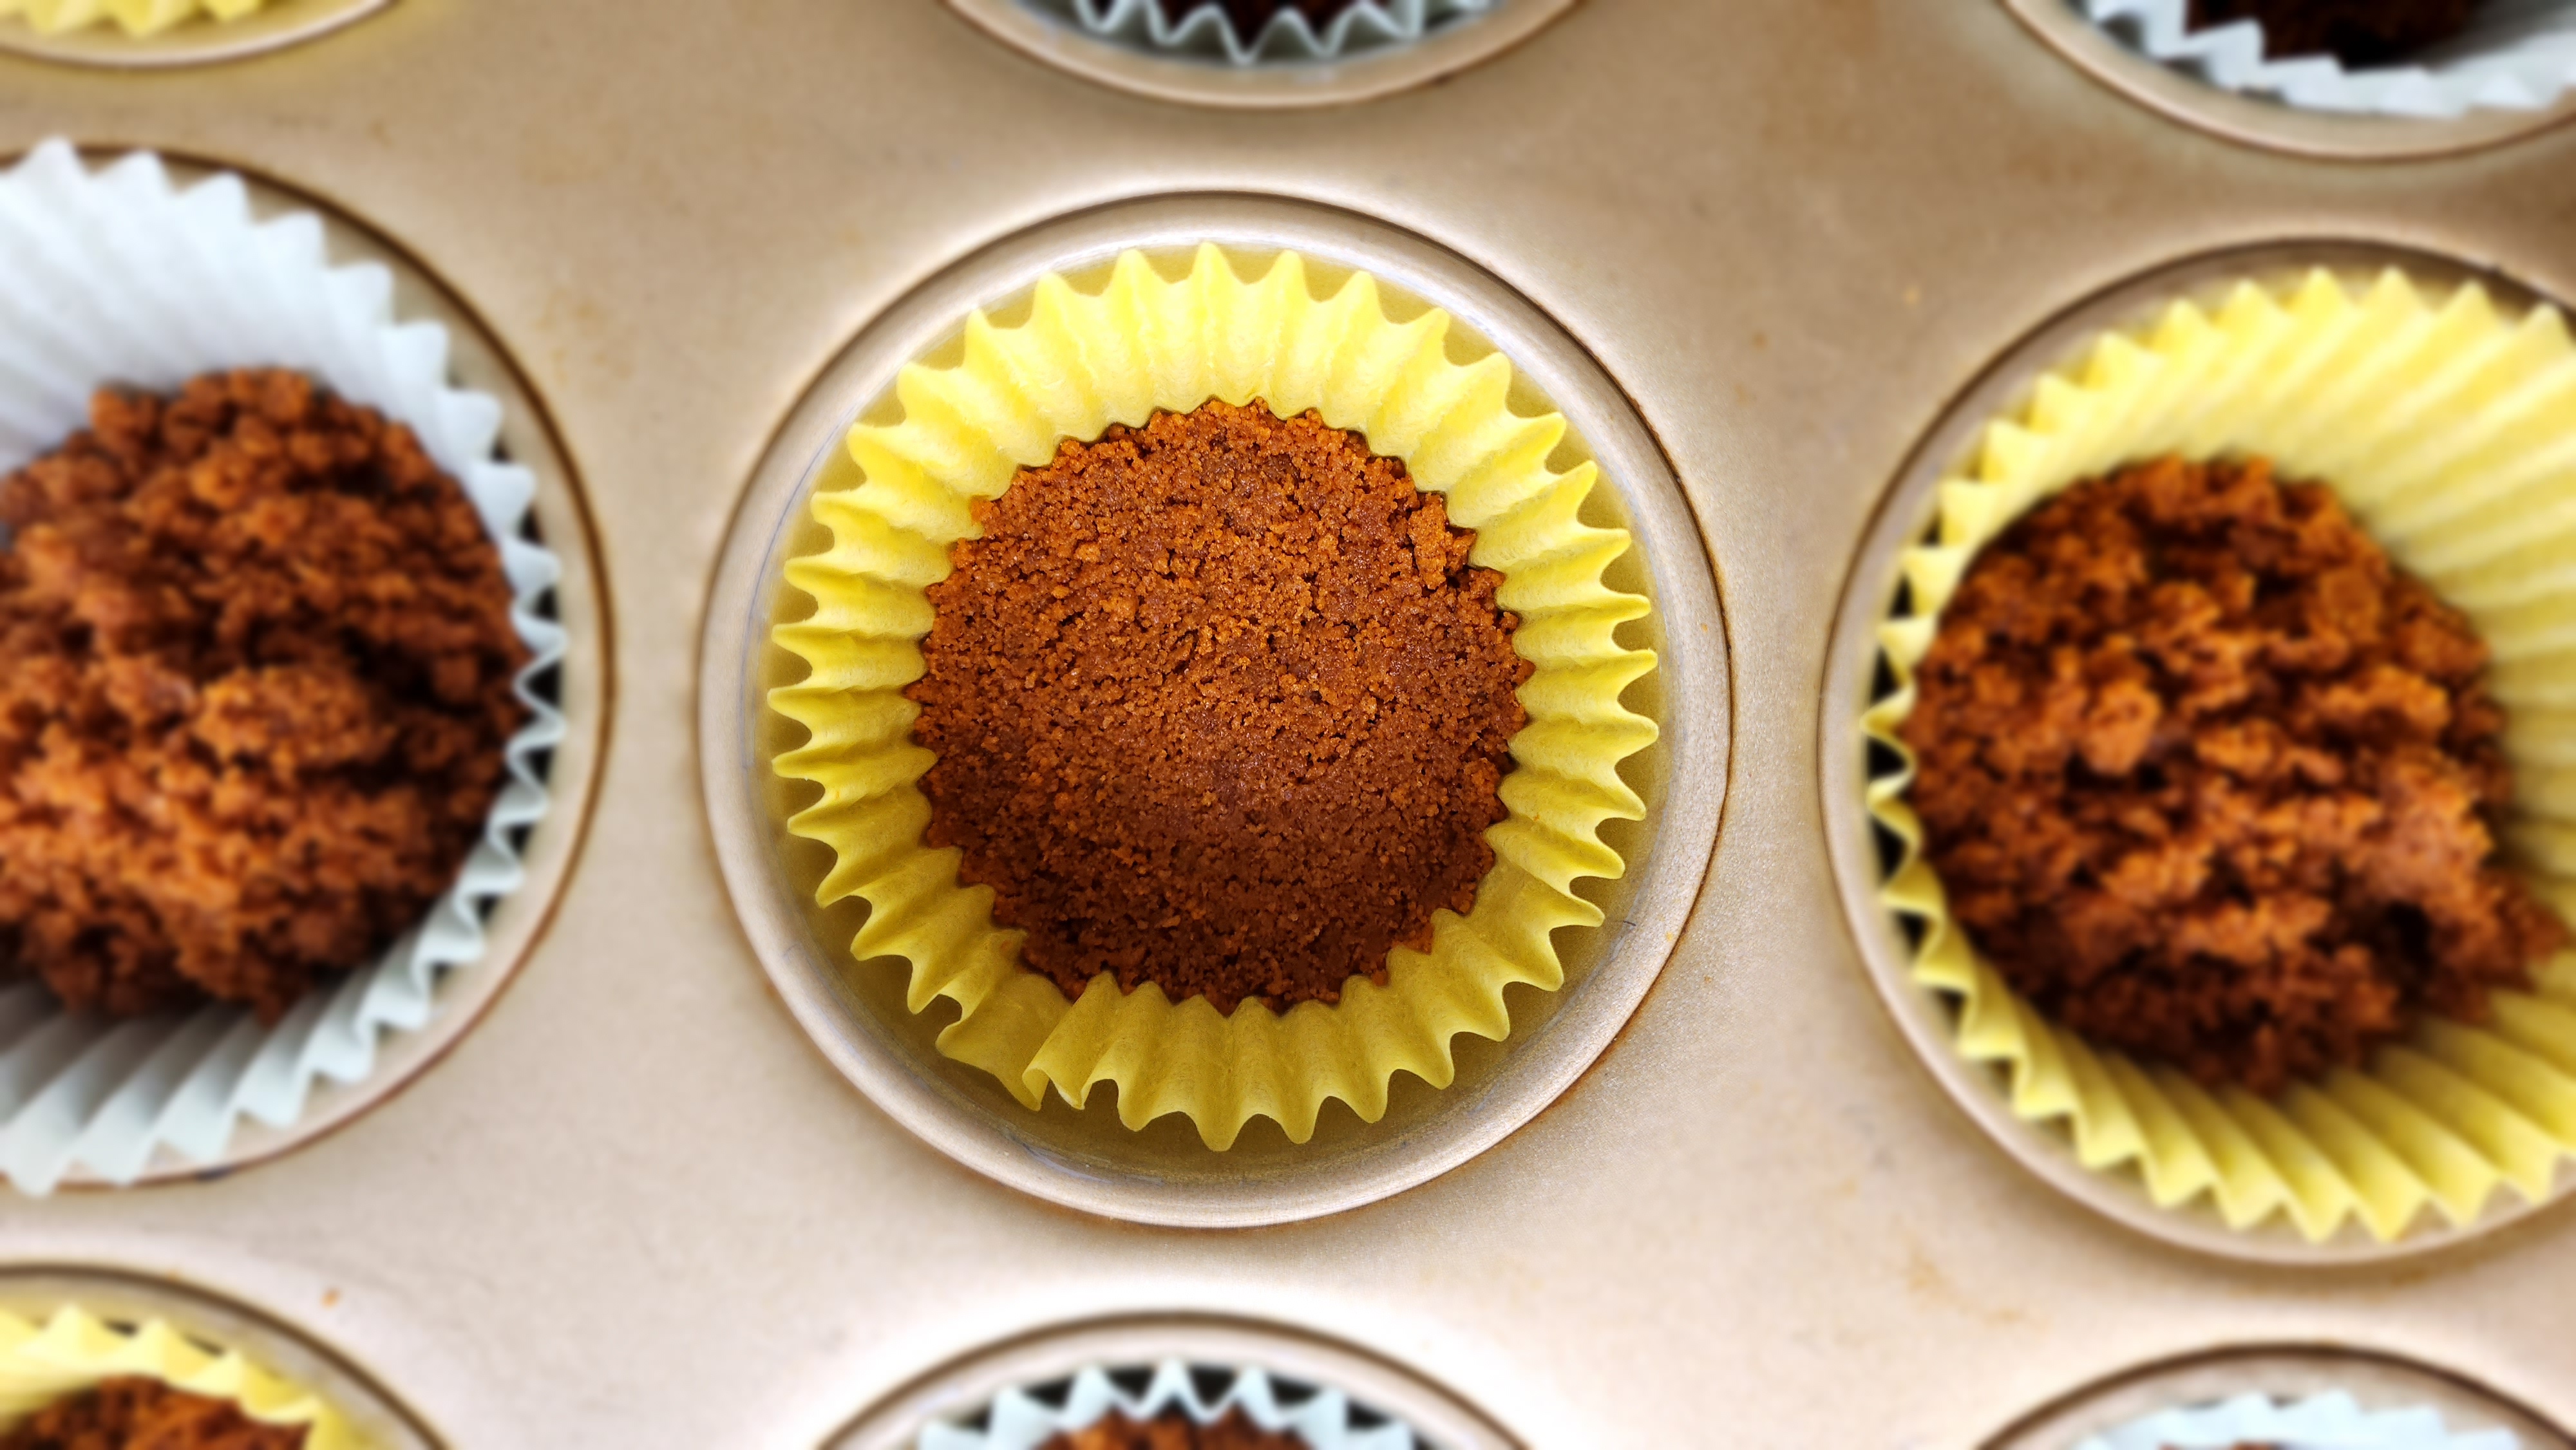
- Add about a tablespoon of the crust into each cupcake paper. Use the back of a spoon to press the crust down evenly.
- Bake for about 8 minutes at 350˚F, or until fragrant and a a slightly darker golden color. Remove from oven, set aside.
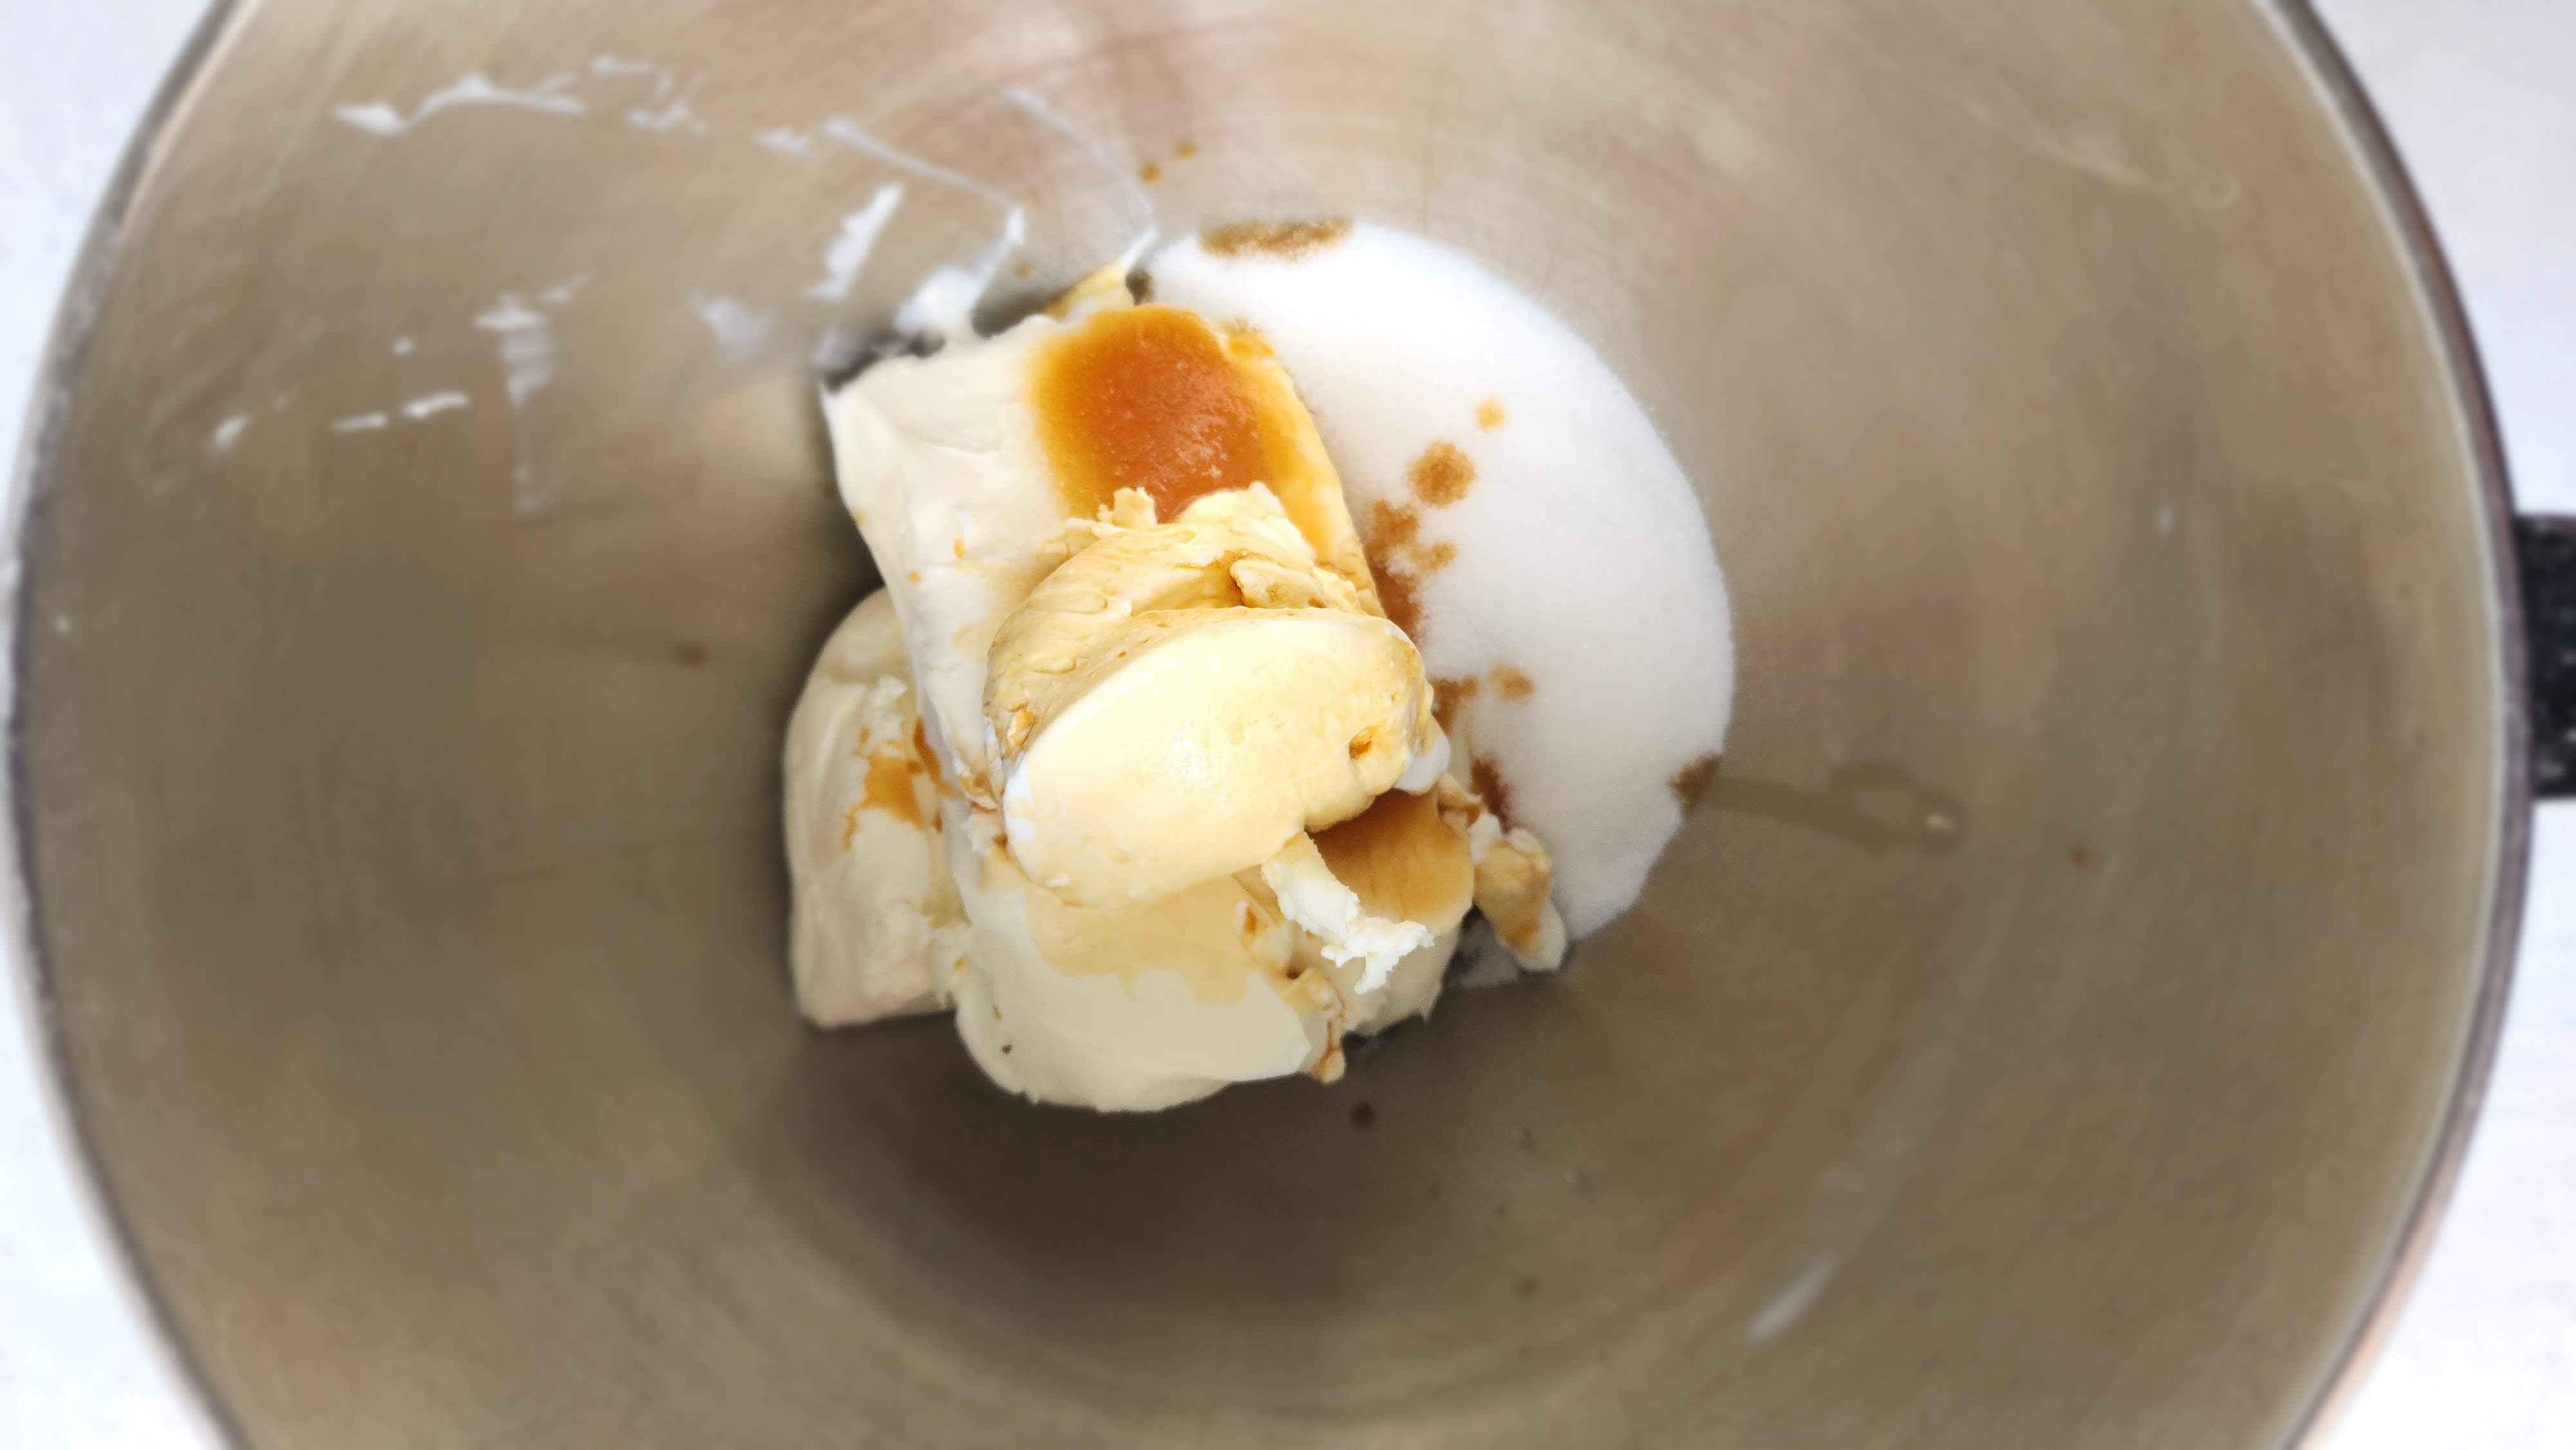
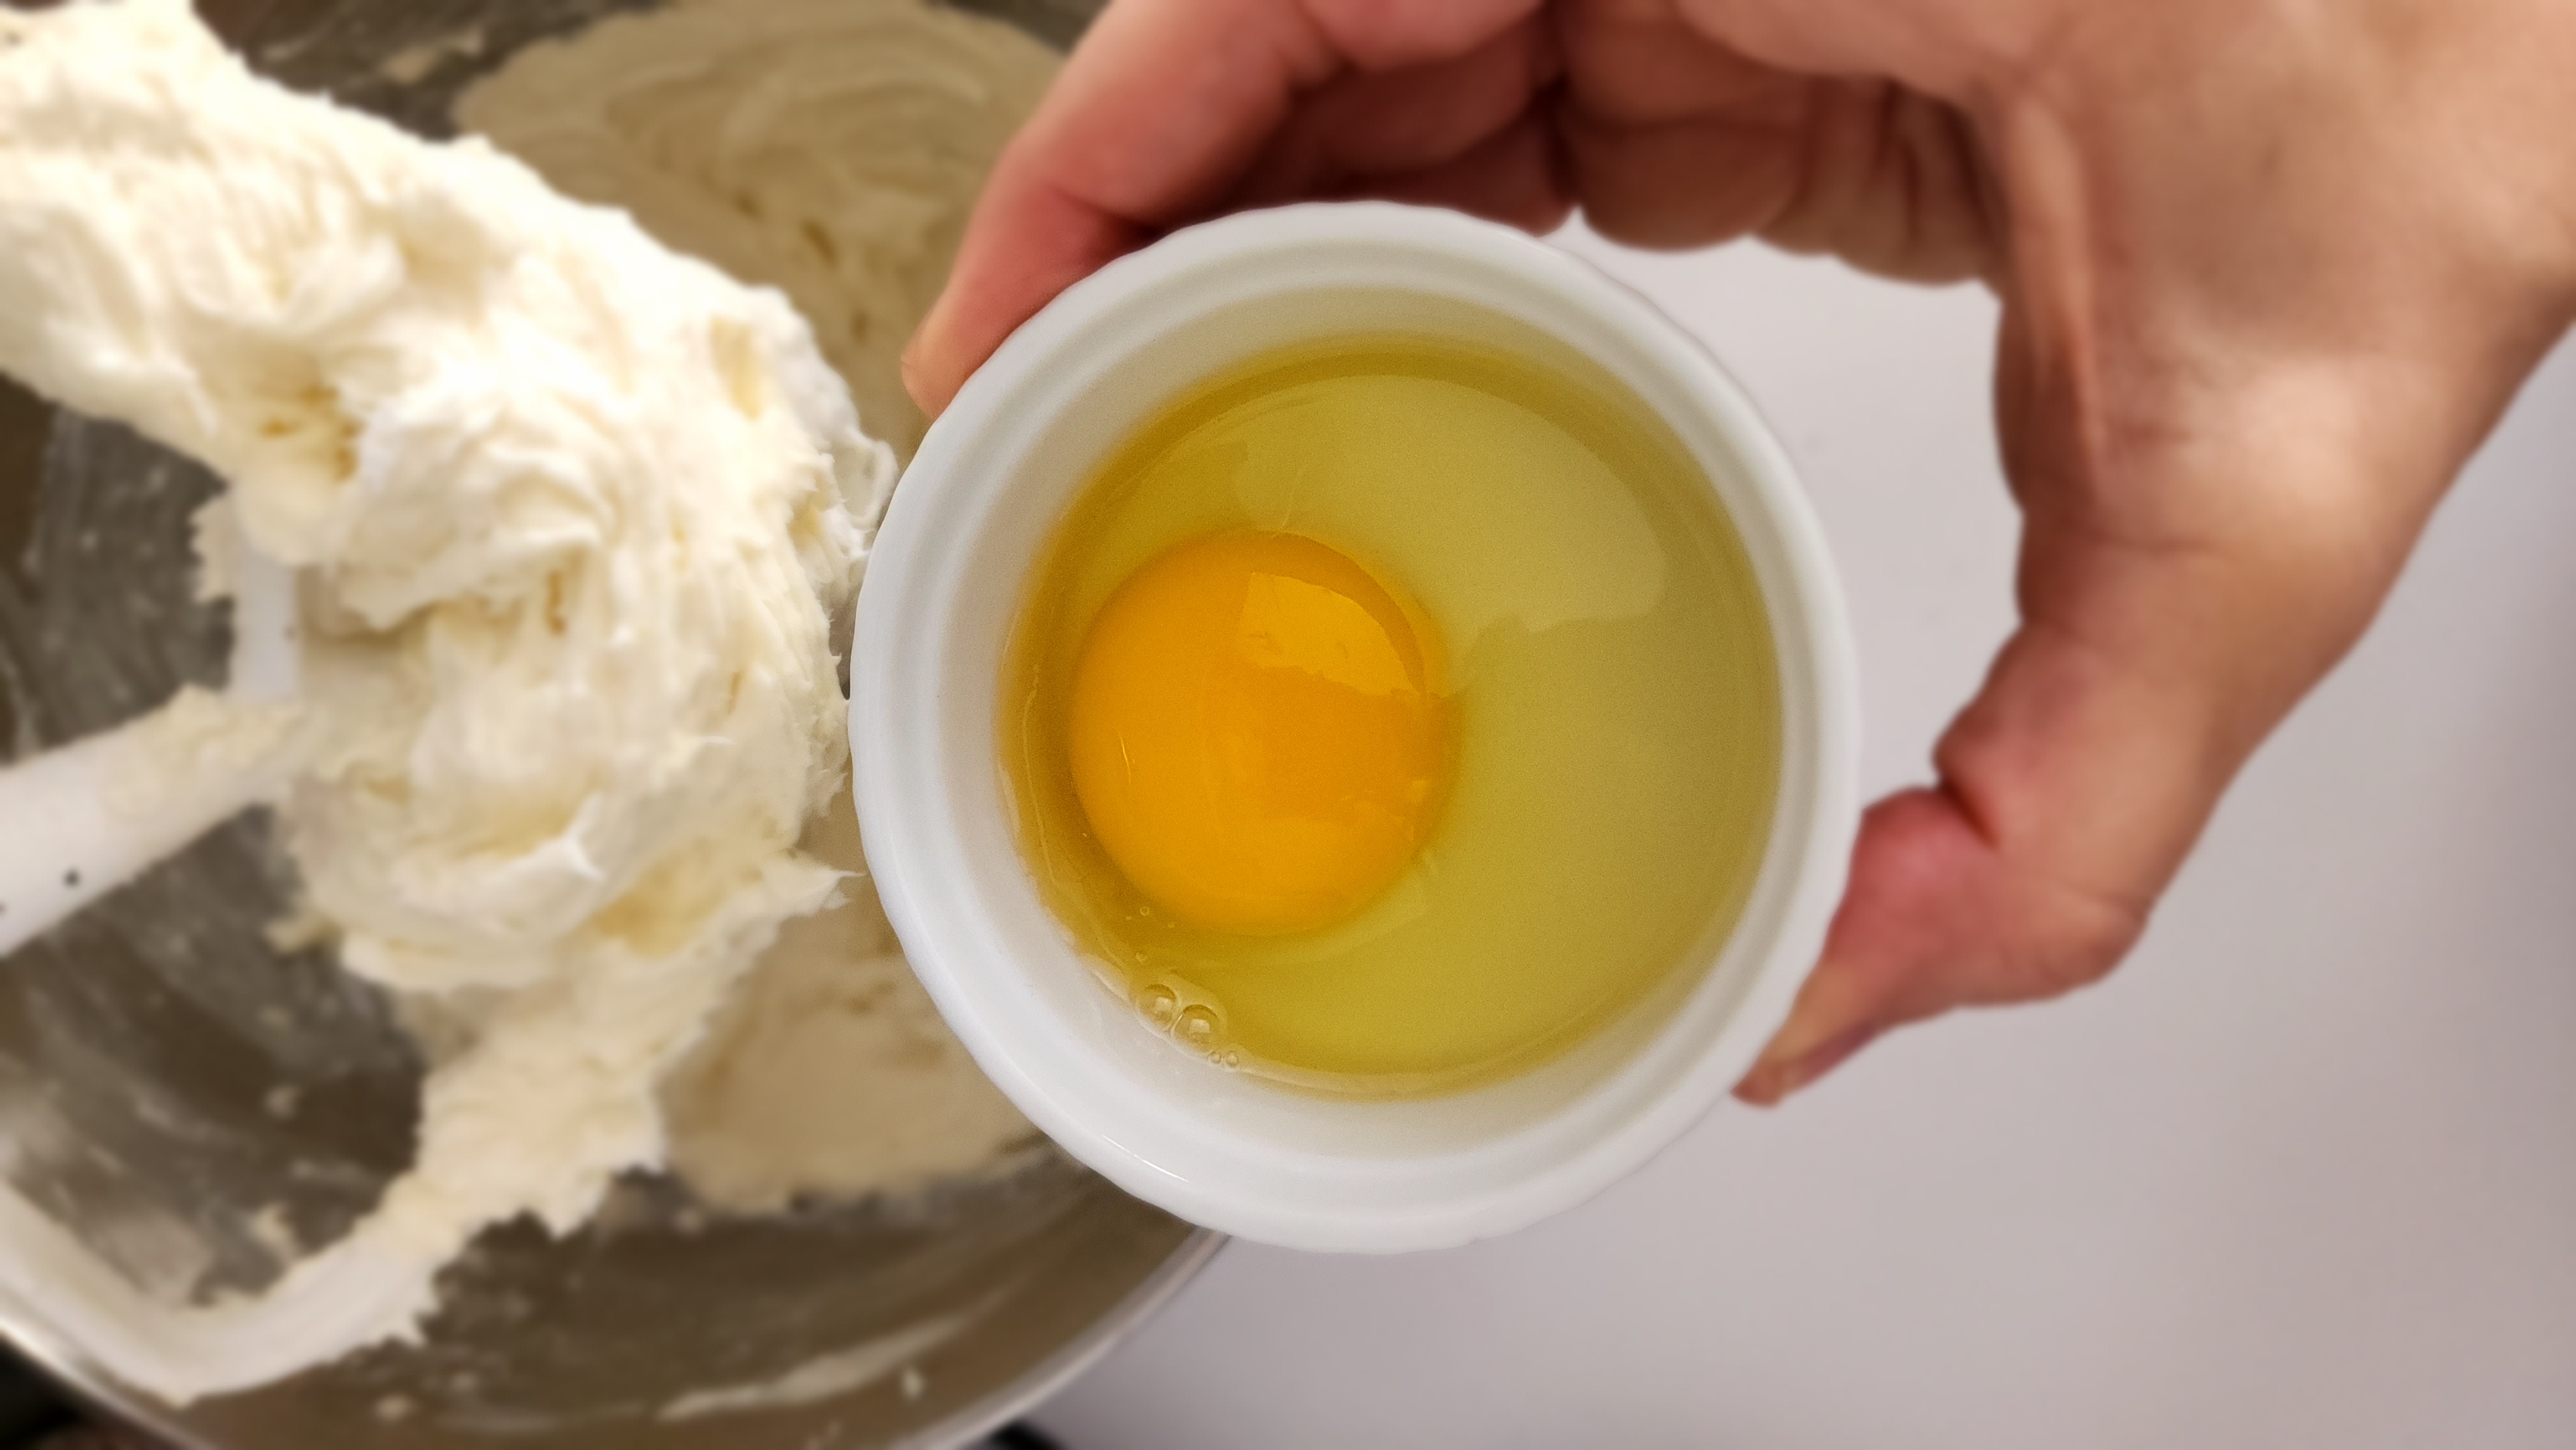
- To make the filling add the room temperature cream cheese, salt, and sugar to the bowl of your stand mixer fitted with a paddle attachment. Beat together until completely mixed then scrape the bowl down and beat one more time. You can also do this in a large bowl with an electric hand mixer. *sidenote – adding your eggs in by hand helps prevent the cheesecakes from cracking. If you have time, add the eggs by hand and mix. Otherwise, try to mix minimally with the electric mixer.
- Add the eggs one at a time while mixing on medium speed waiting for each egg to be incorporated before adding the next. Then scrape the bowl down and add the sour cream, and vanilla. Scrape down one last time and beat until completely smooth.
- Use an ice cream scoop to fill the cupcake papers about 3/4 of the way up. Bake at 350˚F for 25-30 minutes, or until centers are set. The cheesecakes will puff up a bit during baking then deflate slightly as they cool. Allow to rest in the oven for about 20 minutes with the door closed then remove and allow to cool to room temperature. Cheesecake is best if chilled for a few hours so they firm up and stay intact!
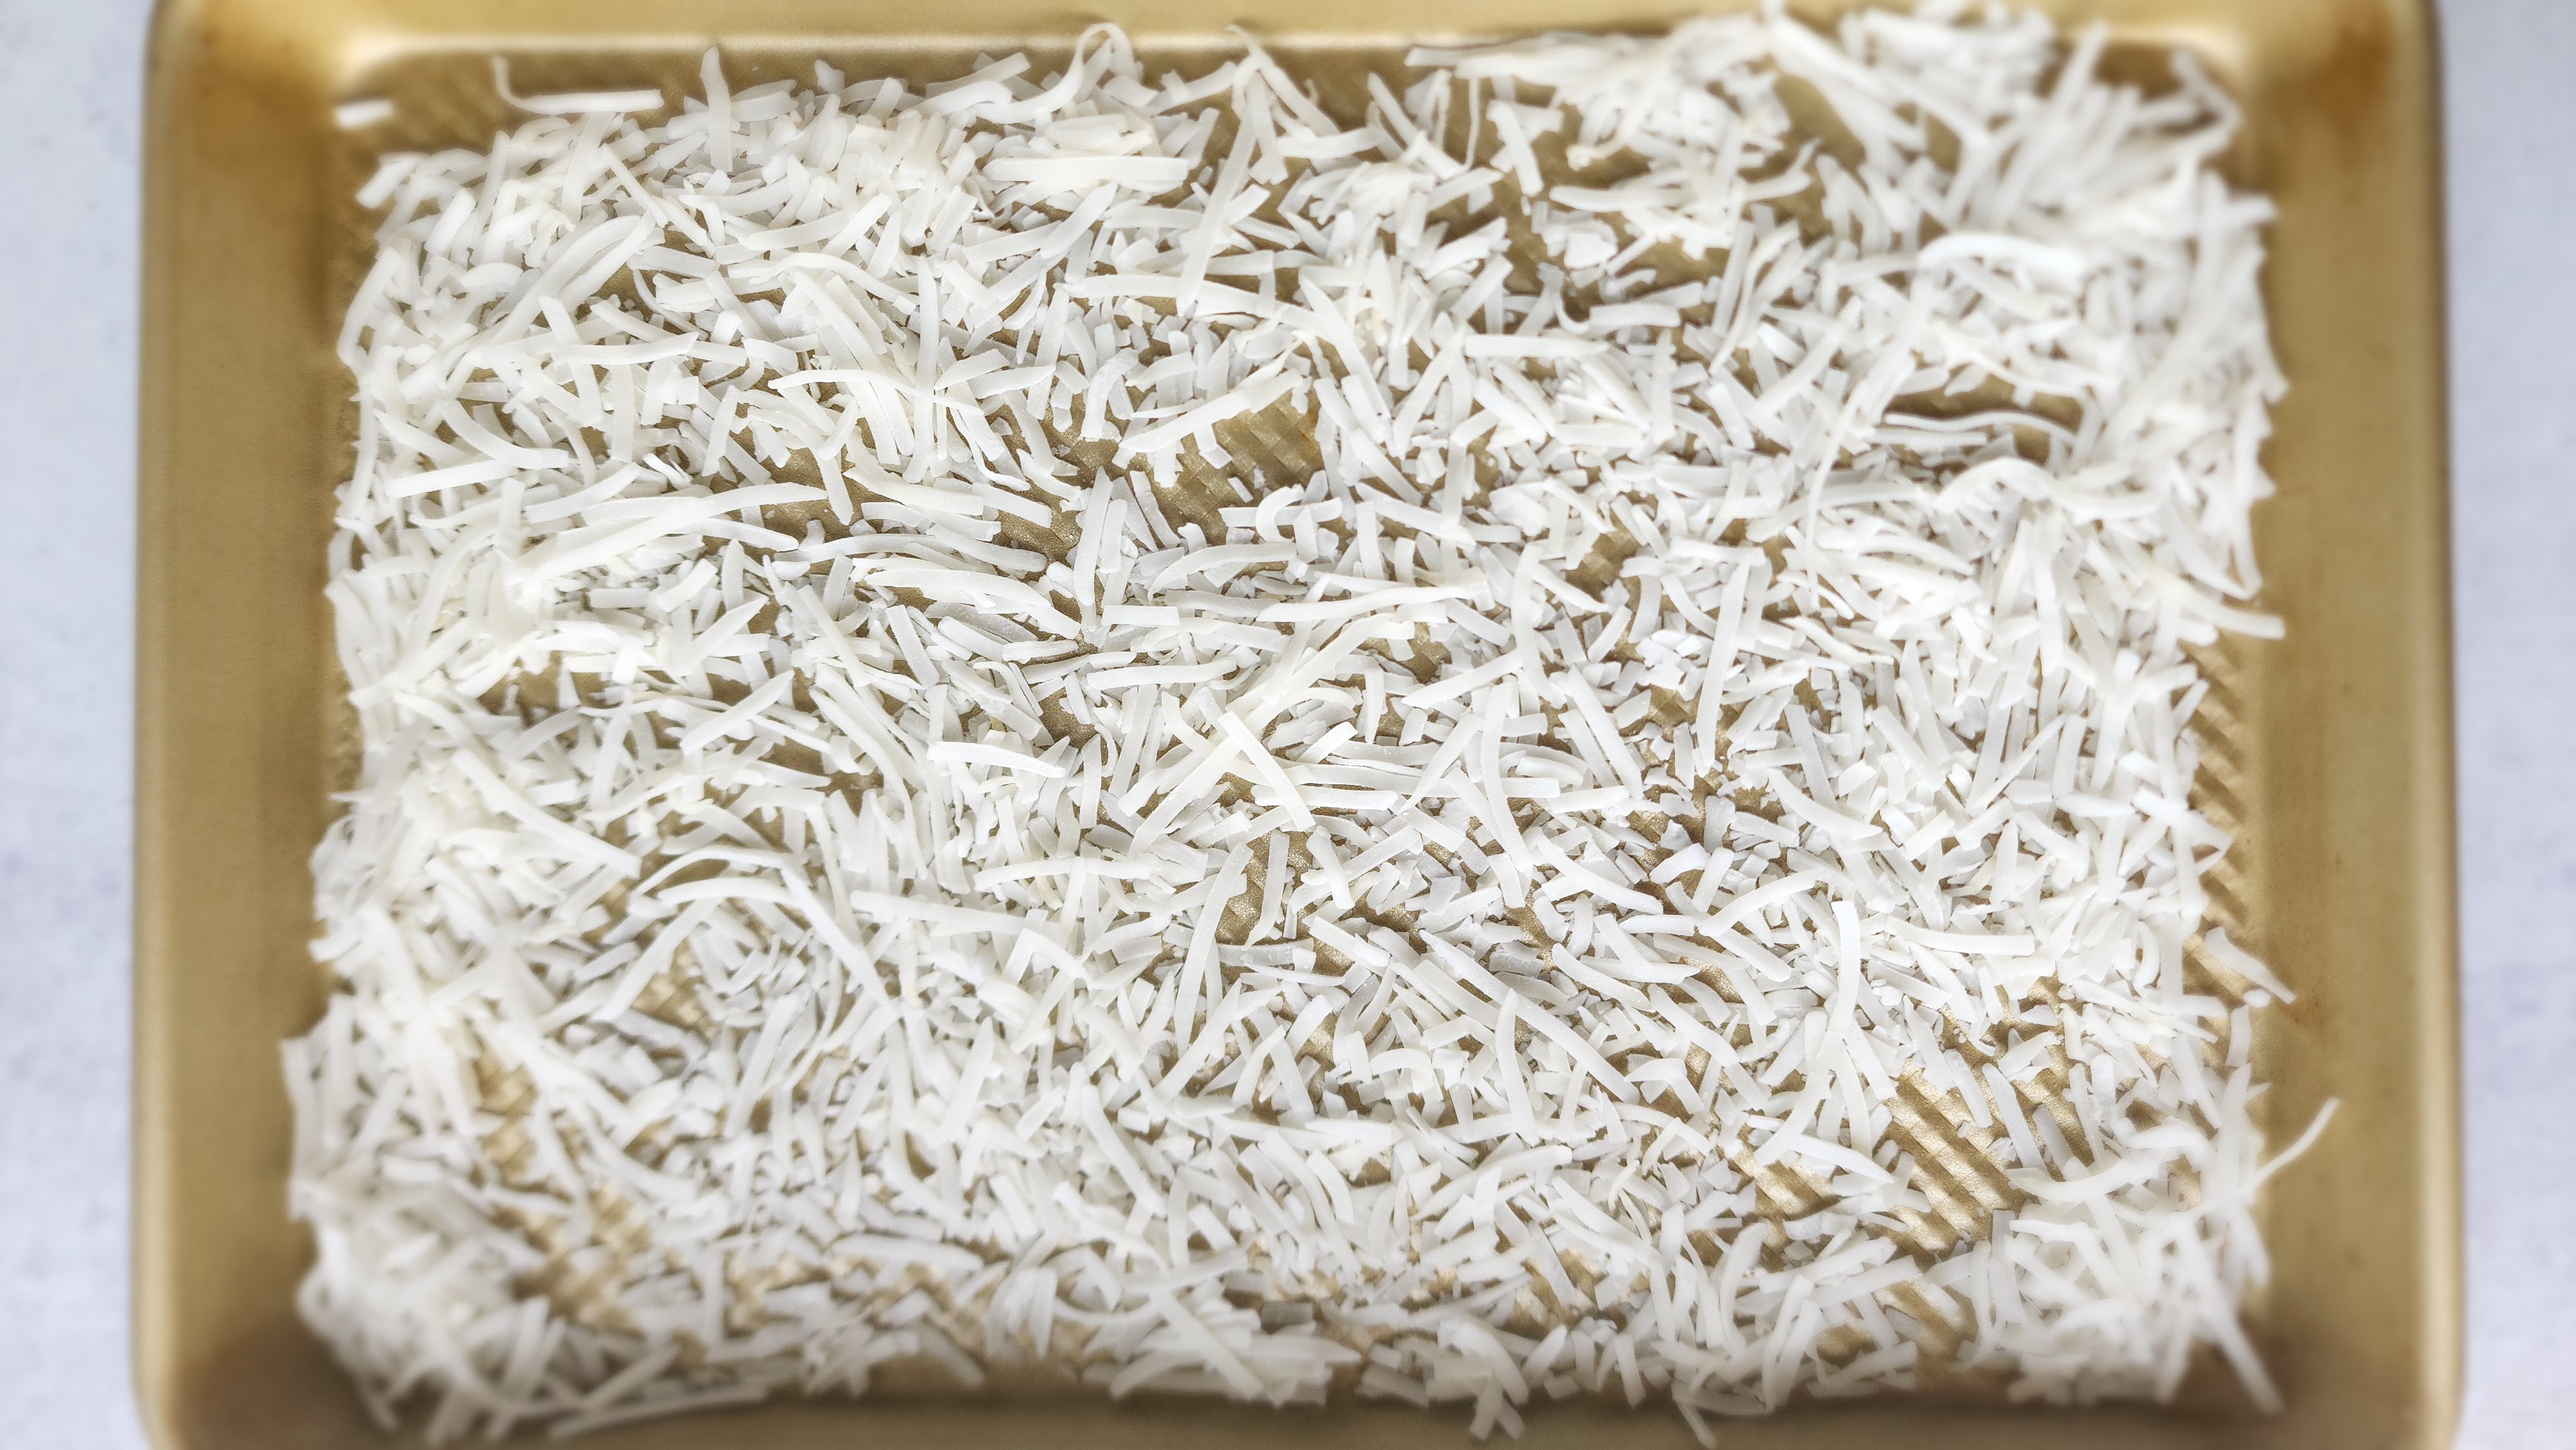
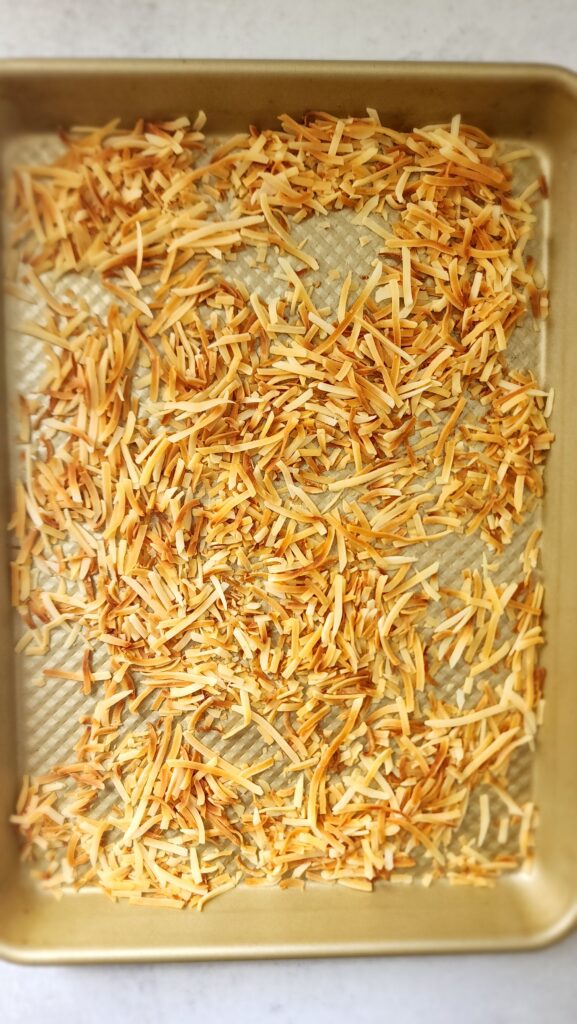
- To toast the coconut, spread in an even layer on a baking sheet. Toast in the oven at 325°F, stirring every 2-3 minutes, until golden. This should take 10 minutes. Watch closely because the coconut can go from golden to burnt in an instant!
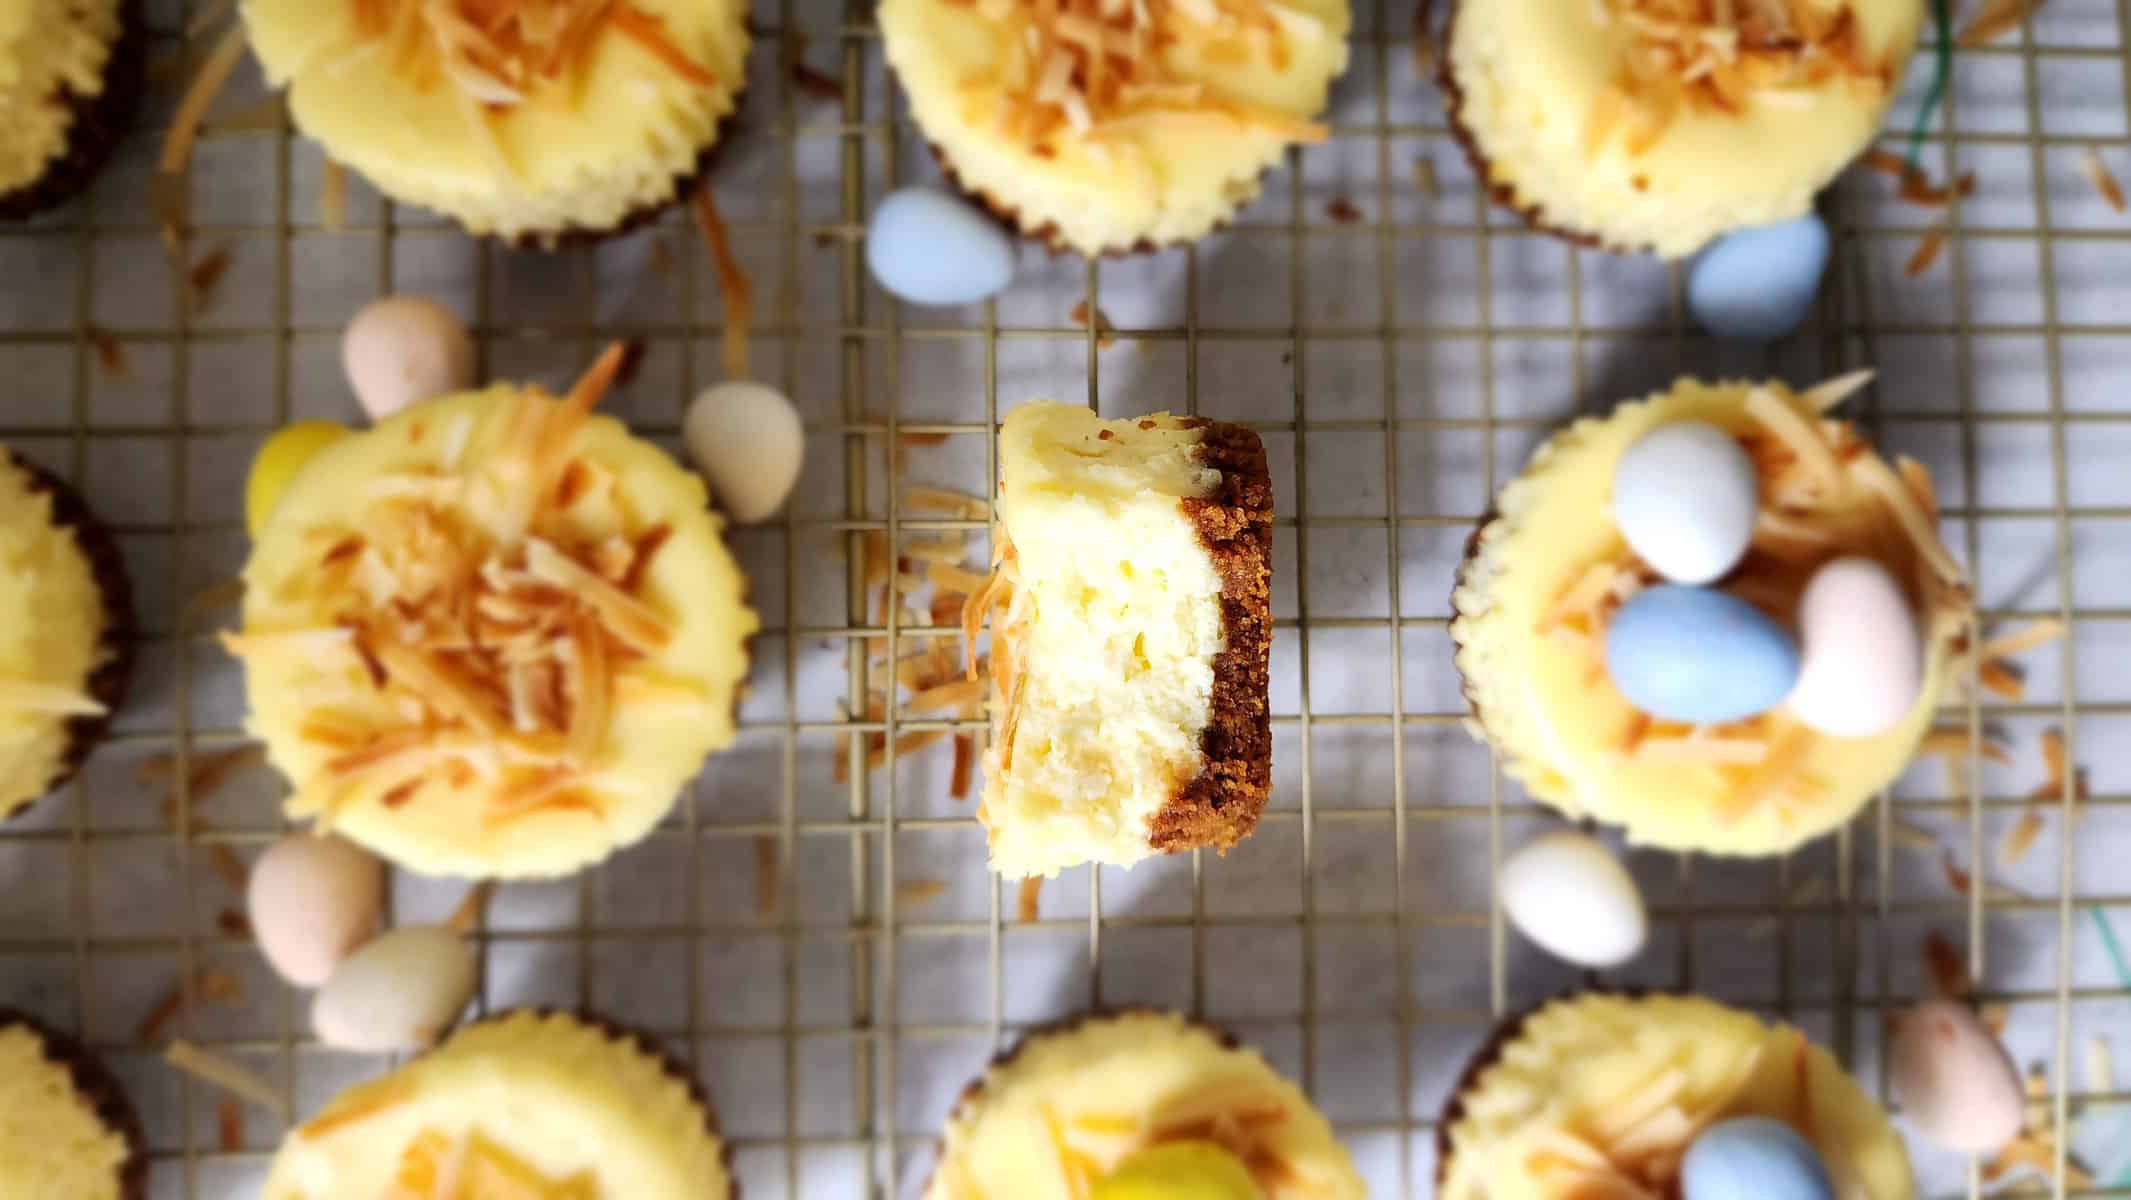
- Before serving, sprinkle the toasted coconut in a circle around the edges of each mini cheesecake to form the “nest” Place 3 mini egg candies in the center. Or once cooled you can add a dollop of whipped cream and some berries, melted chocolate, or just enjoy plain!
Pro Tips for Homemade Mini Cheesecakes
- Start off with really room temperature cream cheese. Leave it out the night before or zap it in the microwave for 20 seconds at 50% power. If the cream cheese is too firm the batter will not be smooth.
- Beat the cream cheese and sugars until completely smooth.
- Try not to open the oven, the rush of cold air into the oven will not be good for your delicate mini cakes.
- Don’t be frightened if your mini cheesecakes seem underdone after baking, they will firm up.
- Try your favorite cookies in place of the Graham crackers! Oreos are a popular addition and of course as seen here, Biscoff.
- These look SO good on a dessert table, especially if you make two to three different toppings for them. I loved whipped cream and berries, shaved chocolate, and chocolate ganache as options.
Mini Cheesecake FAQs
How do you know when mini cheesecakes are done?
How do you keep mini cheesecakes from sinking?
How do you keep mini cheesecakes from cracking?
Other Desserts (perfect for Easter)
PrintMini Cheeescakes
Delicious mini cheesecakes with a crunchy biscoff crust bake up in no time and are super simple to make! Top them with whipped cream, berries, melted chocolate, or serve plain!!
- Total Time: 36 minutes
- Yield: 12 1x
Ingredients
For Cheesecakes
- 16–ounces cream cheese, softened (2 packages)
- 1/4 cup sour cream
- 1 teaspoon vanilla extract
- 2 eggs, room temperature
- 1/2 cup sugar, granulated
For the Crust
- 20 Biscoff cookies
- 1/8 teaspoon salt
- 3 tablespoons butter, melted
For the Topping
- 1 cup coconut, toasted
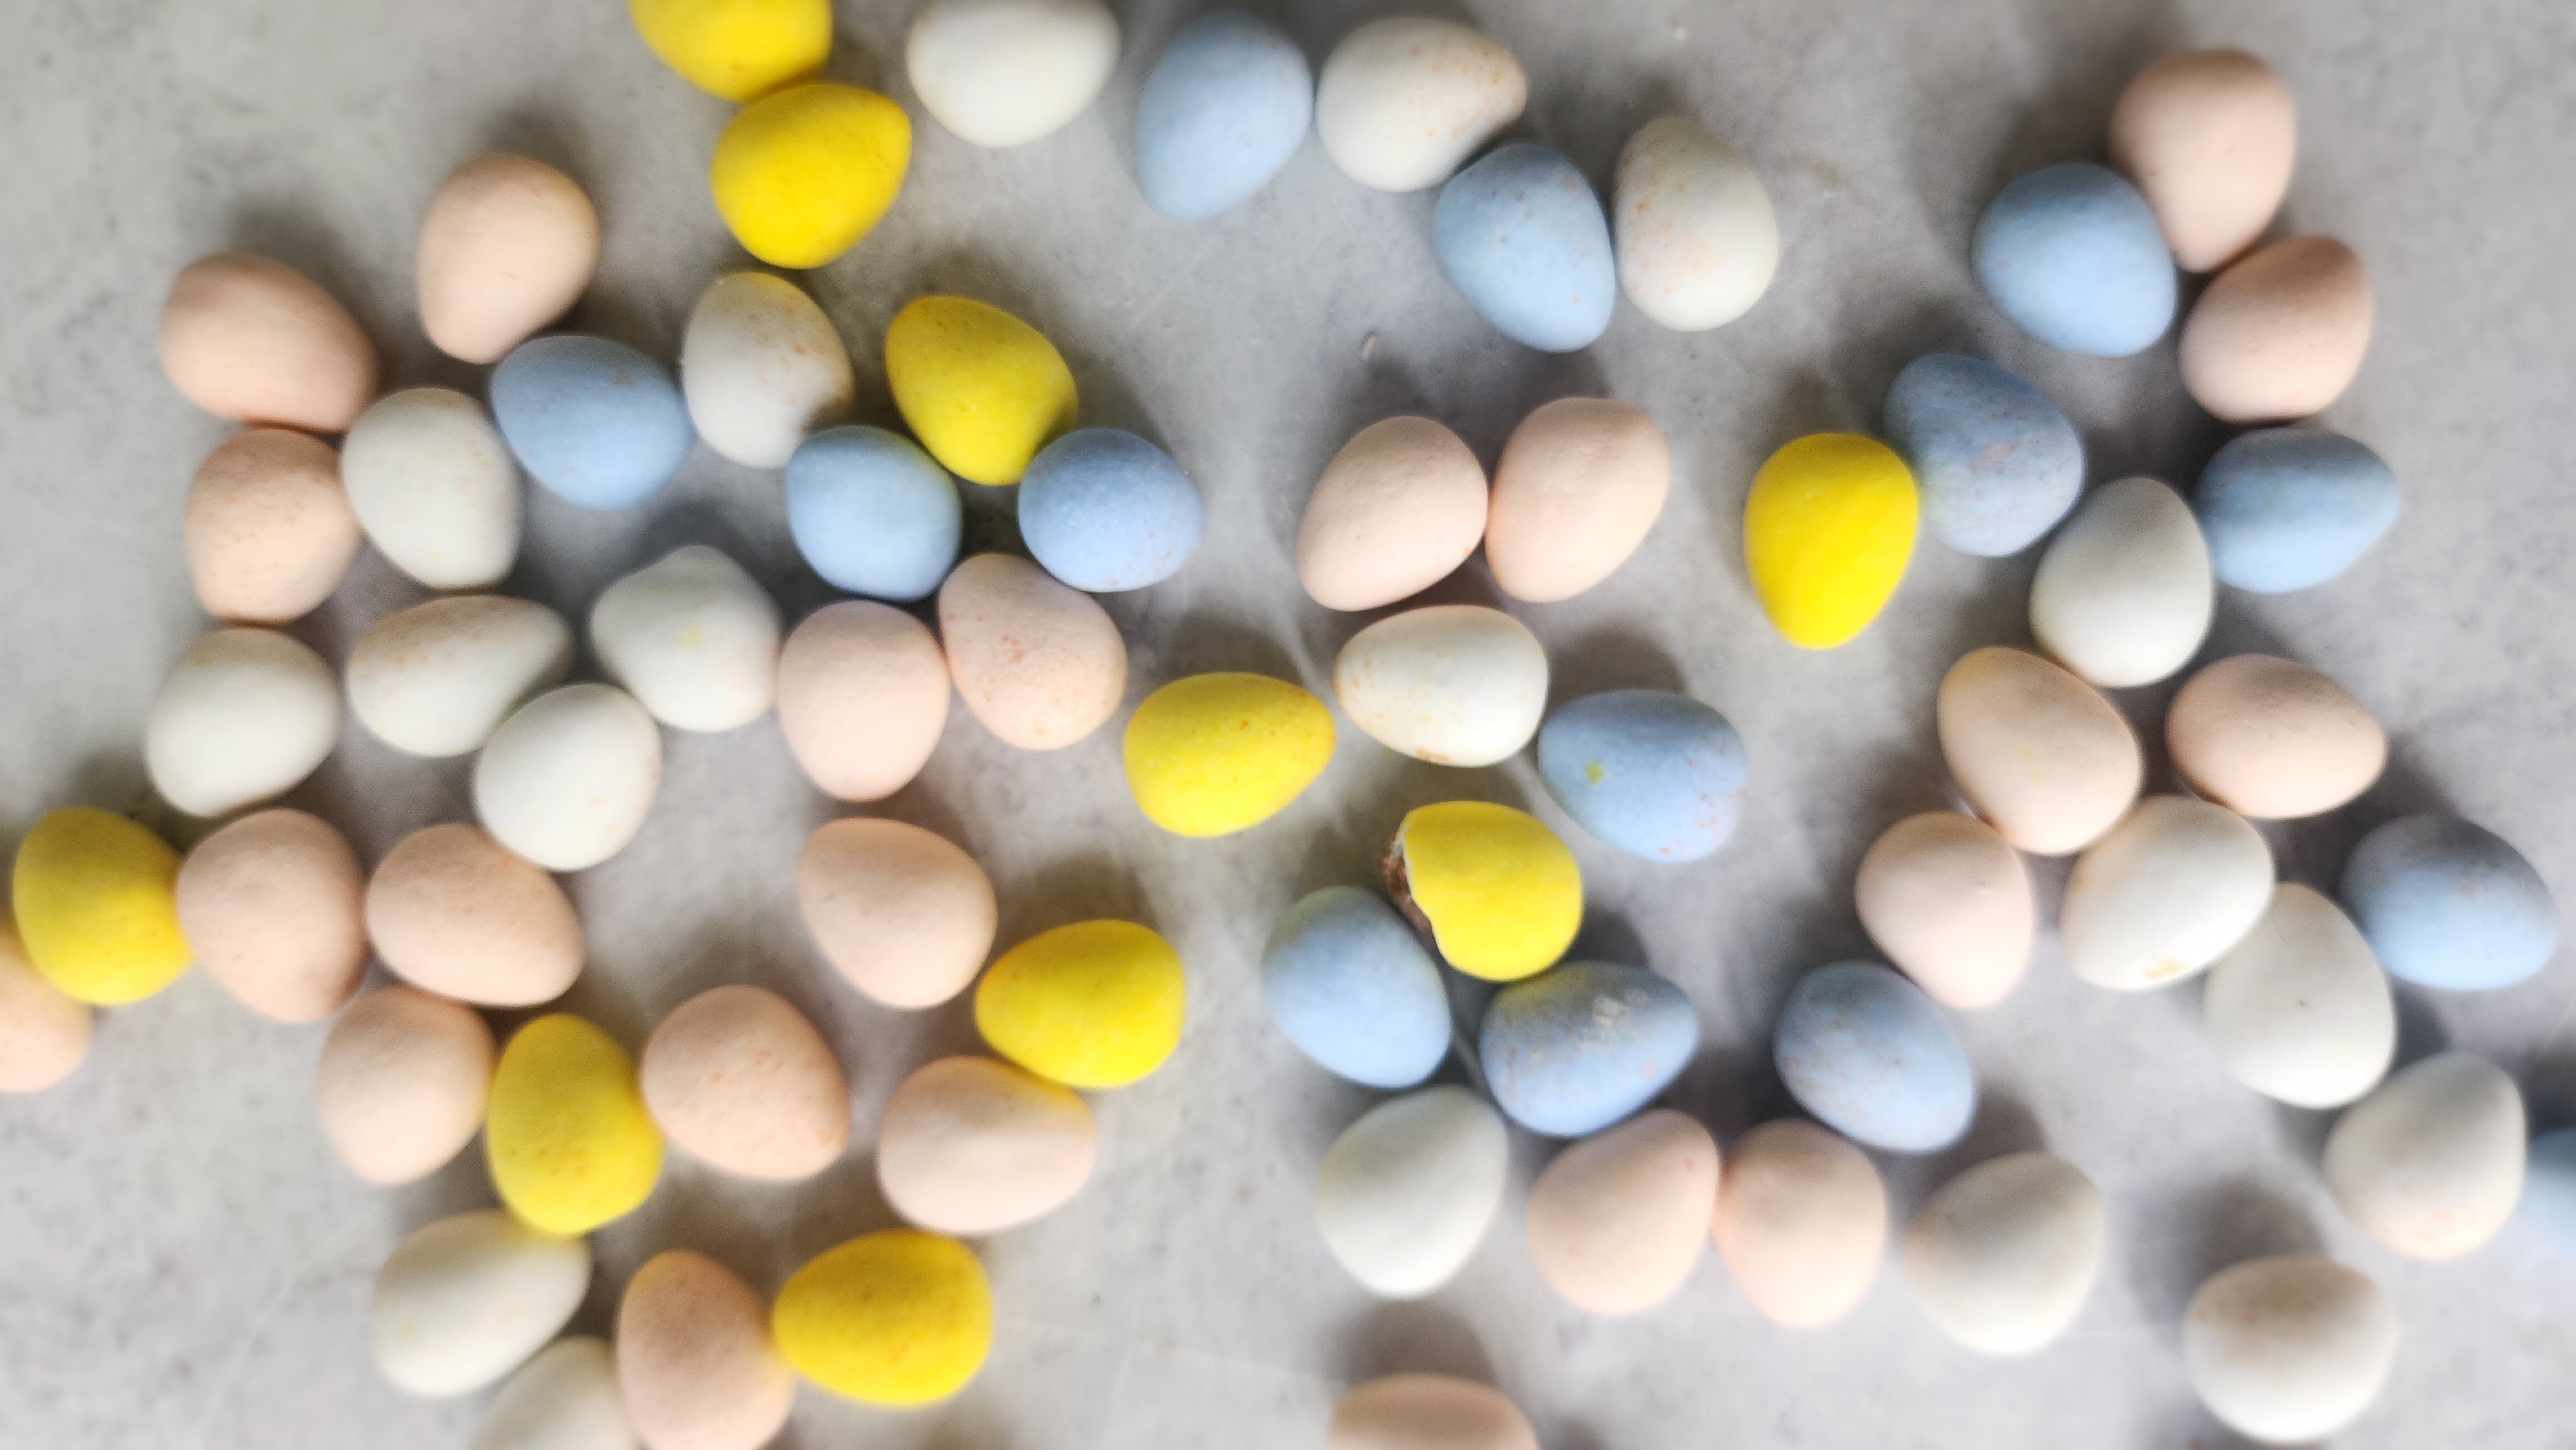
- 36 mini egg candies
Instructions
- Add the Biscoff cookies to the bowl of your food processor and pulse until finely chopped.
- Drizzle in the melted butter while pulsing then carefully remove the blade and scrape the bowl and mix the butter in completely.
- Add about a tablespoon of the crust into each cupcake paper. Use the back of a spoon to press the crust down evenly.
- Bake for about 8 minutes at 350˚F, or until fragrant and a a slightly darker golden color. Remove from oven, set aside.
- Make the filling: add the room temperature cream cheese, salt, and sugar to the bowl of your stand mixer fitted with a paddle attachment. Beat together until completely mixed then scrape the bowl down and beat one more time. You can also do this in a large bowl with an electric hand mixer or by hand to help prevent cracking (see FAQs section).
- Add the eggs one at a time while mixing on medium speed waiting for each egg to be incorporated before adding the next. Then scrape the bowl down and add the sour cream, and vanilla. Scrape down one last time and beat until completely smooth.
- Use an ice cream scoop to fill the cupcake papers about 3/4 of the way up. Bake at 350˚F for 25-30 minutes, or until centers are set. The cheesecakes will puff up a bit during baking then deflate slightly as they cool. Allow to rest in the oven for about 20 minutes with the door closed then remove and allow to cool to room temperature. Cheesecake is best if chilled for a few hours so they firm up and stay intact!
- Toast the coconut: spread in an even layer on a baking sheet and toast in the oven at 325°F, stirring every 2-3 minutes, until golden. This should take 10 minutes. Watch closely because the coconut can go from golden to burnt in an instant!
- Sprinkle the toasted coconut in a circle around the edges of each mini cheesecake to form the “nest” Place 3 mini egg candies in the center. Or once cooled you can add a dollop of whipped cream and some berries, melted chocolate, or just enjoy plain!
- Prep Time: 10
- Cook Time: 26
- Category: Desserts


1 thought on “Mini Cheeescakes”
These are too darn cute! Happy (early) Easter!