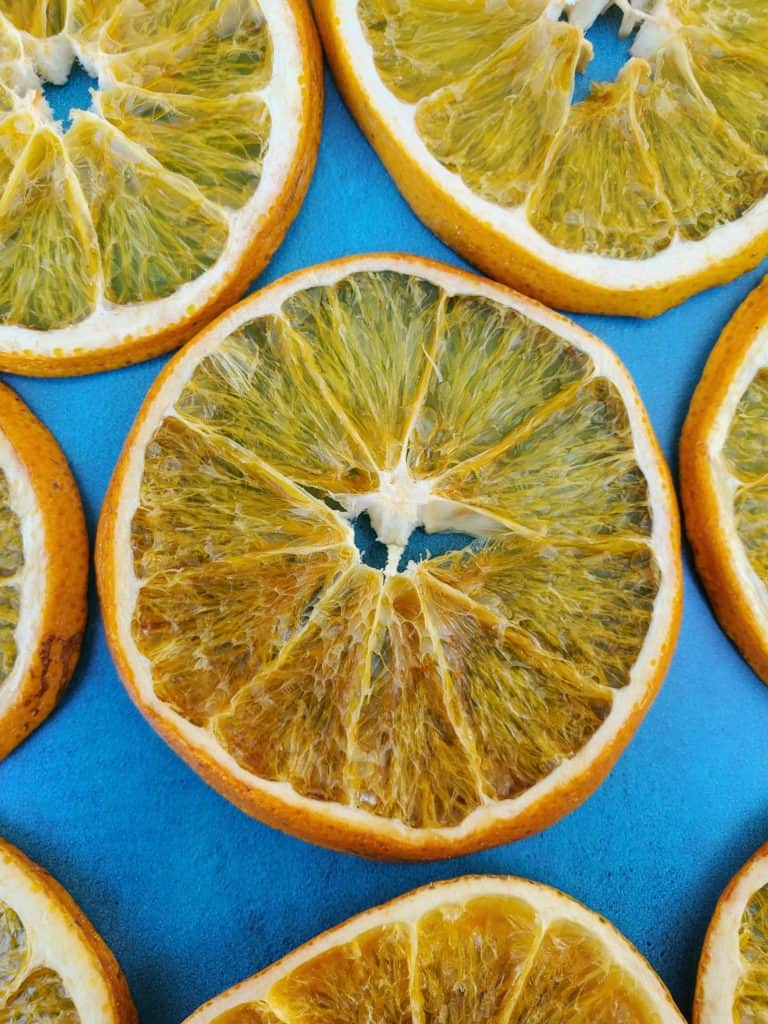
Dried Orange Slices – simple, beautiful, and so many ways to use. Expensive in stores, yet easy to make at home with your oven or dehydrator. These dried orange slices should be added to your list of things to make!
I was in the grocery store yesterday and there were so many food items and decorations for sale for Christmas. It was so festive and fun! Even if it is in the 80s here in Miami, I love this time of the year . They were selling dried orange slices as garland. I took a closer look and gasped at the price. Serious shock.
I’ve been on a homemade journey over the last few years. I try to make certain things ‘homemade’ vs store bought. I’m all for taking shortcuts and do understand that not everyone’s goal is to experiment and make homemade ketchup. I get it. But to charge what they were charging for the dried orange slices was highway robbery!
I’m sure some of you are thinking that time is money and that could be an argument. It surely could be a reason. However, if you’re at home, all you need to do is cut oranges and put them in the oven. That’s really all it is. If I’ve convinced you to make dried orange slices, read on. If I haven’t convinced you, still read on. Just buy the store bought ones. They’re a must this holiday season!
Why Dry Fruit?
- Simple– It really is simple to do. I’ve tried making homemade fruit leather and that’s not easy to do. Cutting up orange slices is easy. The hardest part? Trying to cut them the same width.
- Beautiful– Dried orange slices (or any fruit for that matter) really takes decorating up a notch. They’re elegant and classy.
- No special tools – I used a mandolin and dehydrator. However, I have to tell you my mandolin didn’t fit the width of the orange and I ended up cutting them. Yes, I used my dehydrator. This dehydrator is from the 1990s. Know the oven works just as well if you don’t want another kitchen appliance.
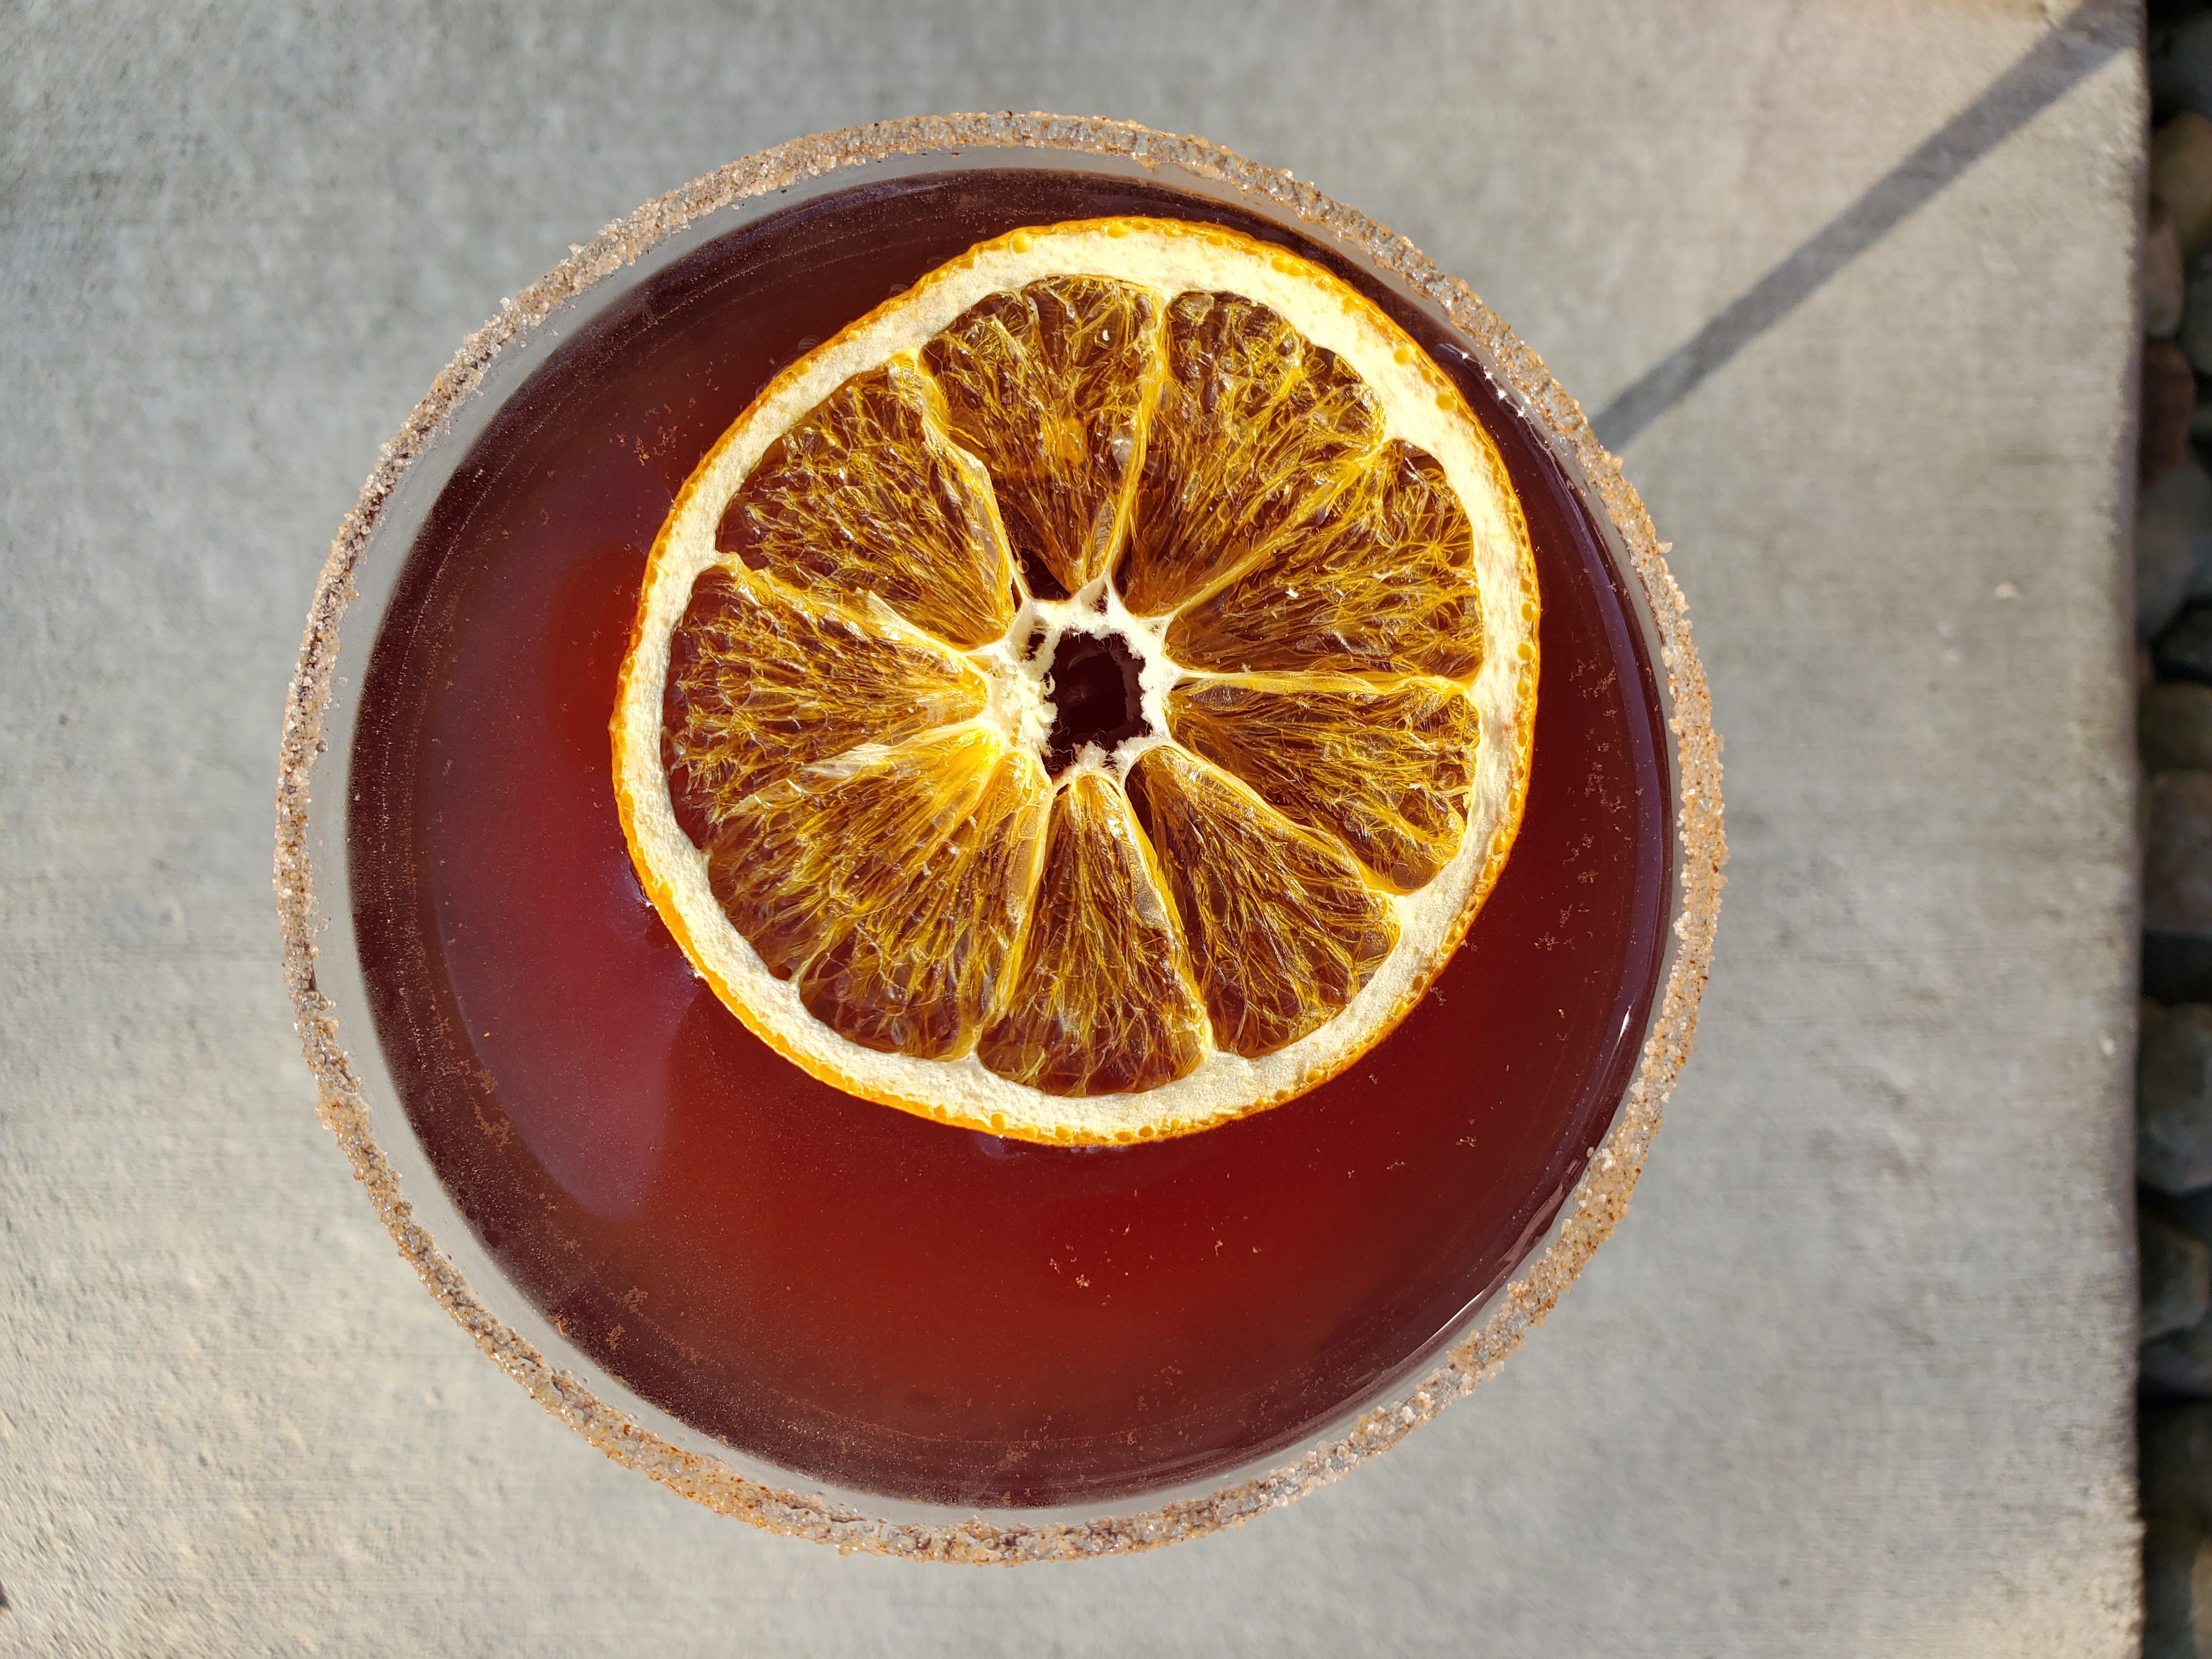
- All the Uses– Decoration around the house, in drinks, on top of cakes. They really have a wide variety of ways to use. I haven’t even dipped them in chocolate yet!

Ingredients: Oranges
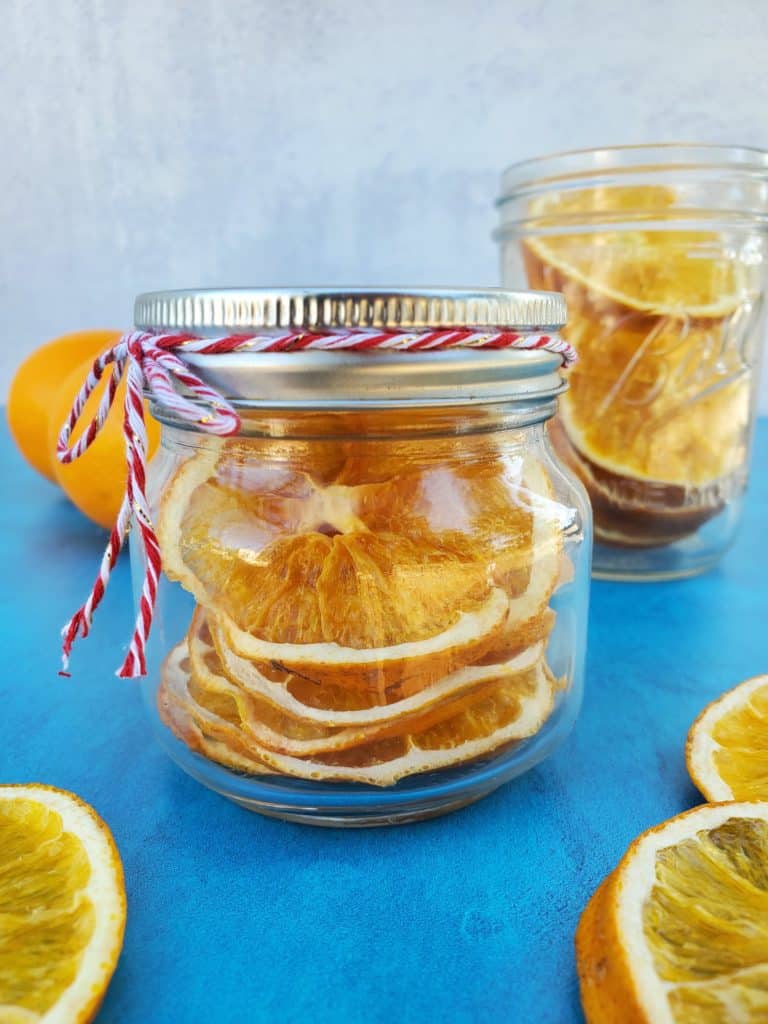
Technically one ingredient: oranges. While I highlighted oranges here, any citrus works. I’m going to dry a few limes, lemons, and grapefruits to have on hand for cocktails. If completely dried, they can last up to a year.
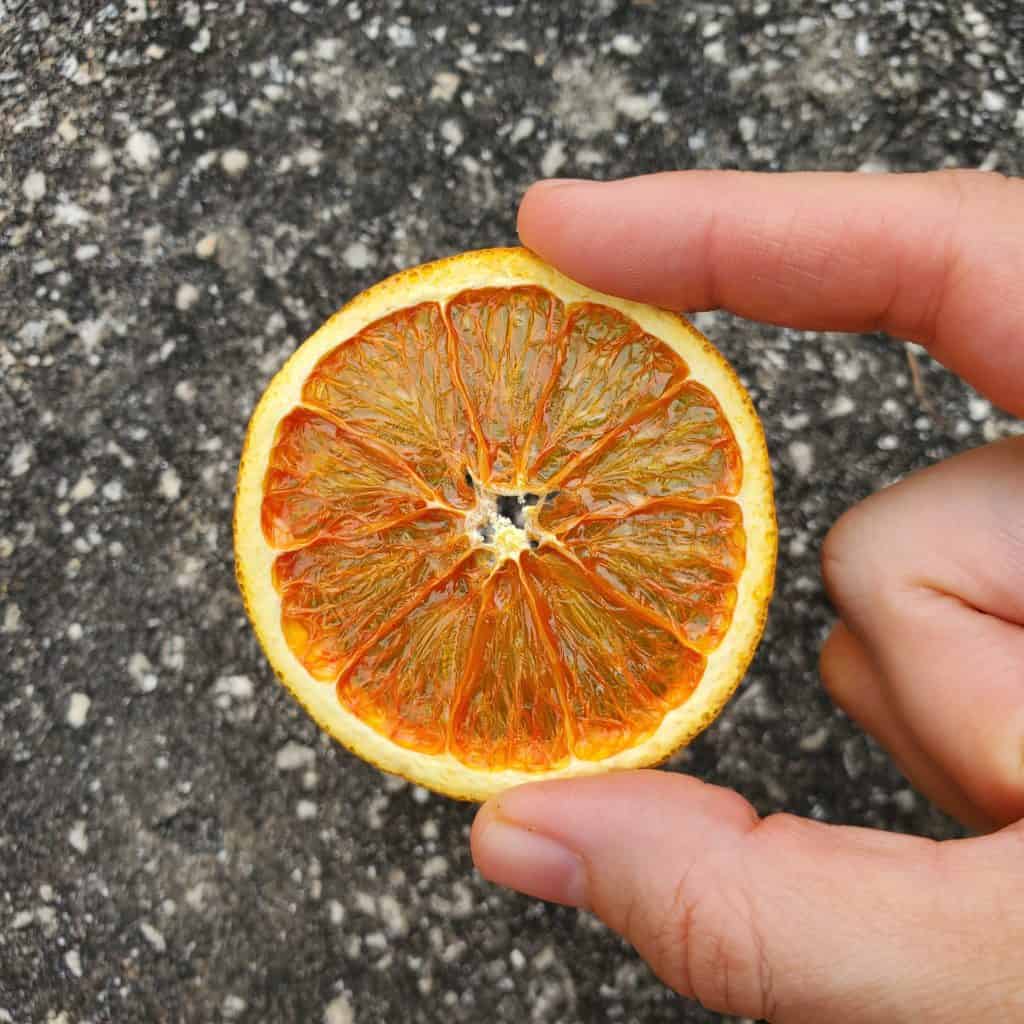
- Type of Orange: If you have an orange tree, use it. If not, buy oranges when they’re on sale. They are in season. Aim to get ones that are seedless. I used a ‘juicing’ orange here and they were still quite delicious, although the skin was a tad bitter. When you dry the fruit the flavor becomes intensified. The sweeter the better.
- Dark Chocolate*: Optional, but highly recommended. Dipping dried fruit in dark chocolate is just another way to use the dried fruit. It’s delicious as a snack/dessert.
- Flaky Salt*. Also optional, but adding flaky salt to the dark chocolate is a flavor explosion. Consider doing so.
How To: Dry Orange Slices
Time is important. Pick a rainy day (or snow day) when you’re at home. I used the dehydrator and did leave the house, but if you’re using the oven, I’d make sure you’re at home.
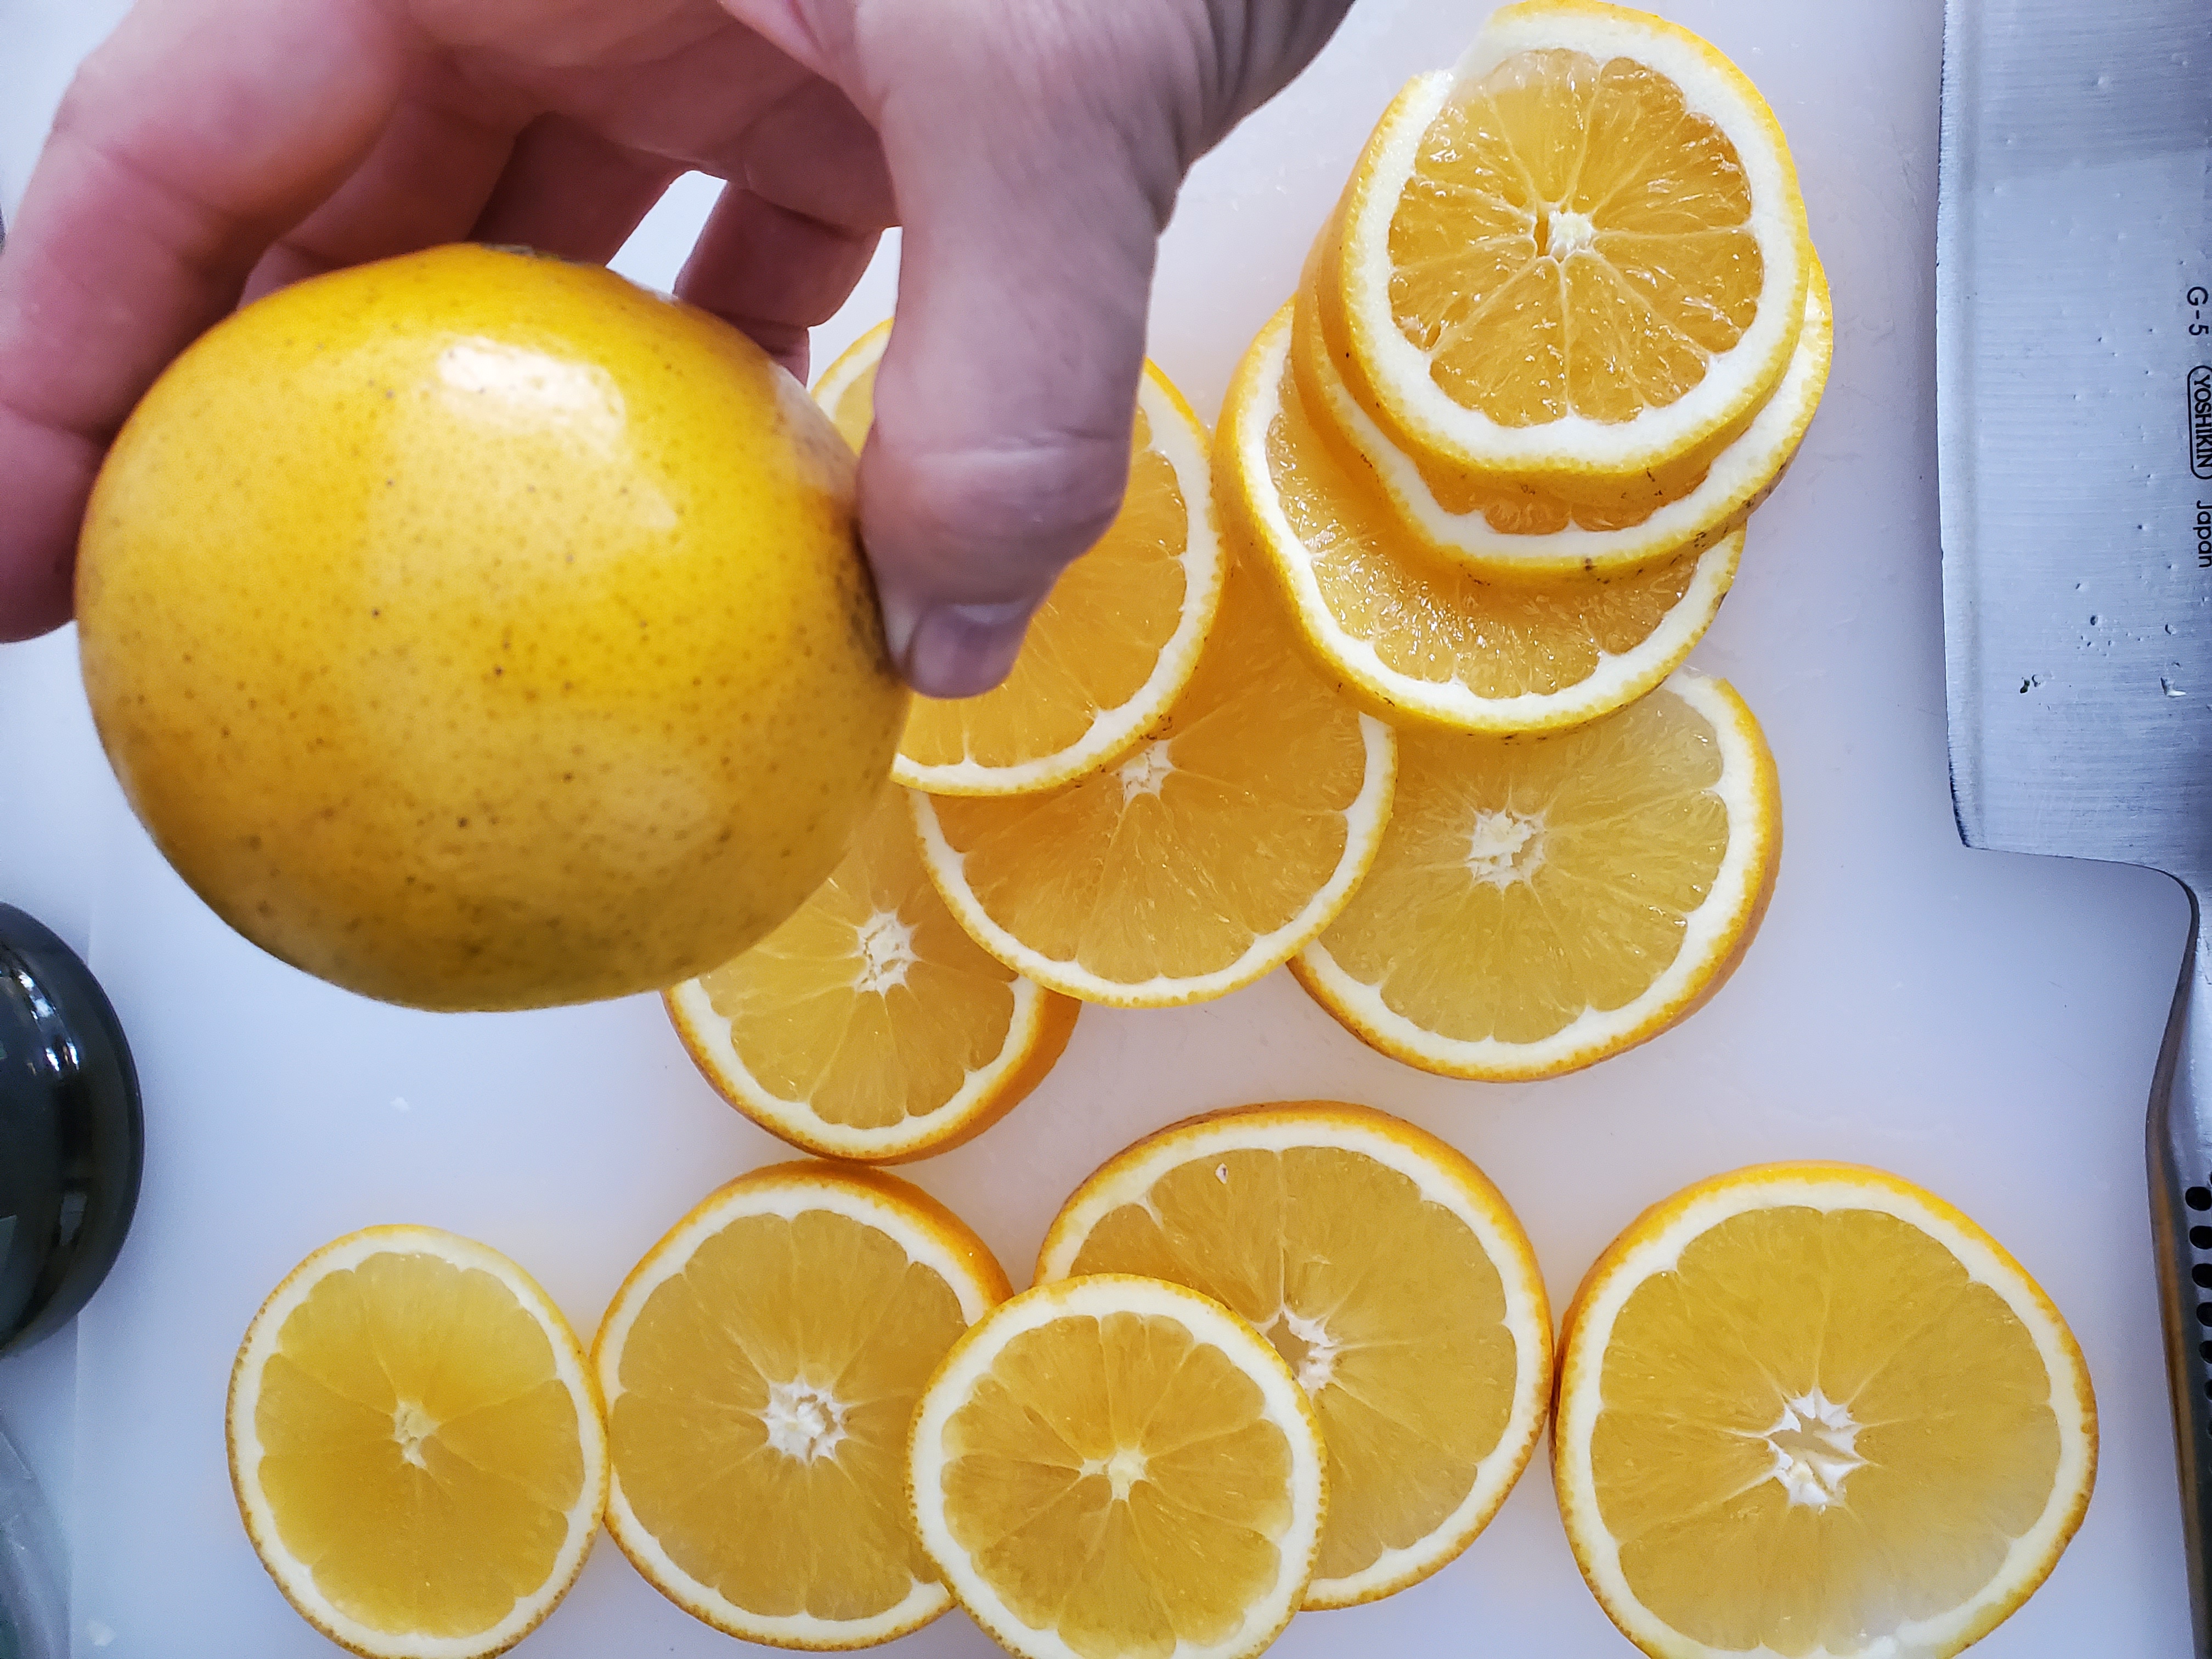
- Step 1: Grab as many oranges as you want. I started with the bag of 8. Wash them well and dry them well.
- Step 2: Preheat your oven to 175˚F. OR if using you’re dehydrator, no preheat is necessary. The dehydrator I have only goes to 145˚F.
- Step 3: With a large, sharp knife, slice the oranges into thin slices. The thinner the better, but I aim for about 1/8 of an inch. The thicker the slices are, the longer they’ll take to dehydrate. You can also use a mandolin if you prefer.
- Step 4: Pick out any seeds and blot the slices dry. Lay the the slices on baking trays or on your dehydrator racks. You’ll need ~3 baking trays. Fit them in your oven all at once since the oven is on for so long. I didn’t use parchment paper – just make sure you do flip them every so often so they don’t stick.
- Step 5: Bake for 3.5 to 5.5 hours. The ‘cook time’ depends on the thickness of the slices. Turn every hour or 1.5 hours so that they dry evenly. They’re done when there are no longer any moist spots. *The dehydrator took 6-8 hours. I did not flip them and just let them be. Remember the oven temperature was a tad higher.
OTHER FOOD GIFT IDEAS
Print Dried Orange Slices
Dried Orange Slices – simple, beautiful, and so many ways to use. Expensive in stores, yet easy to make at home with your oven or dehydrator. These dried orange slices should be added to your list of things to make!
- Total Time: 4 hours 40 minutes
- Yield: 5 1x
Ingredients
- 8 oranges, washed, dried, and evenly sliced
Instructions
- Grab as many oranges as you want. I started with the bag of 8. Wash them well and dry them well.
- Preheat your oven to 175˚F. OR if using you’re dehydrator, no preheat is necessary. The dehydrator I have only goes to 145˚F.
- Slice with a large, sharp knife the oranges into thin slices. The thinner the better, but I aim for about 1/8 of an inch. The thicker the slices are, the longer they’ll take to dehydrate. You can also use a mandolin if you prefer.
- Pick out any seeds and blot the slices dry. Lay the the slices on baking trays or on your dehydrator racks. You’ll need ~3 baking trays. Fit them in your oven all at once since the oven is on for so long. I didn’t use parchment paper – just make sure you do flip them every so often so they don’t stick.
- Bake for 3.5 to 5.5 hours. The ‘cook time’ depends on the thickness of the slices. Turn every hour or 1.5 hours so that they dry evenly. They’re done when there are no longer have any moist spots. *The dehydrator took almost 8 hours. I did not flip them and just let them be. Remember the oven temperature was a tad higher.
- Prep Time: 10
- Cook Time: 270
- Category: Condiments


1 thought on “How To Make Dried Orange Slices”
I might try to do this at the holidays and decorate the house with them – instead of just in my drinks!