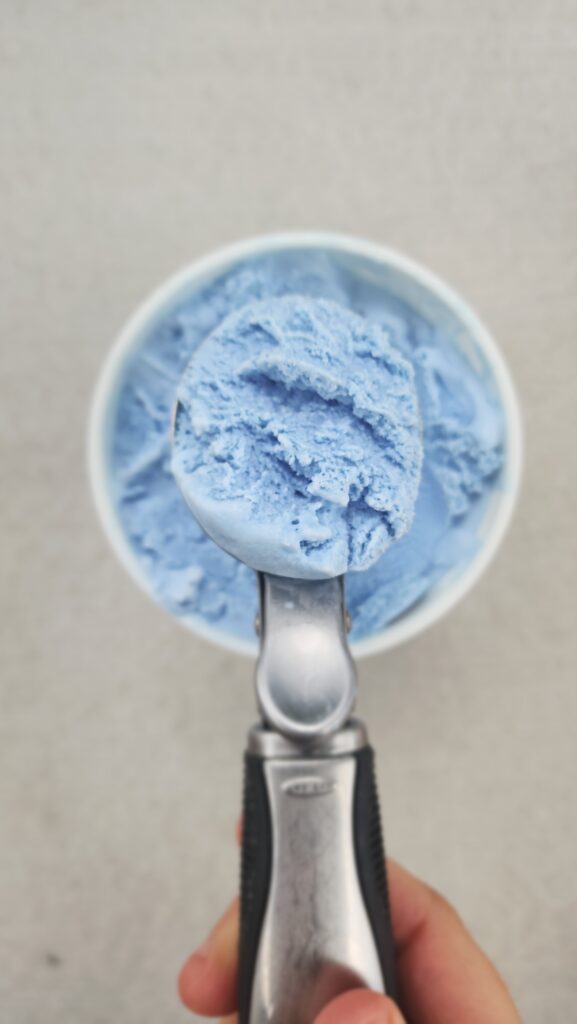
Red, white, and… blue-hued ice cream? This July 4th, I’m celebrating with a colorful twist—Butterfly Pea Flower Ice Cream! Naturally vibrant and refreshingly creamy, it’s a fun, eye-catching treat that’s perfect for summer gatherings. Whether you’re enjoying fireworks or just trying to cool off, this scoop brings a little magic to your holiday spread.
Last week, during a work call, a patient asked me if I was a scientist. While a Registered Dietitian Nutritionist isn’t technically a scientist, we do study a LOT of science! I had a ‘food science’ class in college where we dove deeper to understand different chemical reactions in baking and cooking. So, even though I didn’t pursue further studies in that direction, I’d like to think that creating in the kitchen and making unique dishes is my own form of ‘food science’. Enter this Butterfly Pea Flower Ice Cream!
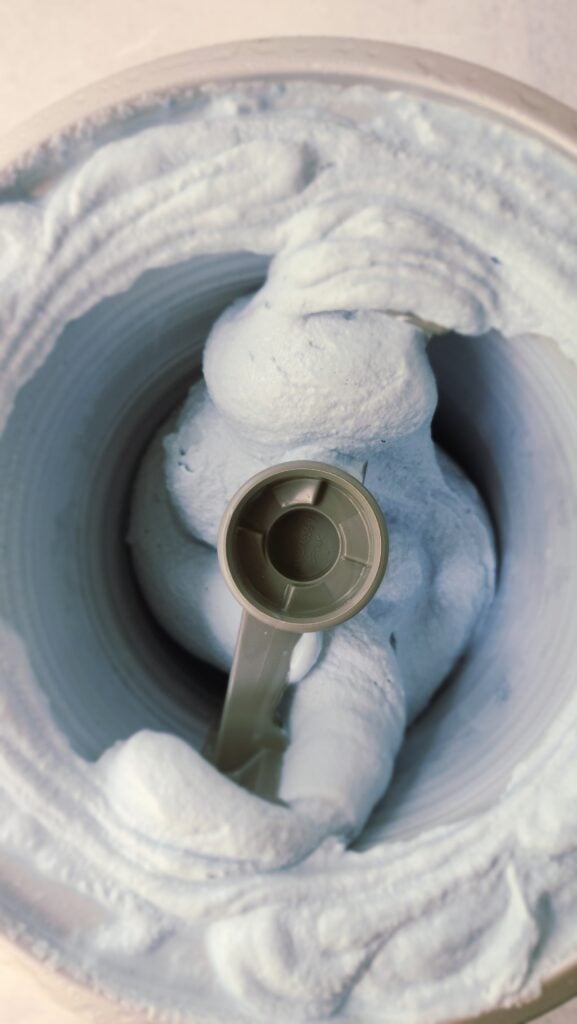
It was really fun creating the Butterfly Pea Flower Cocktail, and I thought I’d make another recipe with the butterfly pea flowers. With the 4th of July right around the corner, no better time to create a naturally blue dessert. I made a super simple Vanilla Ice Cream a few years ago and decided to steep the butterfly pea flowers in the cream and milk mixture to see if it worked. And surprise, surprise, it worked beautifully! Believe me when I tell you it doesn’t impact the flavor at all! It tastes just like vanilla ice cream, only blue!
Ingredients: Butterfly Pea Flower Ice Cream
- Heavy Cream: Yes, heavy cream. This is what creates the rich ice cream base. Ice cream is not low in fat, but it is full of flavor!
- Whole Milk: You guessed it! Yes, whole milk. This is not the time to use reduced-fat or skim milk. The higher fat content in whole milk ensures that the homemade ice cream comes out creamy, rather than icy.
- Granulated Sugar: I’ve used the bare minimum and what tastes good to me. Start with just 1/3 cup, and if it’s the first time you make this and it tastes too sweet, reduce it to 1/4 cup. If it isn’t sweet enough, you can always increase the amount to 1/2 cup.
- Vanilla Bean: Scrape the vanilla bean for not only the vanilla bean flavor but also the specks of vanilla throughout. No vanilla beans? Use vanilla extract instead.
- Salt: It’s just a smidge, but it IS necessary to help all the flavors come together.
- Butterfly Pea Flowers: Purchase loose dried butterfly pea flowers (as pictured).

How To Make Butterfly Pea Flower Ice Cream
- FREEZE: First, freeze the bowl of your ice cream maker. During the summer, I always keep mine in the freezer so it’s ready to go whenever I need it. I can’t tell you how many times I’ve forgotten this step and had to scrap my ice cream plans for the day. The bowl must be completely chilled for the ice cream to firm up properly.
- Make the ice cream base. I recommend prepping this step anywhere from 2 to 24 hours in advance. If you make it less than 2 hours ahead, the base won’t chill enough to thicken nicely during churning.
- Combine the cream, milk, sugar, vanilla bean (or extract), and salt in a medium saucepan over medium-low heat. Warm the mixture for about 5 minutes, whisking often, until the sugar is fully dissolved and the base is warmed through. You don’t want it to get too hot—just warm enough to infuse flavor without forming a film on top.
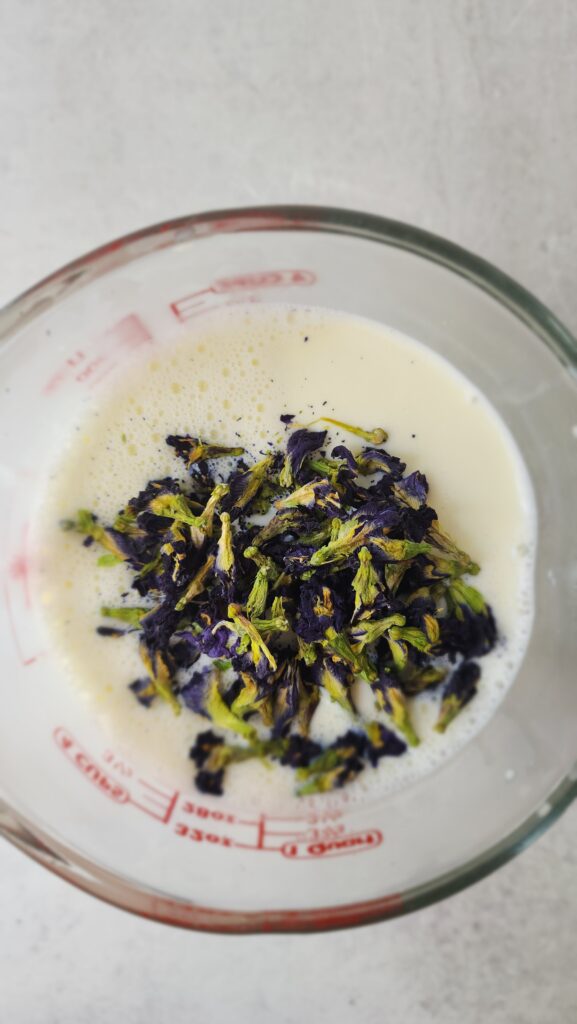
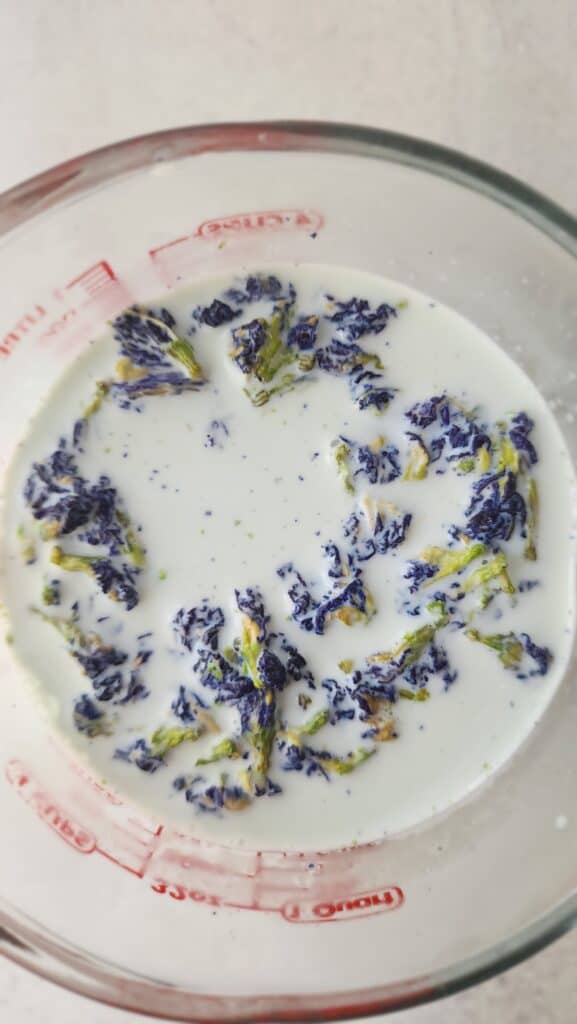
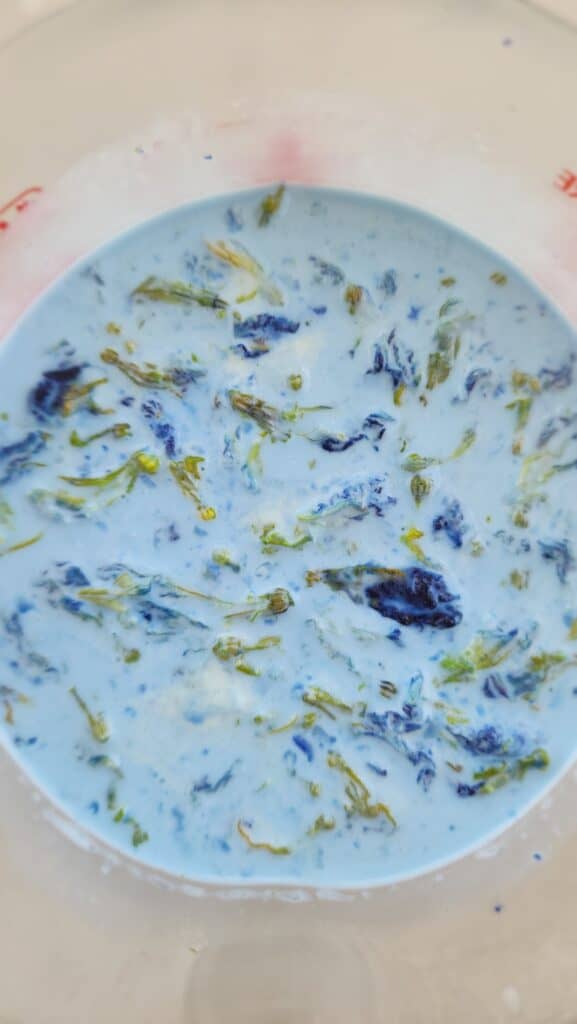
- Steep the butterfly pea flowers. Once the sugar has dissolved and the mixture is warm, remove the pan from the heat and stir in the dried butterfly pea flowers (about 1/4 cup, depending on how bold you want the color). Let them steep in the warm mixture for about 10–15 minutes, stirring occasionally. The mixture will take on a beautiful blue hue. After steeping, strain out the flowers using a fine mesh sieve and discard them.
- Chill the base – Pour the infused ice cream base into a heatproof bowl, cover it, and refrigerate for at least 2 hours, or ideally overnight, to allow the mixture to chill thoroughly.
- Churn – When you’re ready to make the ice cream, churn it in your ice cream maker according to the manufacturer’s instructions—usually around 20–25 minutes.
- Note: The texture will be soft and creamy straight out of the machine, like soft serve. It’s absolutely delicious that way, but I personally prefer it after it’s been in the freezer for about 2 hours. It scoops better, holds its shape in a cone, and pairs beautifully with toppings.
- Transfer the churned ice cream into a quart-size airtight container using a spatula.
- Freeze for at least 2 hours before serving. The ice cream will be easy to scoop on the first day, but as it sits in the freezer, it will firm up. Let it sit at room temperature for a few minutes before scooping.
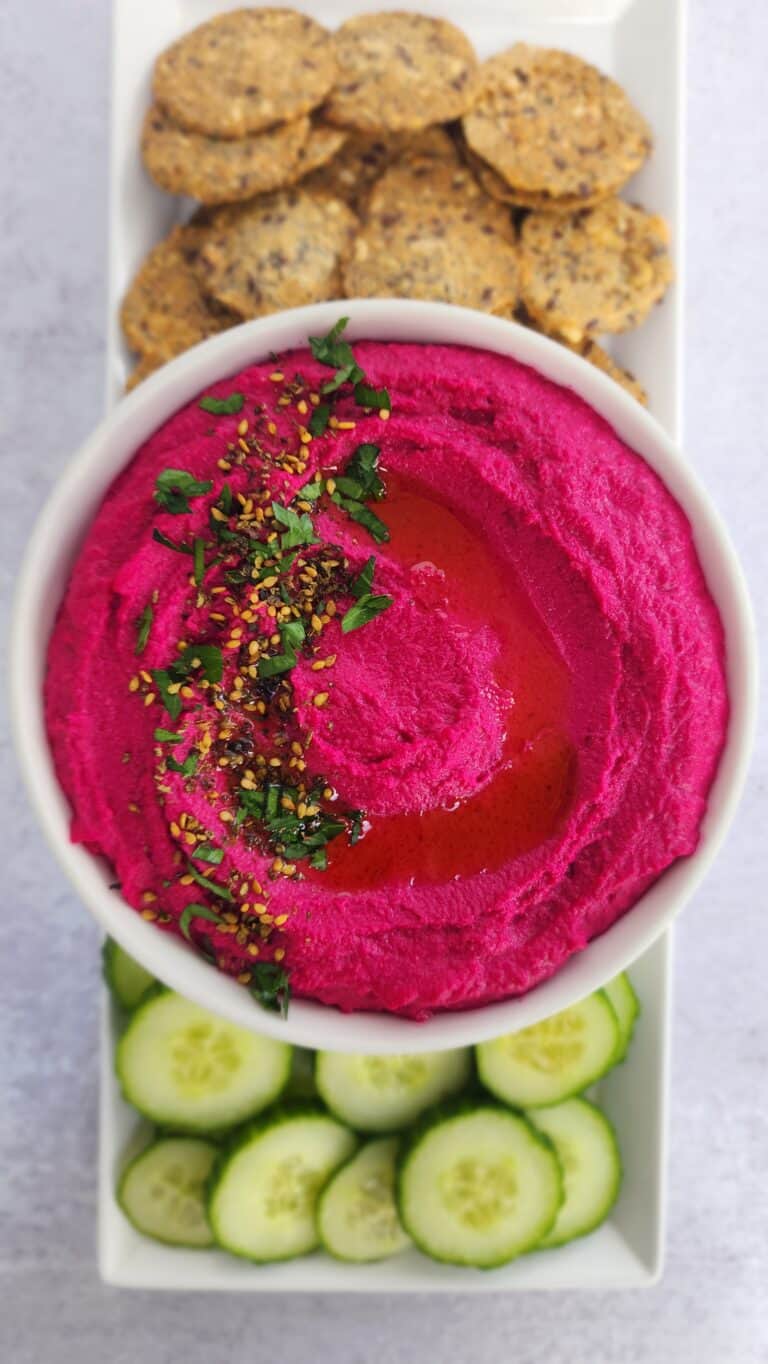
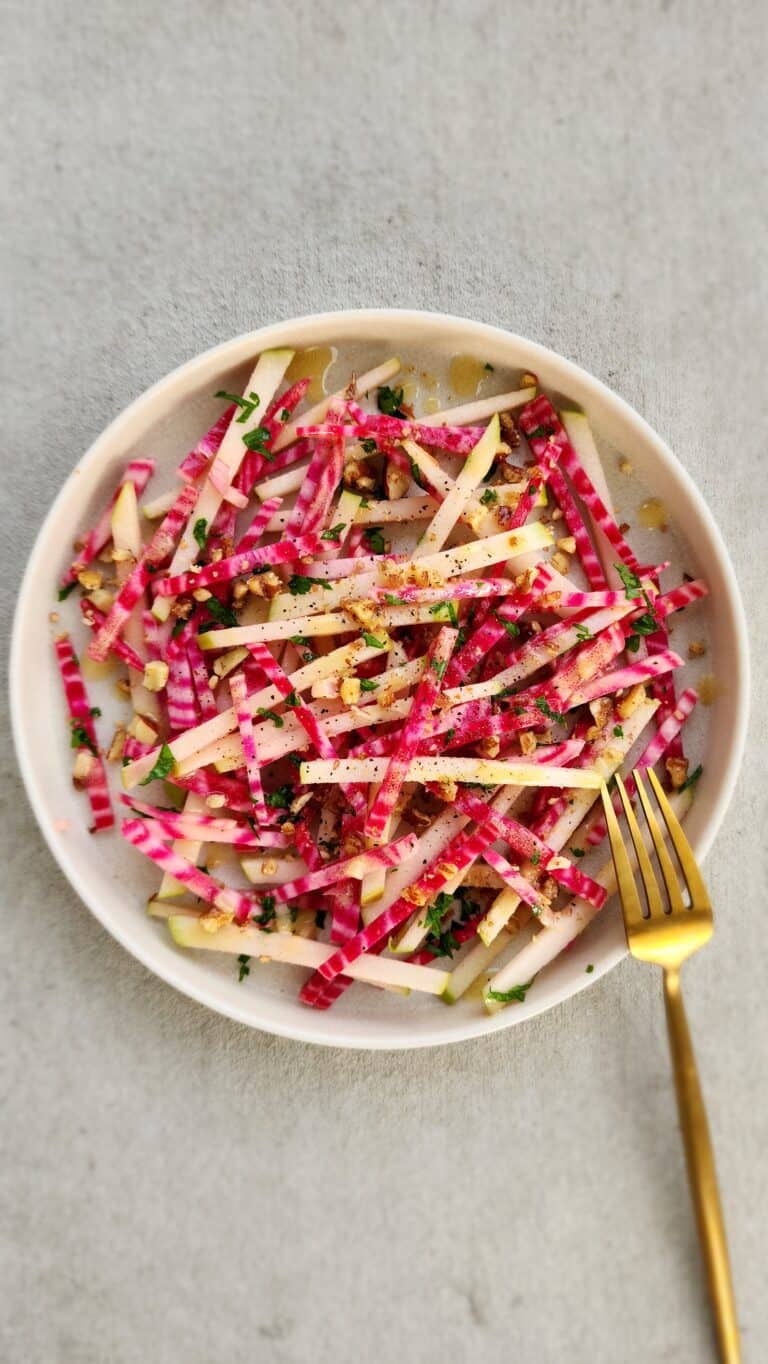
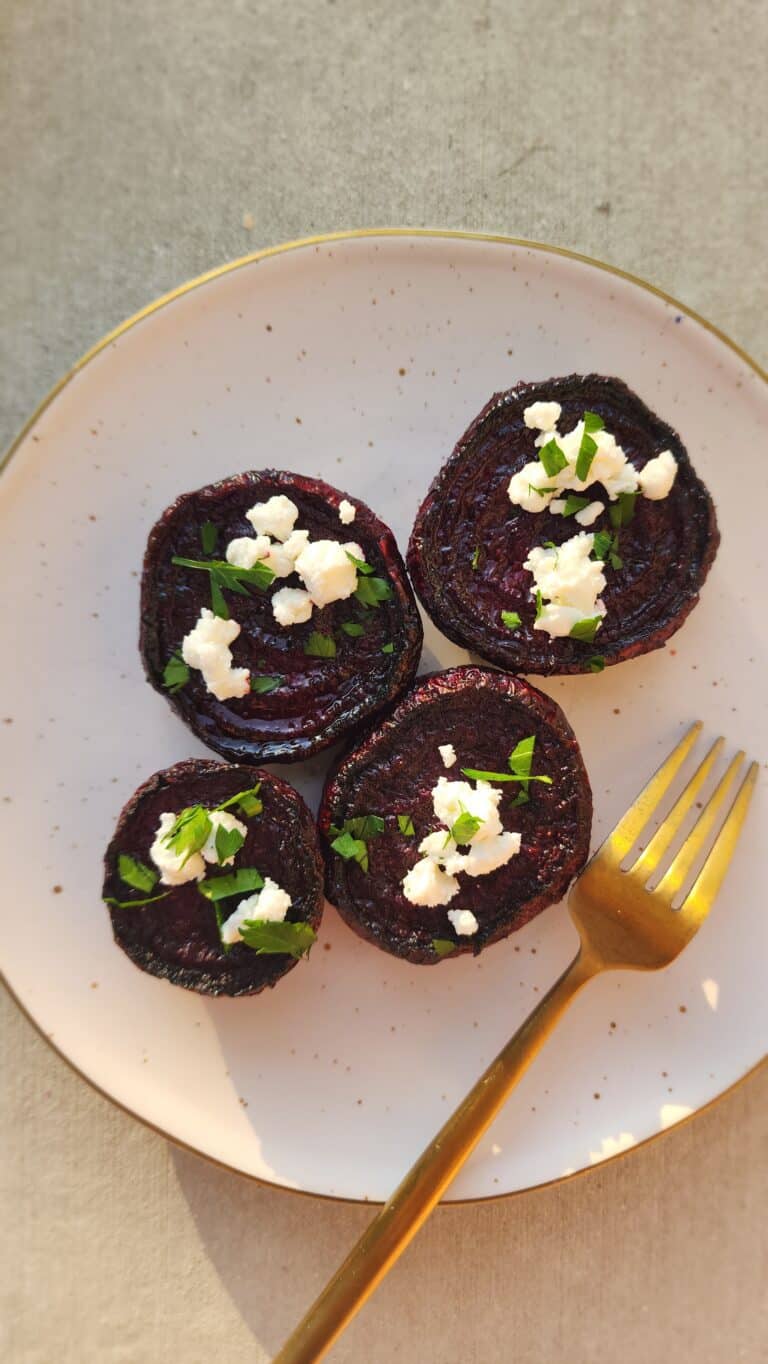
Other Summer Desserts
Print
Butterfly Pea Flower Ice Cream
Red, white, and… blue-hued ice cream? This July 4th, I’m celebrating with a colorful twist—Butterfly Pea Ice Cream! Naturally vibrant and refreshingly creamy, it’s a fun, eye-catching treat that’s perfect for summer gatherings. Whether you’re enjoying fireworks or just trying to cool off, this scoop brings a little magic to your holiday spread.
- Total Time: 30
- Yield: 8 1x
Ingredients
- 1 1/2 cups heavy whipping cream
- 1 1/2 cups whole milk
- 1/3 cup granulated sugar
- 1/4 cup butterfly pea flowers
- 1 vanilla bean or two teaspoons vanilla extract
- 1/8 teaspoon sea salt
Instructions
- FREEZE: First, freeze the bowl of your ice cream maker. During the summer, I always keep mine in the freezer so it’s ready to go whenever I need it. I can’t tell you how many times I’ve forgotten this step and had to scrap my ice cream plans for the day. The bowl must be completely chilled for the ice cream to firm up properly.
- Make the ice cream base. I recommend prepping this step anywhere from 2 to 24 hours in advance. If you make it less than 2 hours ahead, the base won’t chill enough to thicken nicely during churning.
- Combine the cream, milk, sugar, vanilla bean (or extract), and salt in a medium saucepan over medium-low heat. Warm the mixture for about 5 minutes, whisking often, until the sugar is fully dissolved and the base is warmed through. You don’t want it to get too hot—just warm enough to infuse flavor without forming a film on top.
- Steep the butterfly pea flowers. Once the sugar has dissolved and the mixture is warm, remove the pan from the heat and stir in the dried butterfly pea flowers (about 1/4 cup, depending on how bold you want the color). Let them steep in the warm mixture for about 10–15 minutes, stirring occasionally. The mixture will take on a beautiful blue hue. After steeping, strain out the flowers using a fine mesh sieve and discard them.
- Chill the base – Pour the infused ice cream base into a heatproof bowl, cover it, and refrigerate for at least 2 hours, or ideally overnight, to allow the mixture to chill thoroughly.
- Churn – When you’re ready to make the ice cream, churn it in your ice cream maker according to the manufacturer’s instructions—usually around 20–25 minutes.
- Note: The texture will be soft and creamy straight out of the machine, like soft serve. It’s absolutely delicious that way, but I personally prefer it after it’s been in the freezer for about 2 hours. It scoops better, holds its shape in a cone, and pairs beautifully with toppings.
- Transfer the churned ice cream into a quart-size airtight container using a spatula.
- Freeze for at least 2 hours before serving. The ice cream will be easy to scoop on the first day, but as it sits in the freezer, it will firm up. Let it sit at room temperature for a few minutes before scooping.
- Prep Time: 5
- Cook Time: 5
- Category: Desserts


1 thought on “Butterfly Pea Flower Ice Cream”
Natural blue ice cream? Sign me UP! Happy 4th!