Ingredients
Units
Scale
- 4 ounces chocolate of choice
- 1 tablespoon topping of choice
Instructions
- Gather your toppings: Whatever toppings/add-ins you’re going to use, grab them first. If some need to be cut into smaller pieces, do that now as well. As soon as you pour your chocolate you’re going to want to make sure to have the add-ins ready to go!
- Melt the chocolate. Set up a double boiler over medium low heat. Bring your water to a simmer in a pot and then set a bowl above. Make sure the bowl above is not touching the water. Add the chocolate and stir often until smooth and shiny. Remove from the heat and keep the bowl over the pot of hot water to help prevent the chocolate from setting as you begin to work. You can temper your chocolate, simply follow the directions here. I’m lazy and don’t often temper the chocolate. Untempered chocolate will melt at room temperature. Here in Miami I always keep the chocolate in the fridge since the temperature is always warm!
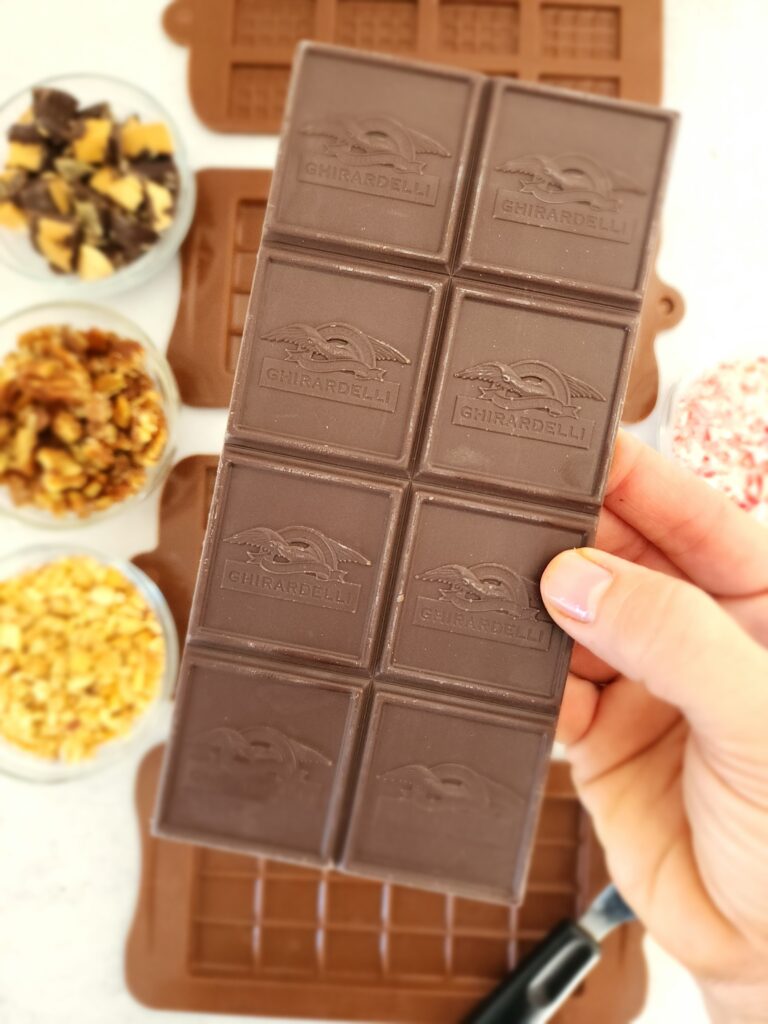
- Pour Chocolate into Molds: Once the chocolate is fully melted and smooth, use a spoon or measuring cup to pour the chocolate into clean, dry silicone molds. I set the chocolate molds on a cookie sheet, so they’d be ready to go straight to the refrigerator. Fill only to the top line of the mold and use an offset spatula to smooth the tops. If you choose to make the chocolate discs, I used a spoon to simply dollop a tablespoon of chocolate and it stayed a perfect circle. You’d only have to make sure to have your add-in items a smaller size to ensure they fit on top.
- Add Toppings and Chill: This is where the fun starts! Add any toppings you like to the melted chocolate before it sets! I used just a tablespoon or so. Choose your own combinations, get creative, and aim to create your own signature homemade chocolate bars (or discs)!
- Remove Bars From Mold: Once the toppings have been added, place the cookie sheet in the refrigerator to set for at least 20 minutes. If the chocolate is still soft to the touch, chill for a few more minutes. Remove the bars from the fridge and gently peel the molds away from the chocolate. Since the mold are silicone, they should separate easily. Eat and enjoy! or wrap for your friends!
- Prep Time: 5
- Cook Time: 5
- Category: Desserts